Little Free Library Update!
Note: I started writing this post in 2021, left it for 2 years, now just finished it in November 2023. Hope that clears some confusion!
I’m happy to say that the little free library has finally been installed in a public place, and there have been some changes!
While I’m not pleased with the timeline (it’s been nearly 2 years!!), I am glad that the library is now being used by the community.
Context
The Little Free Library was originally constructed back in 8th grade for a community service project. You can learn more about that here. After I finished construction, my teammates found a location for the library. It was going to be on county land, part of a new “green” area that the city had setup. There were several great characteristics: Sunny (for the solar panel), walkable (we wanted it to get decent use), close to a teammate (for easier maintenance of the library).
However, soon after the completion of the Library, Covid-19 happened. The city stopped returning my emails, and after almost a year of nothing, I decided that it was time to move on. With all three of us now in different high schools, I asked my teammate to drop the library off at my house, and it would be my responsibility to get it installed somewhere.
Once I got the library back home, I noticed several issues with the library. In order to keep the battery charged, I told my friend to keep the library outside, meaning for 8 months the library was exposed to the elements. My construction techniques were tested, and there were some areas that I figured would fail.
Initial Mistakes
The biggest example of this was during the initial construction of the library, I decided to paint each piece individually, to prevent water from wicking up into the plywood via the cut edges. Because of this, wood glue couldn’t be used when assembling the library. I used various brackets, with caulking between each piece to seal the library. But while applying the caulking, I did not tape around the joint, and 2 ugly, prominent beads of caulking dried on either side of the joint. As the deadline was nearing, I needed to cover this up, and used what I had on hand, drywall joint compound. Smearing some over the joint, feathering it out, another coat of paint, and you could hardly see my mistake. But being latex paint, this solution was destined to fail, because even the tiniest chip would allow water into the pocket of joint compound.
Sure enough, water had entered the various pockets of drywall joint compound, turned it into slush, and caused the rest of the paint over top to wrinkle.
School project 2.0?
At this point, I was busy with school and didn’t have the time to work on the restoration of the library. But once summer break began and I found myself doing nothing else that was productive, I started to fix up the library. I also knew that in 10th grade, a personal project was required. I made sure that piggybacking on a previous school project was allowed, and to my delight, that was even a suggestion for the personal project, “extension to previous service as action project”. So yes, a driving force behind this library finally getting installed was, in fact, another school requirement. But, I did start the restoration on the library before I knew that I could use it for the project, and I would have gotten the library restored and installed regardless. Just maybe not as expeditiously.
Update
Yes, I know this is an update to an “update”, but I got busy with other work (translation: I got bored with making a new website and let this post marinate on an abandoned github repo and am just now finishing writing this post in 2023, 2 years later). So here we are now. I’ll try and keep writing this post as if it were still 2021 and I was filling you in on the current state of the library, even though some things have changed. The following text is all written in 2023.
Changes/Upgrades
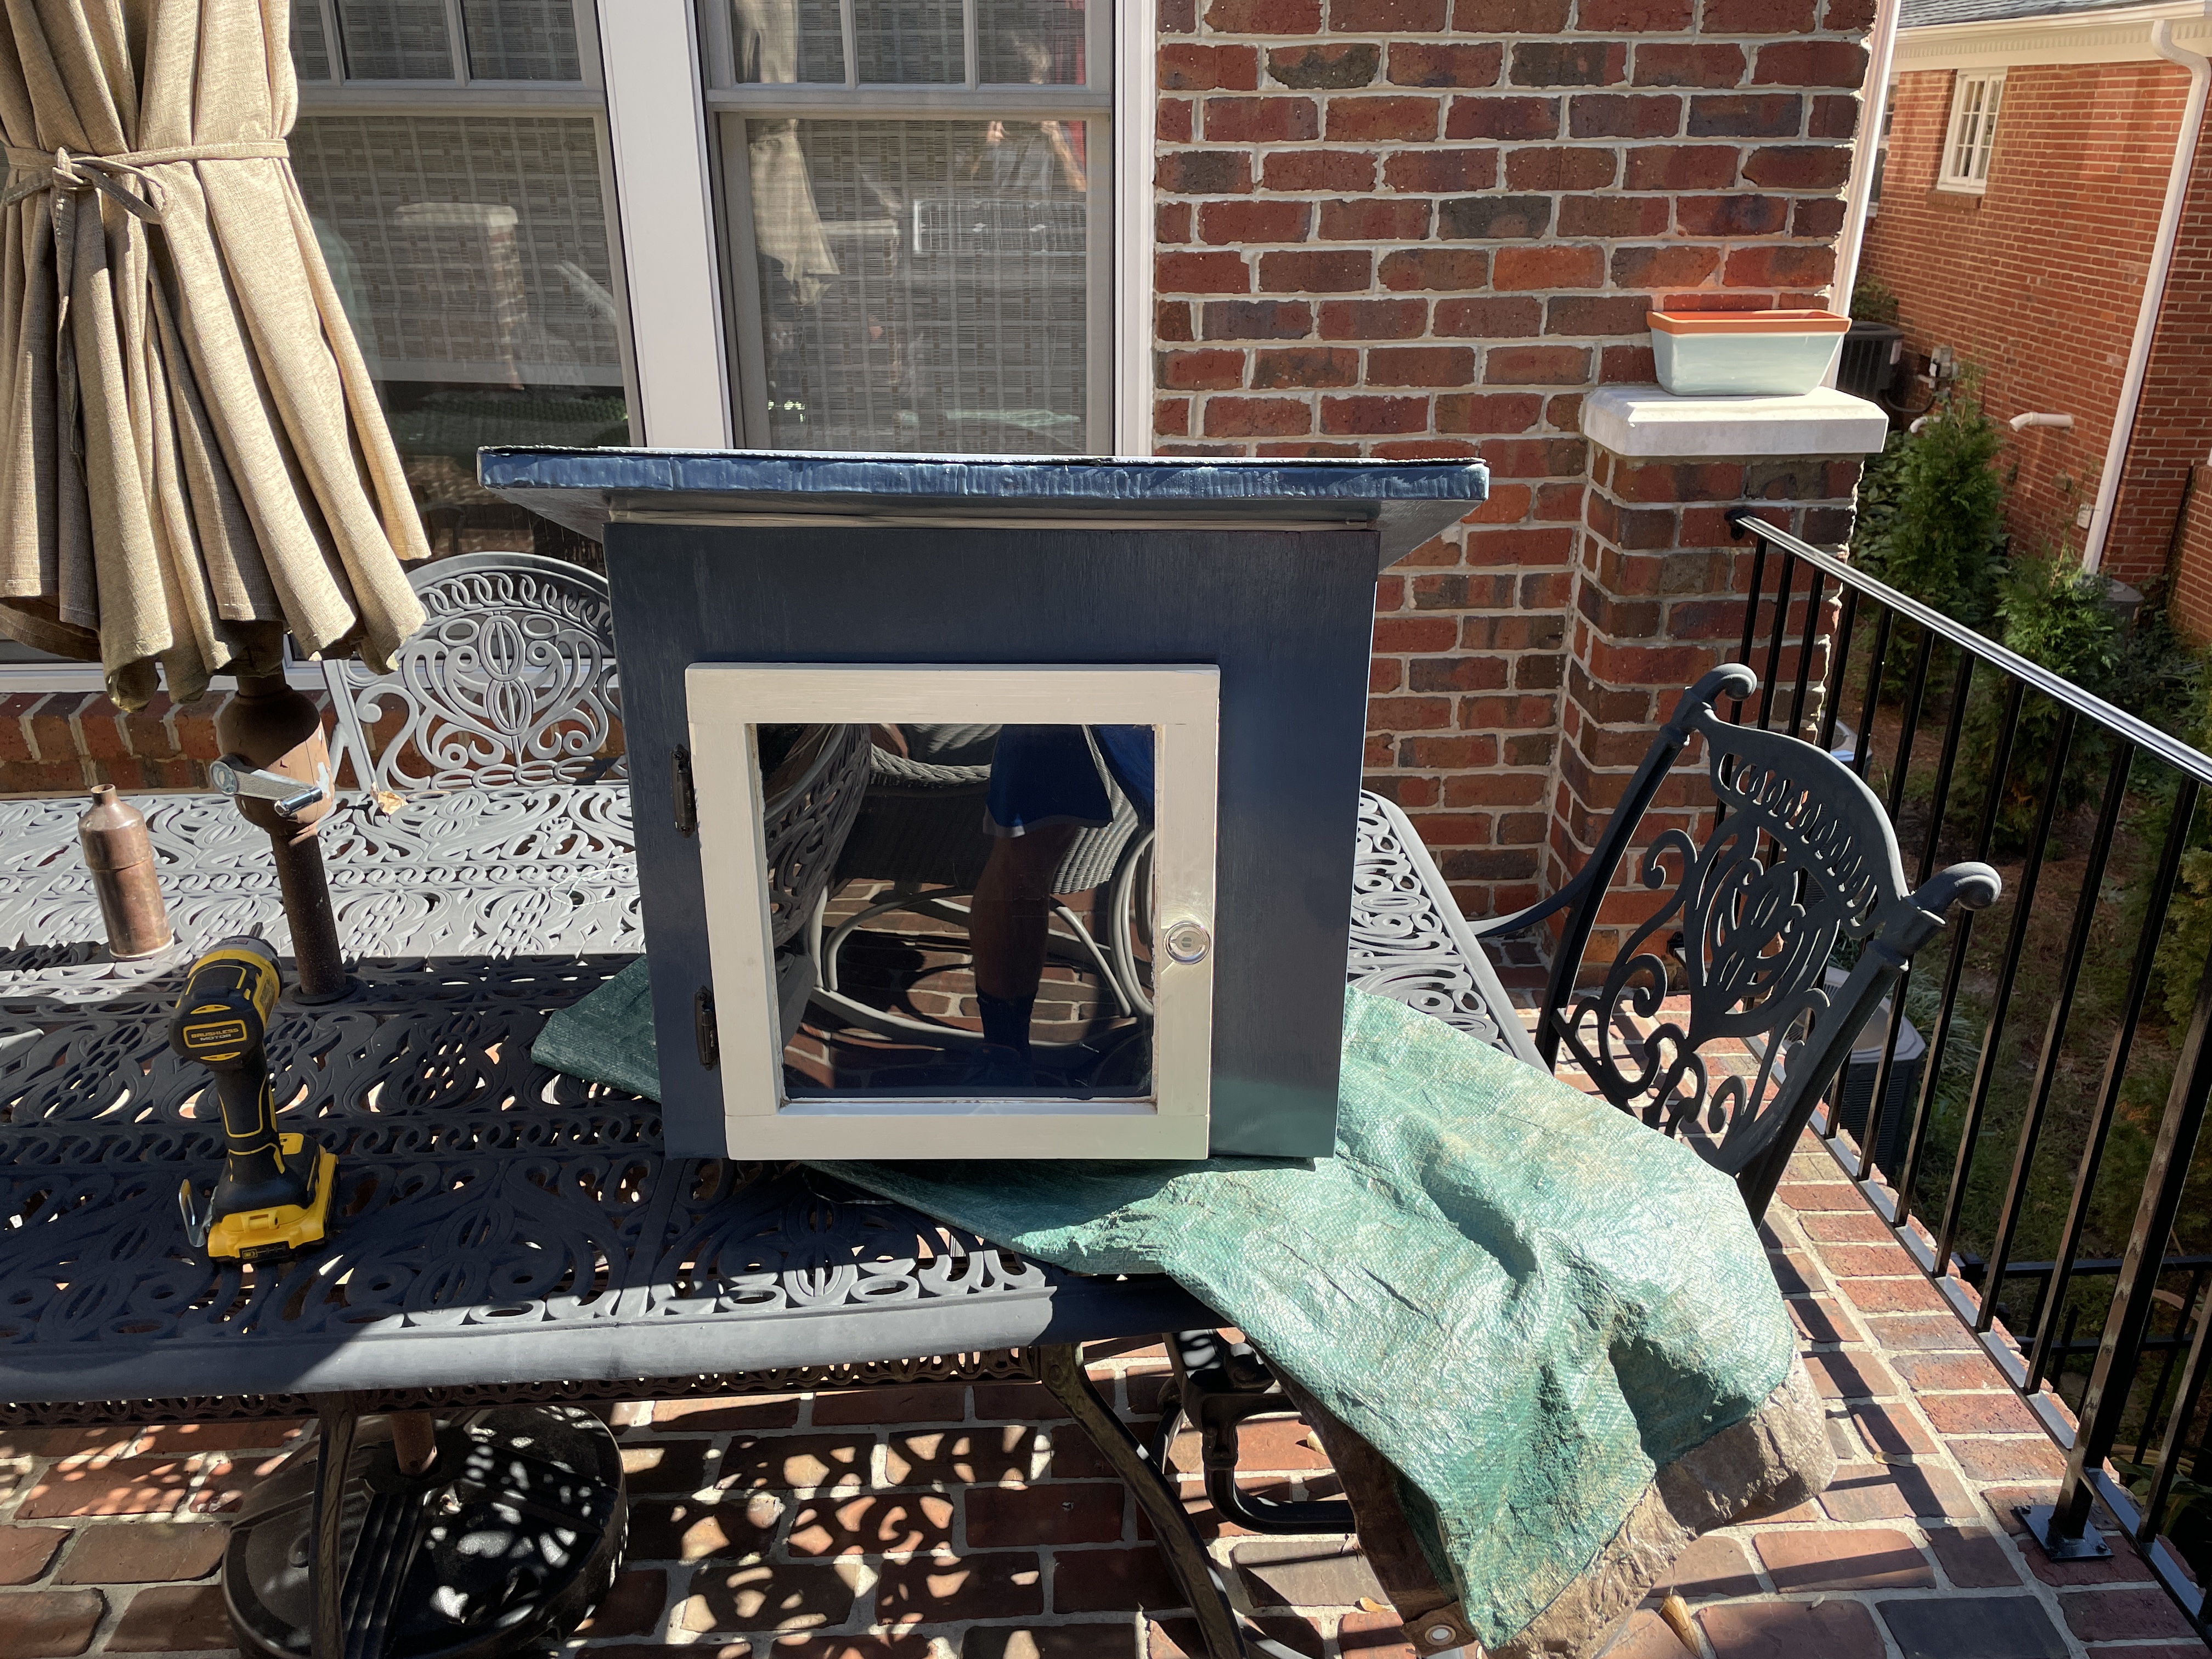
New Paint Job
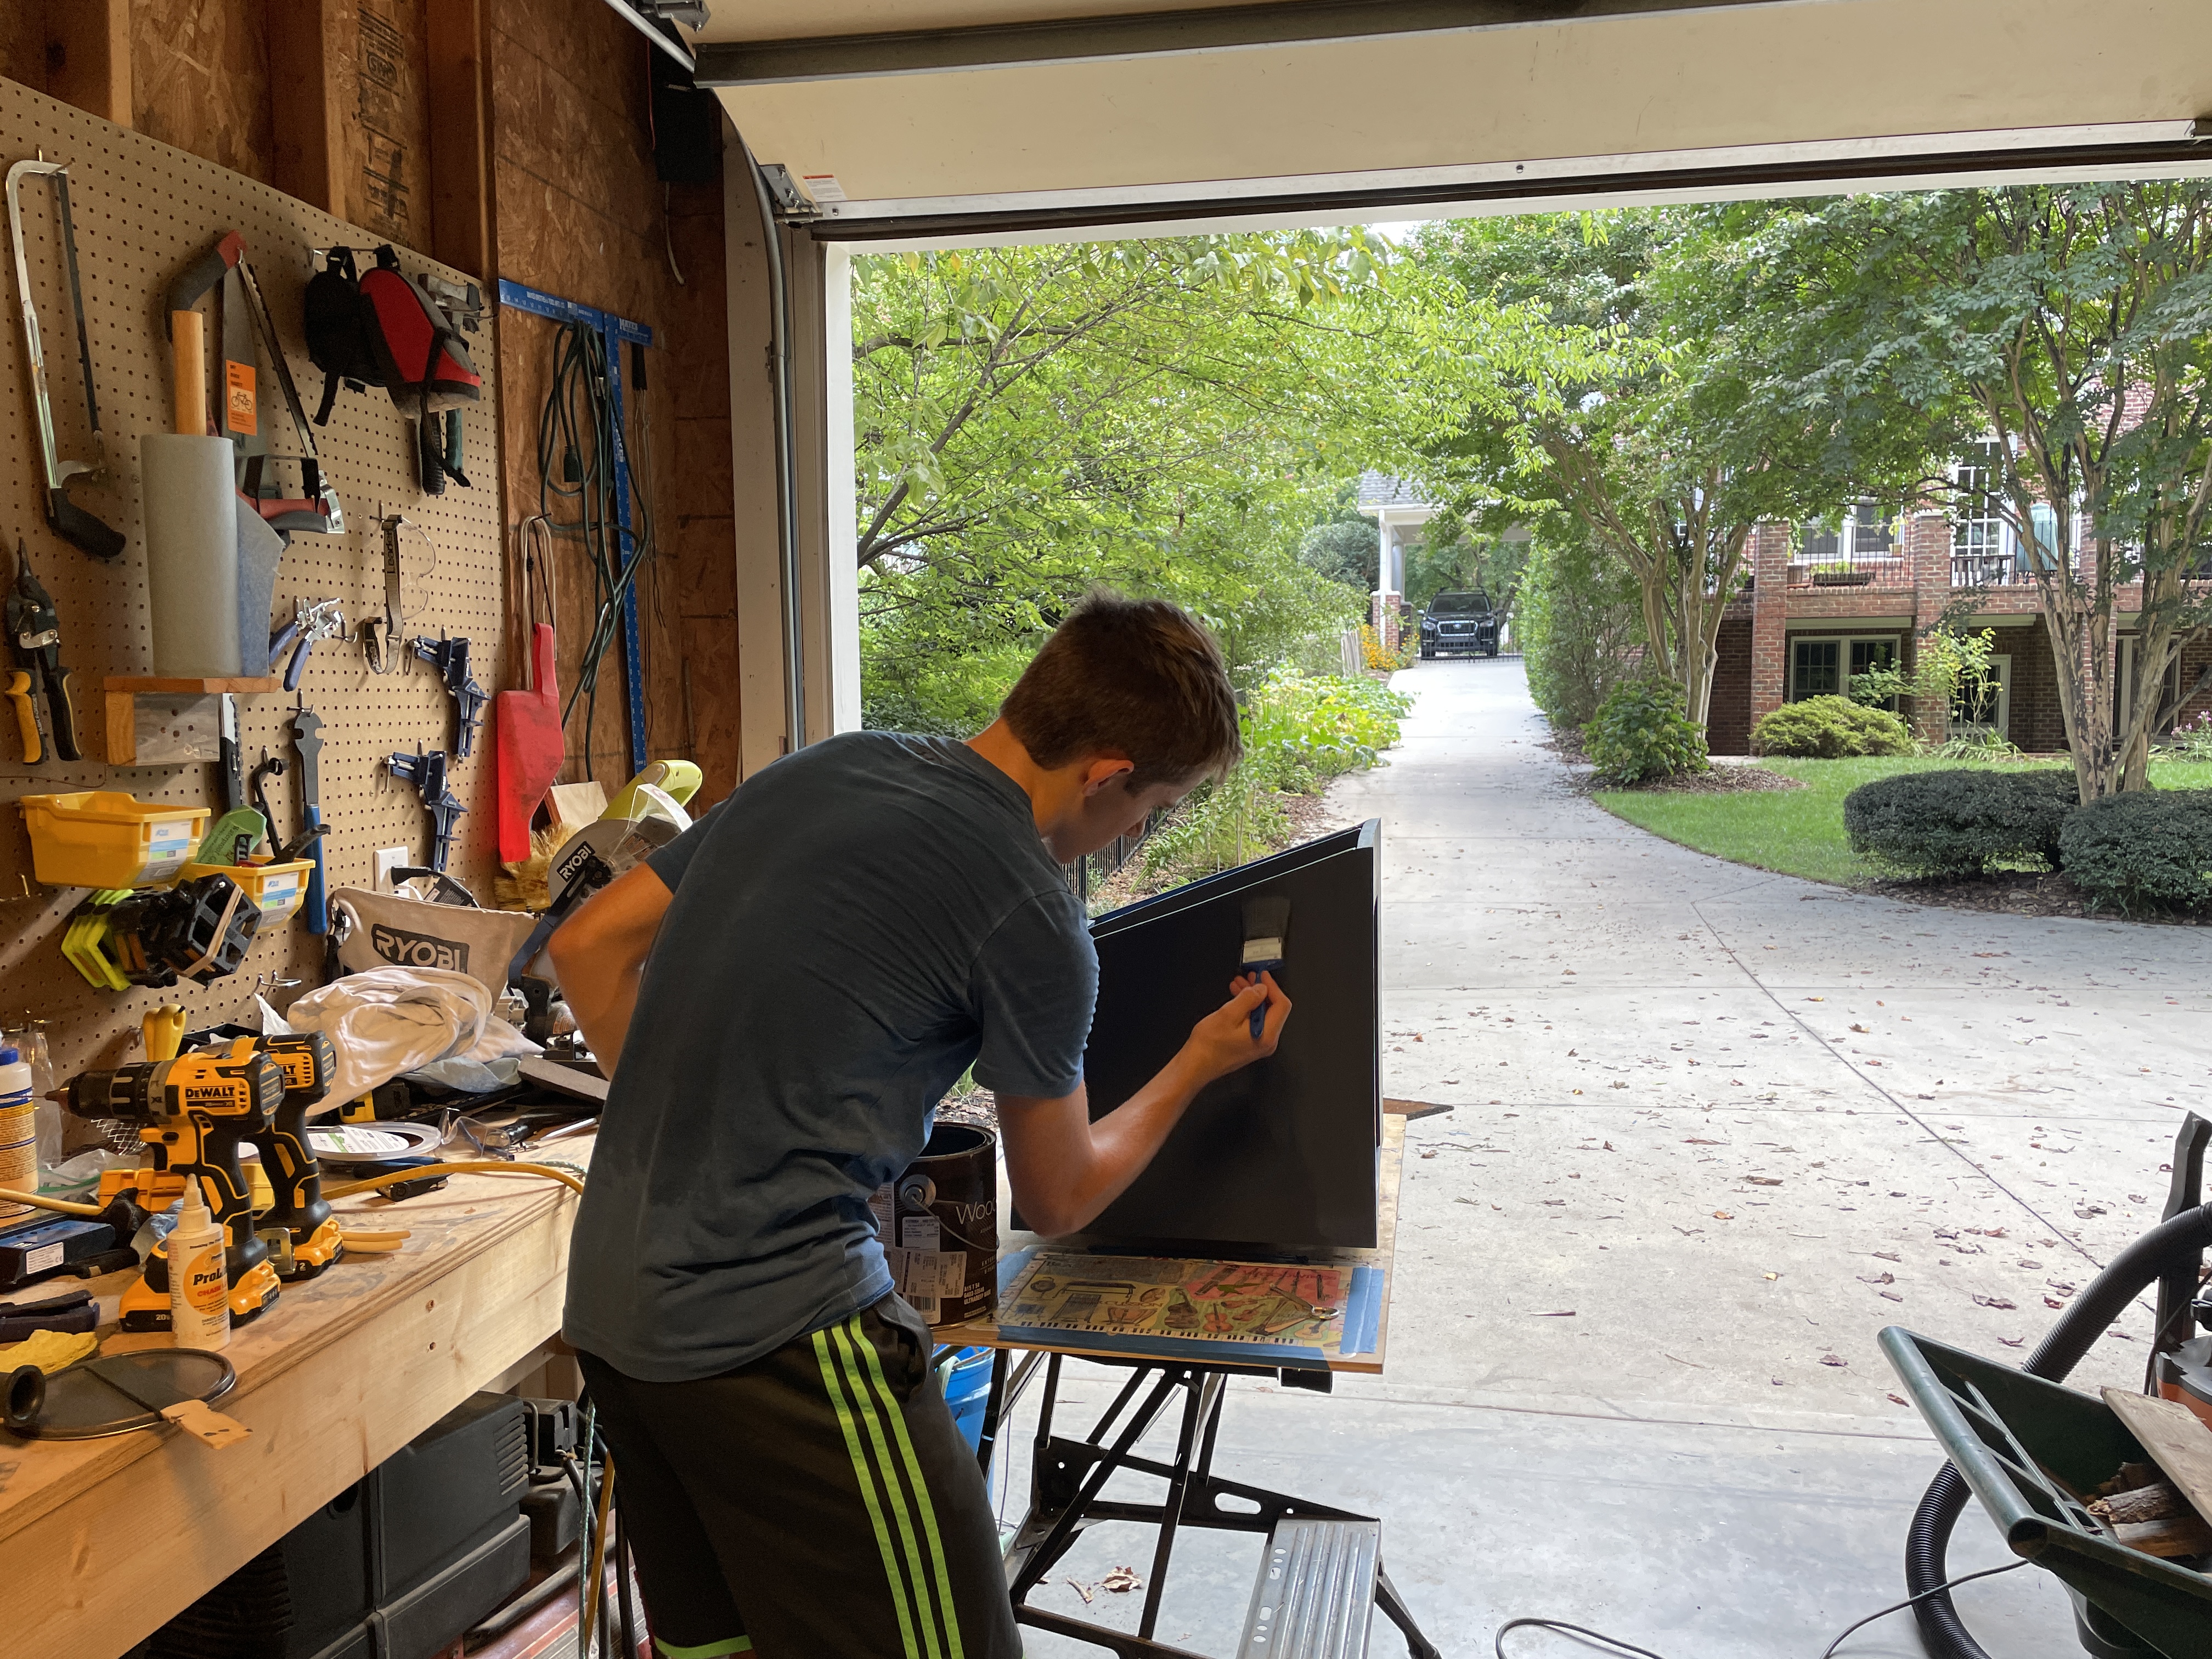
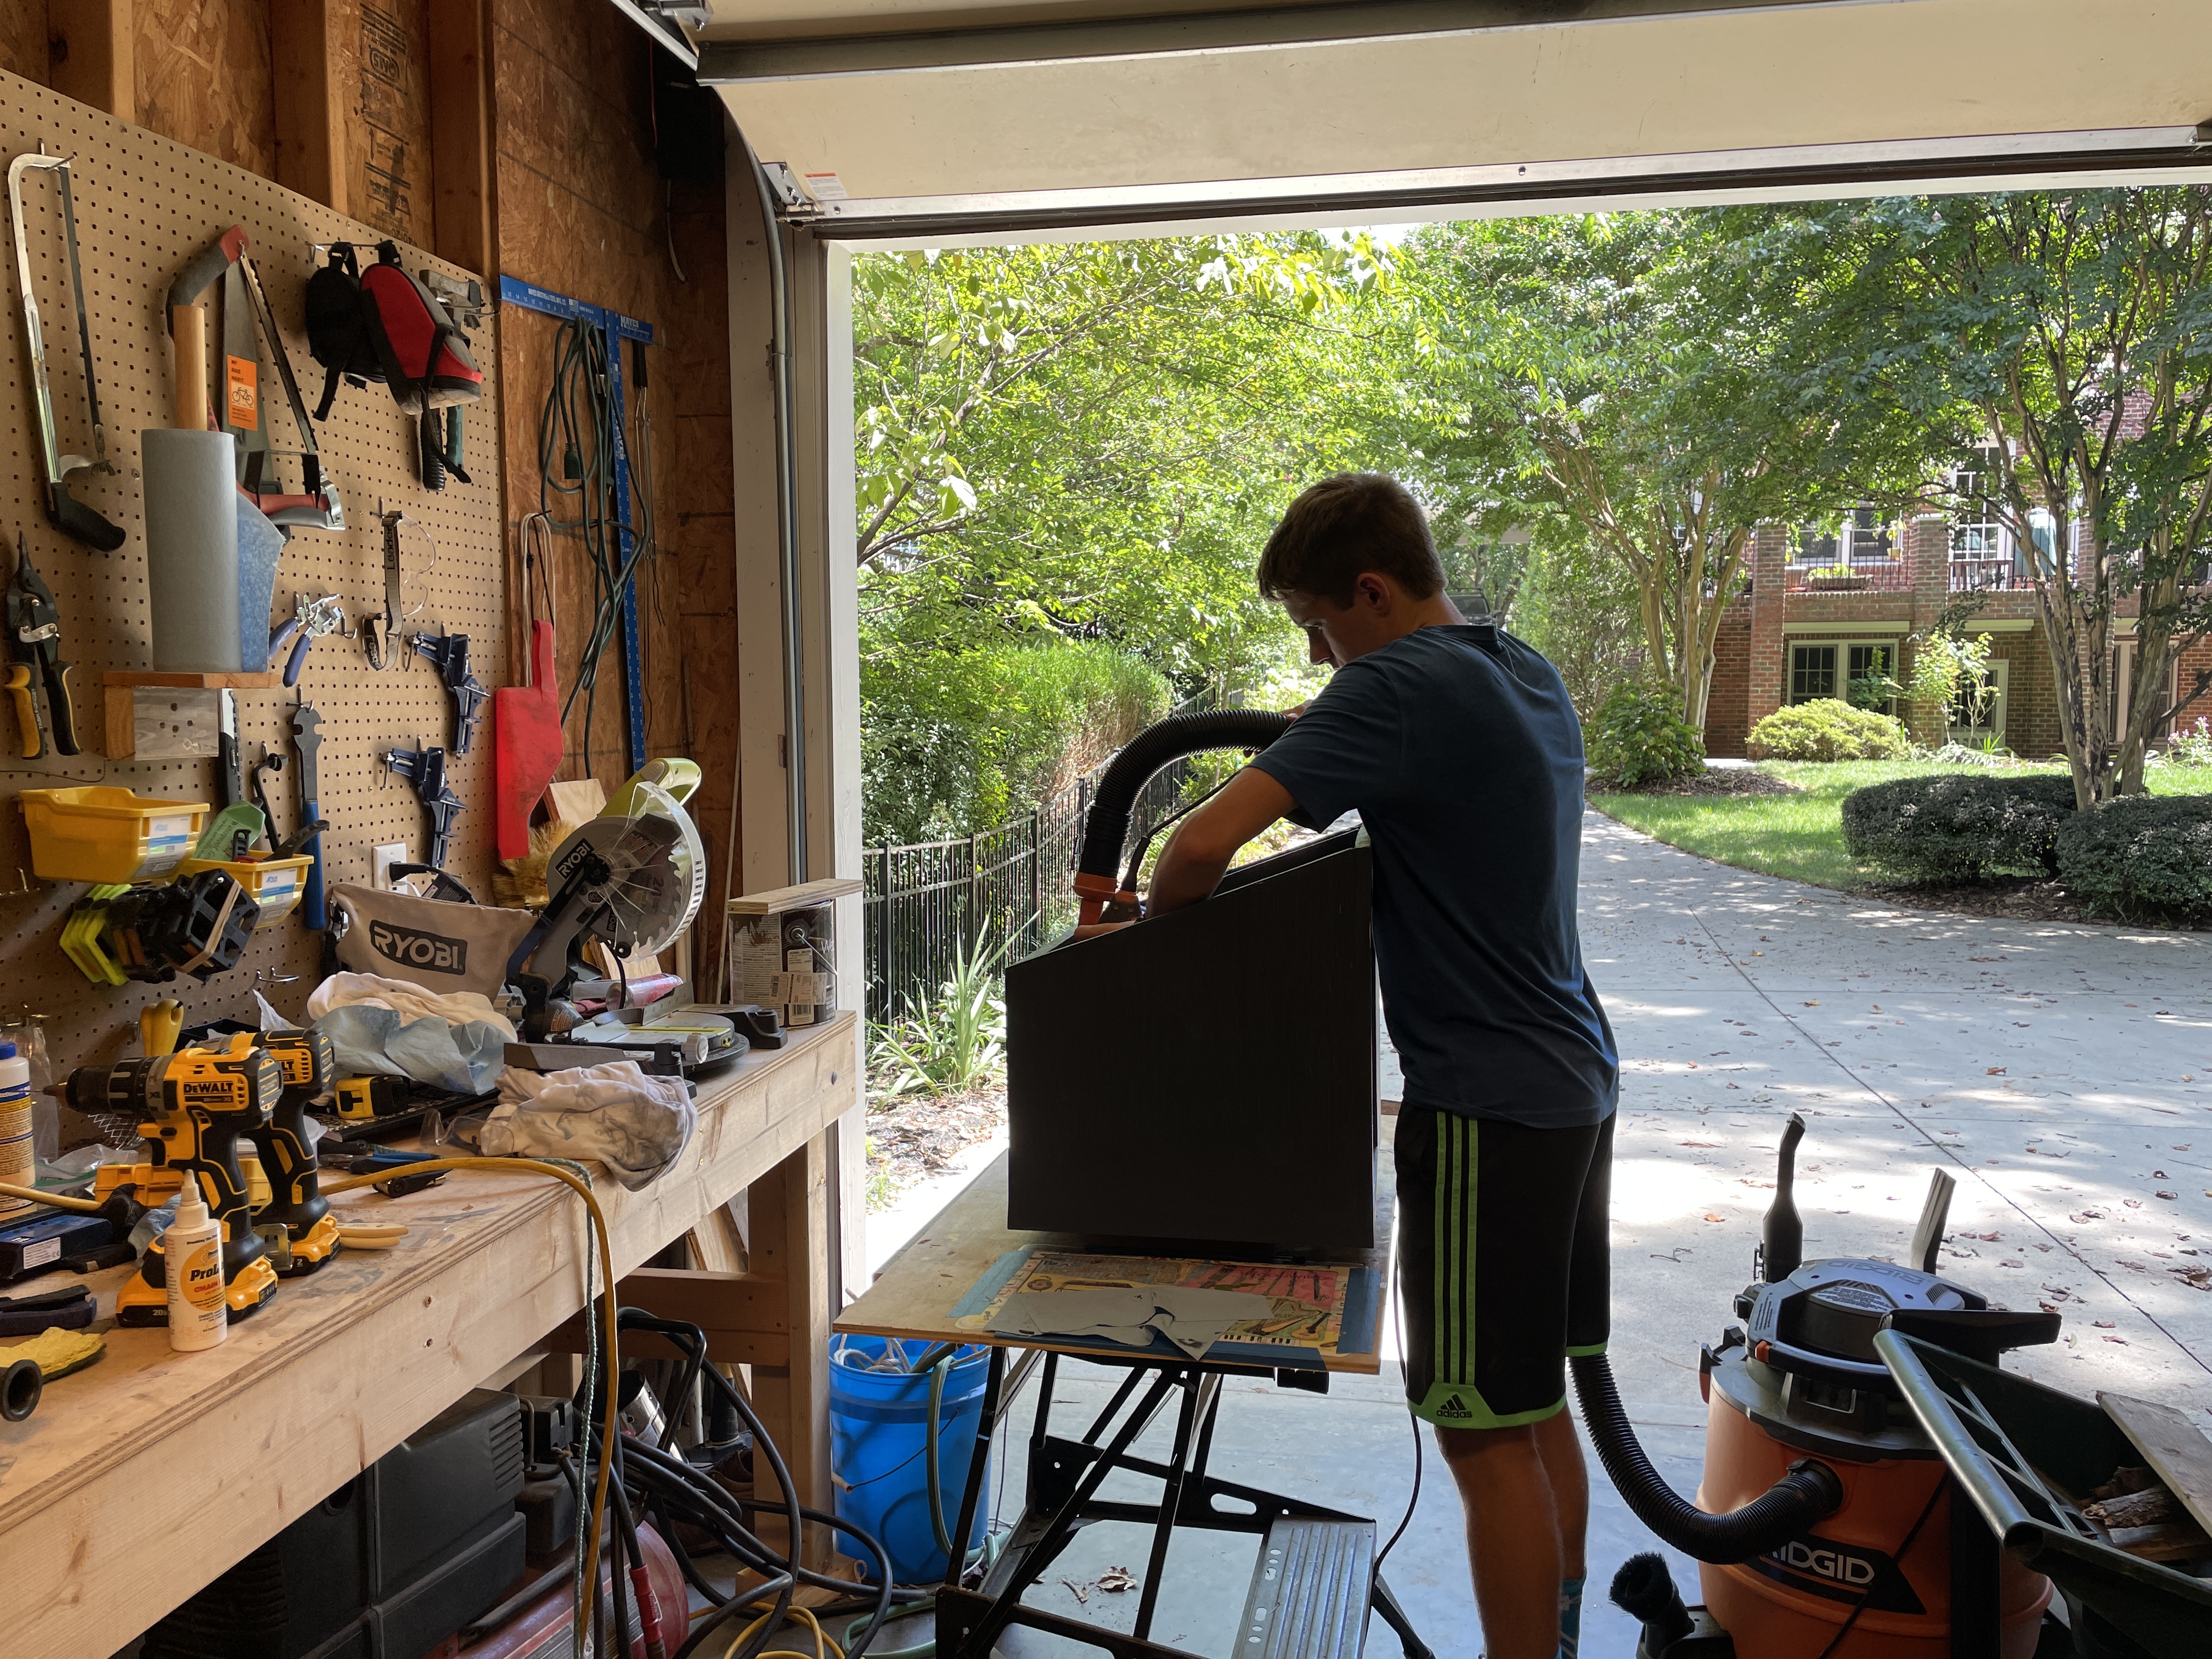
First, I took the library apart and sanded everything. All of the joint compound (this makes me cringe even more just thinking about it now 3 years after the fact) was removed, along with the compromised latex paint.
{{ }}
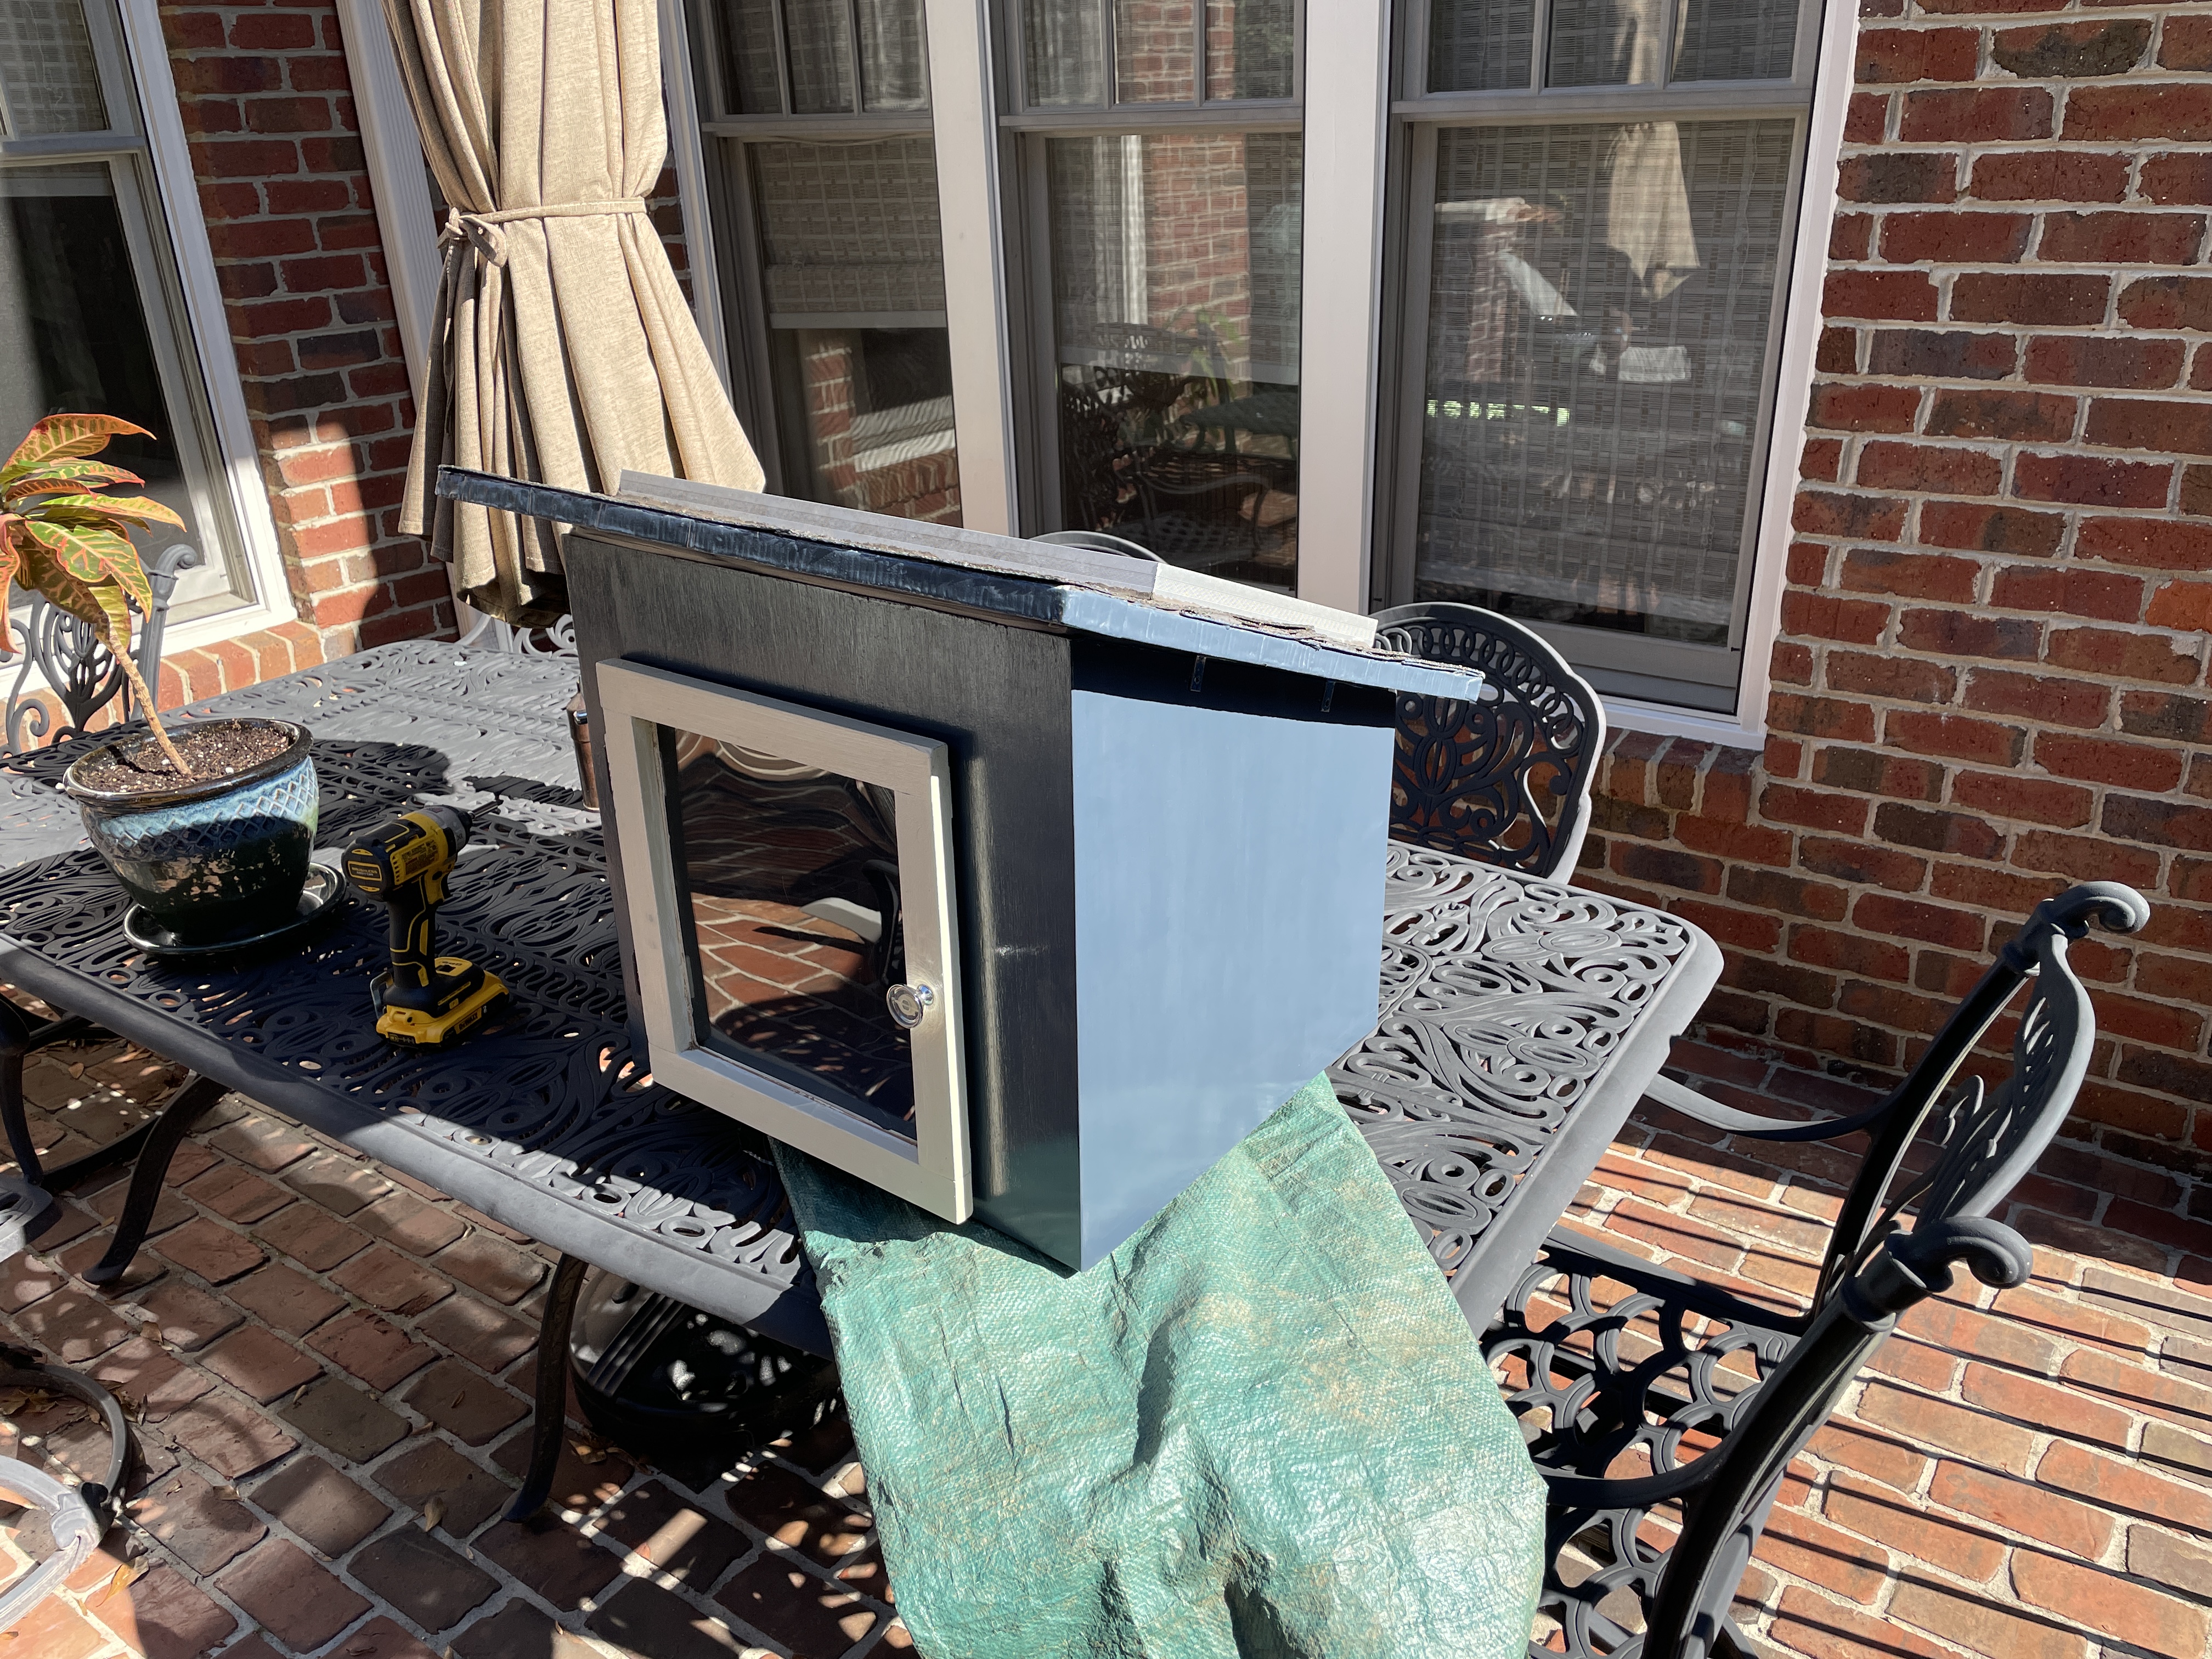
I then used bondo to fill in the gaps, and gave it a few coats of paint, sanding in between. The paint I used was actually leftover samples from a home renovation. All of the colors were similar, so I combined them and ended up with a nice dark blue.
In between coats I sanded.
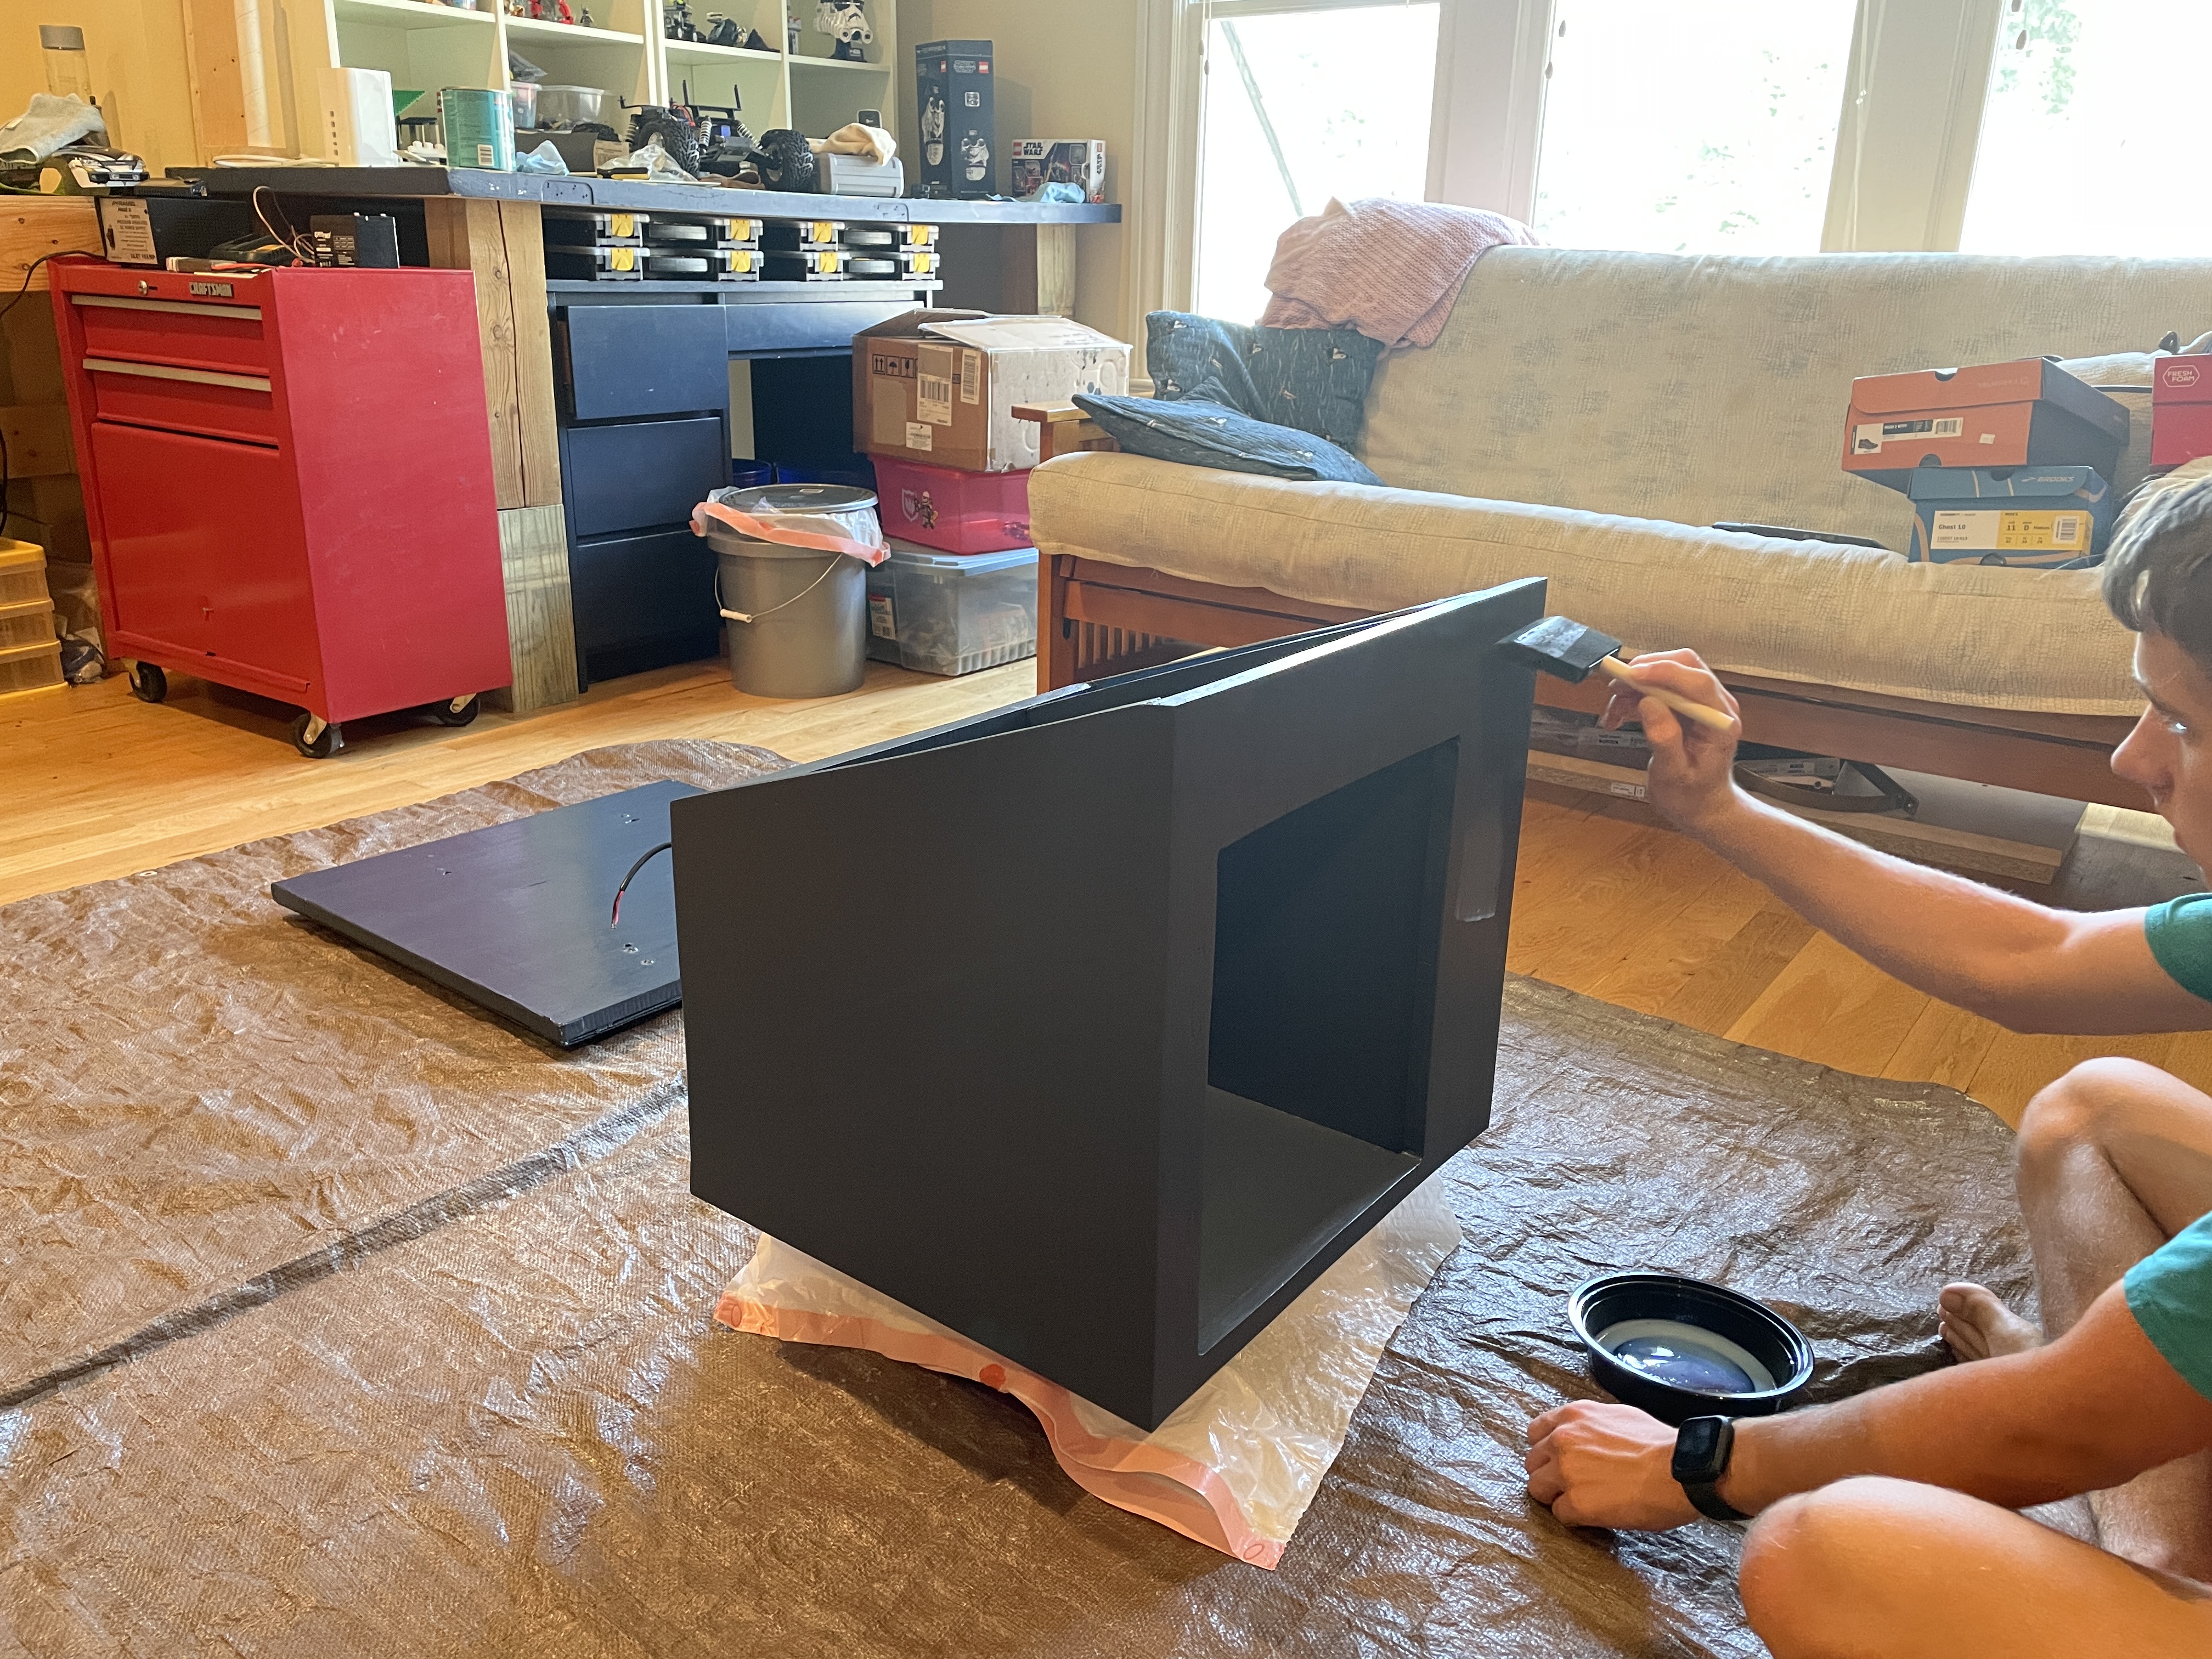
After several coats of new paint with sanding in between, I brought the library inside. I wanted to keep it in a very dry environment to try and cure the paint faster, so I setup our dehumidifier with a hose draining into the sink. Yes, it’s a very nasty vinyl hose that was once used outside, but it was all I had on hand and it worked. Also, I think this dehumidifier was recalled, which reminds me, I need to get it replaced!

Since this was just sample paint, it had absolutely no protection built in whatsoever. So I put several coats of polycrylic on.
Again, sanding in between, but this time hand sanding.
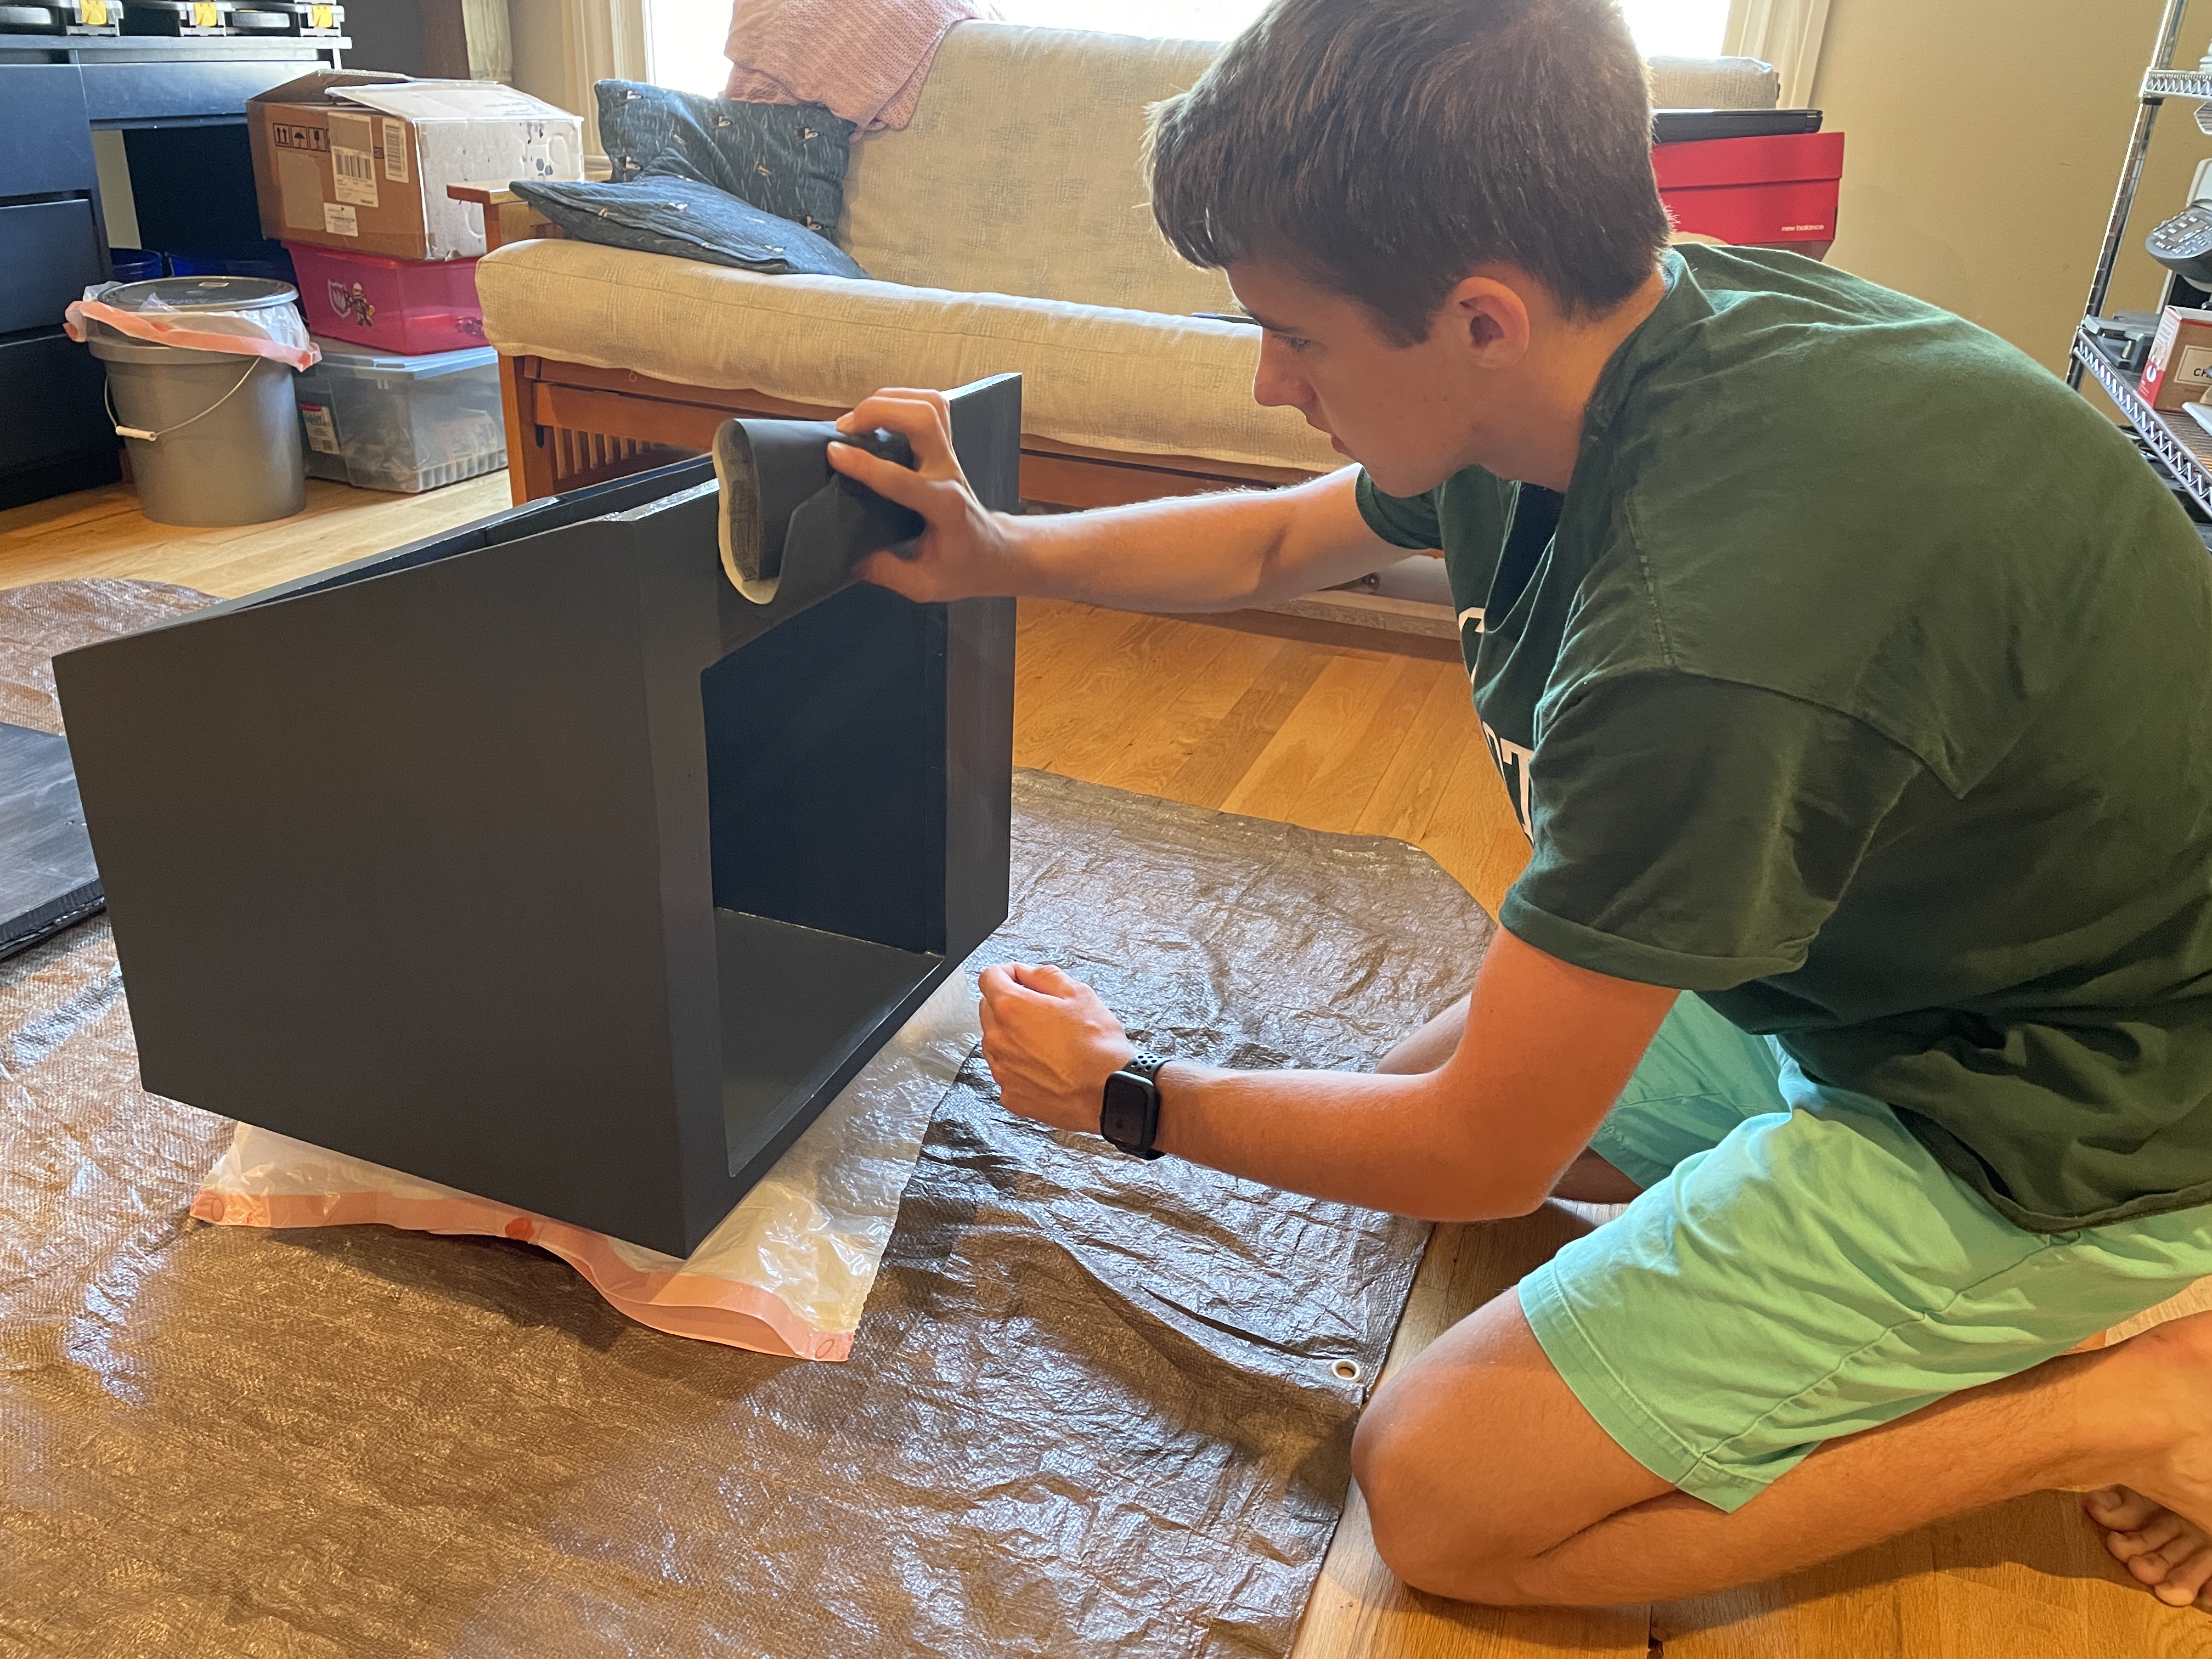
The library was looking really good. But after two years of being outside in the sun, the polycrylic hasn’t held up too well. And that’s to be expected, since it isn’t supposed to be used outdoors. I didn’t know this when redoing the original paint job. So I messed up the fix for the original mess up🤦♂️.
New Camera Mount
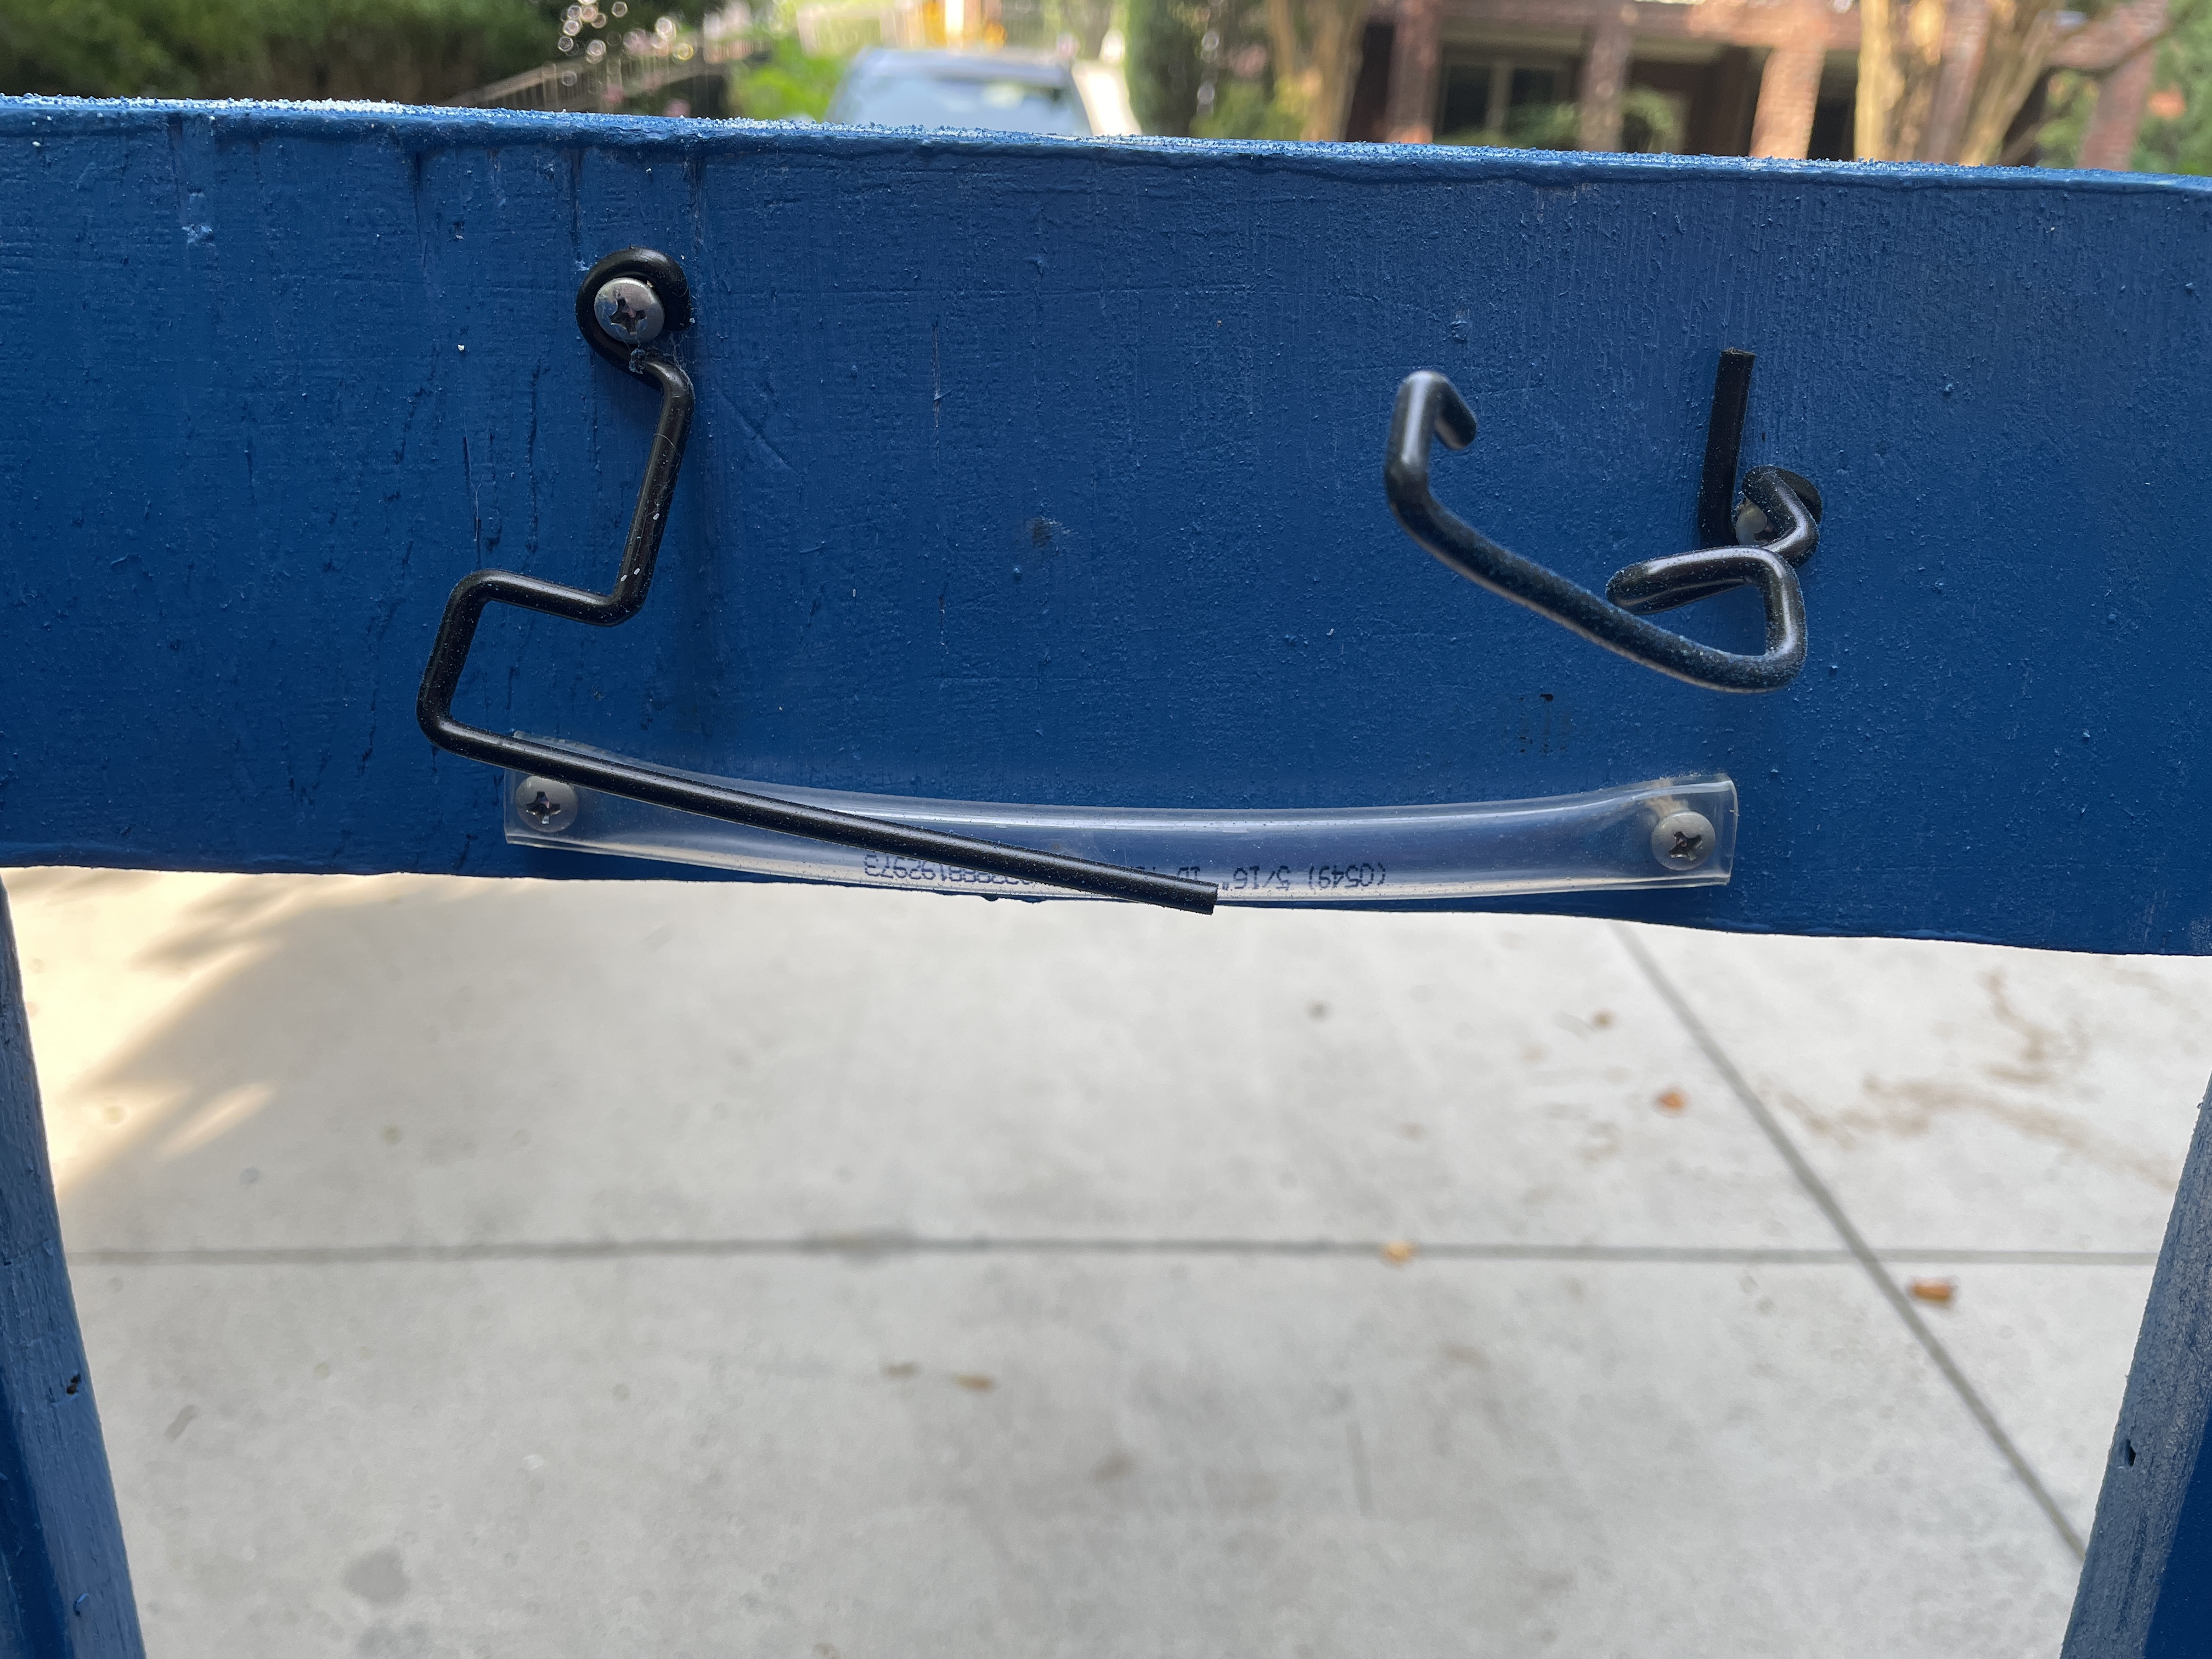
Now for the camera system. I’ll be honest, the original mount for the camera was horrible. The phone had little protection, but thankfully this didn’t go into “production”. Here’s the original mount:
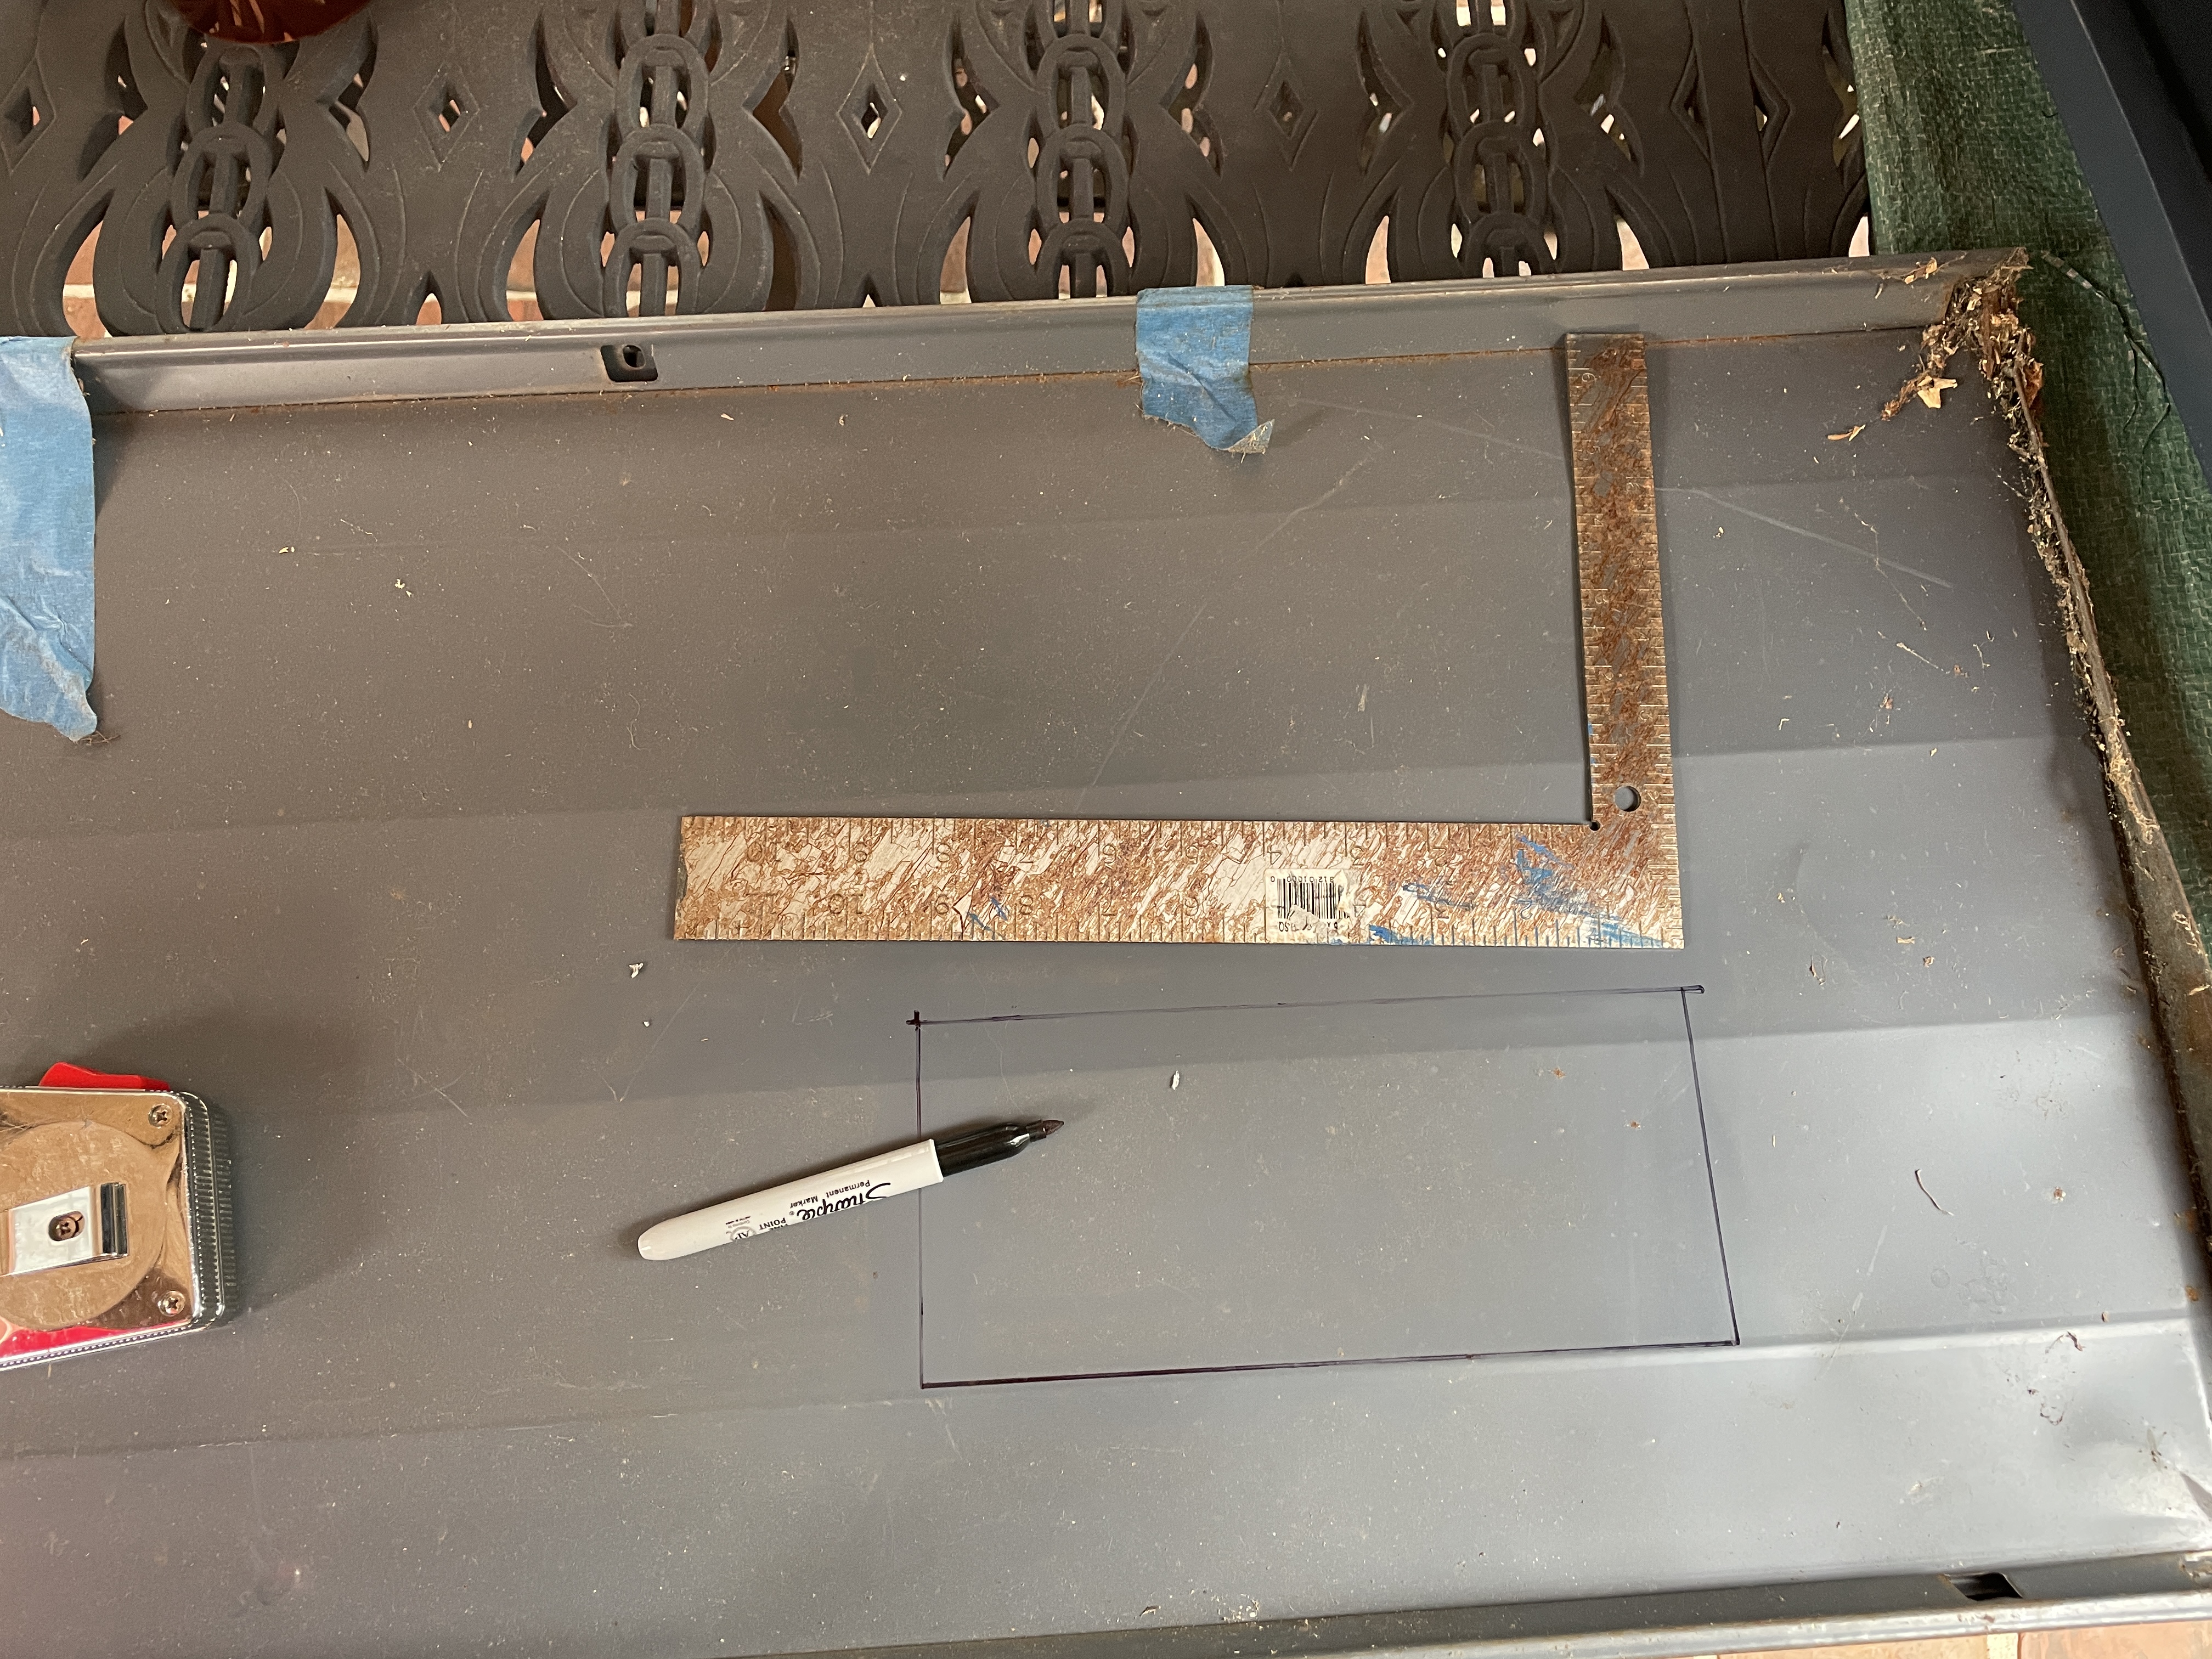
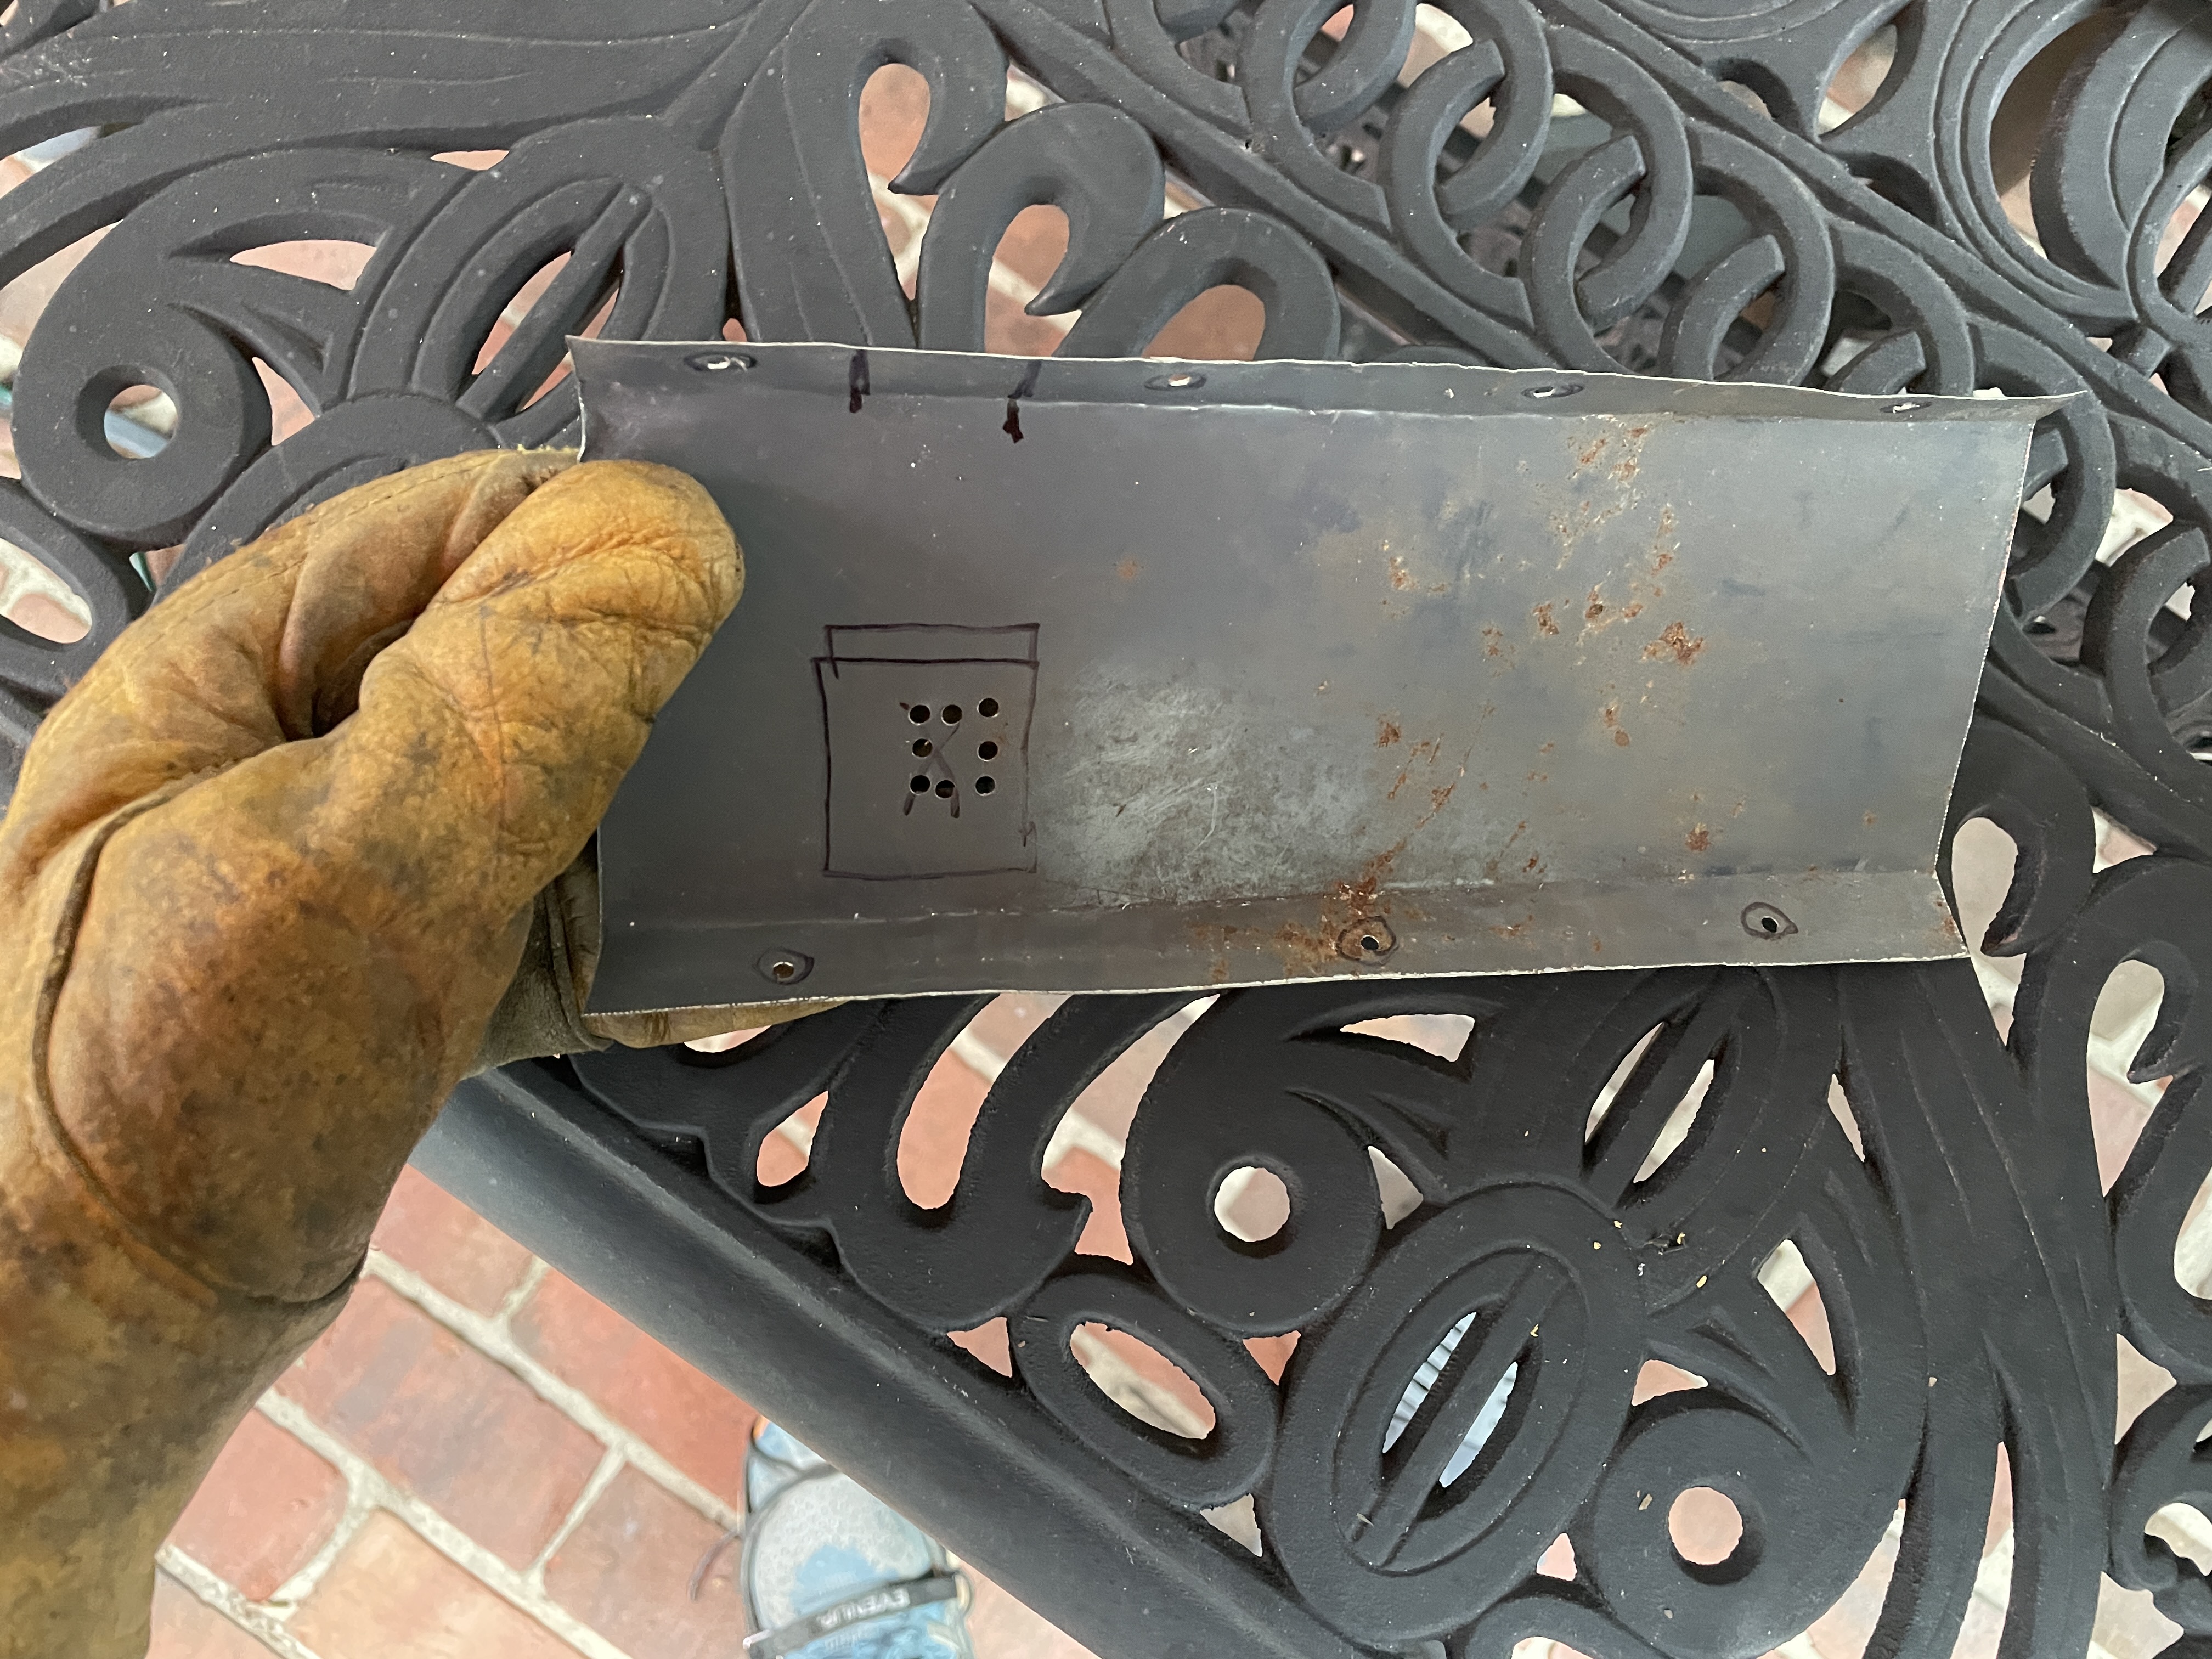
I needed a solution, so I looked in our garage and found some sheet metal left over from an old set of shelves. This is why you never get rid of stuff! I marked out a rectangle on the sheet metal that was going to be big enough to both cover the phone and leave space to screw into somewhere.
Then, I cut out this rectangle with some snips.
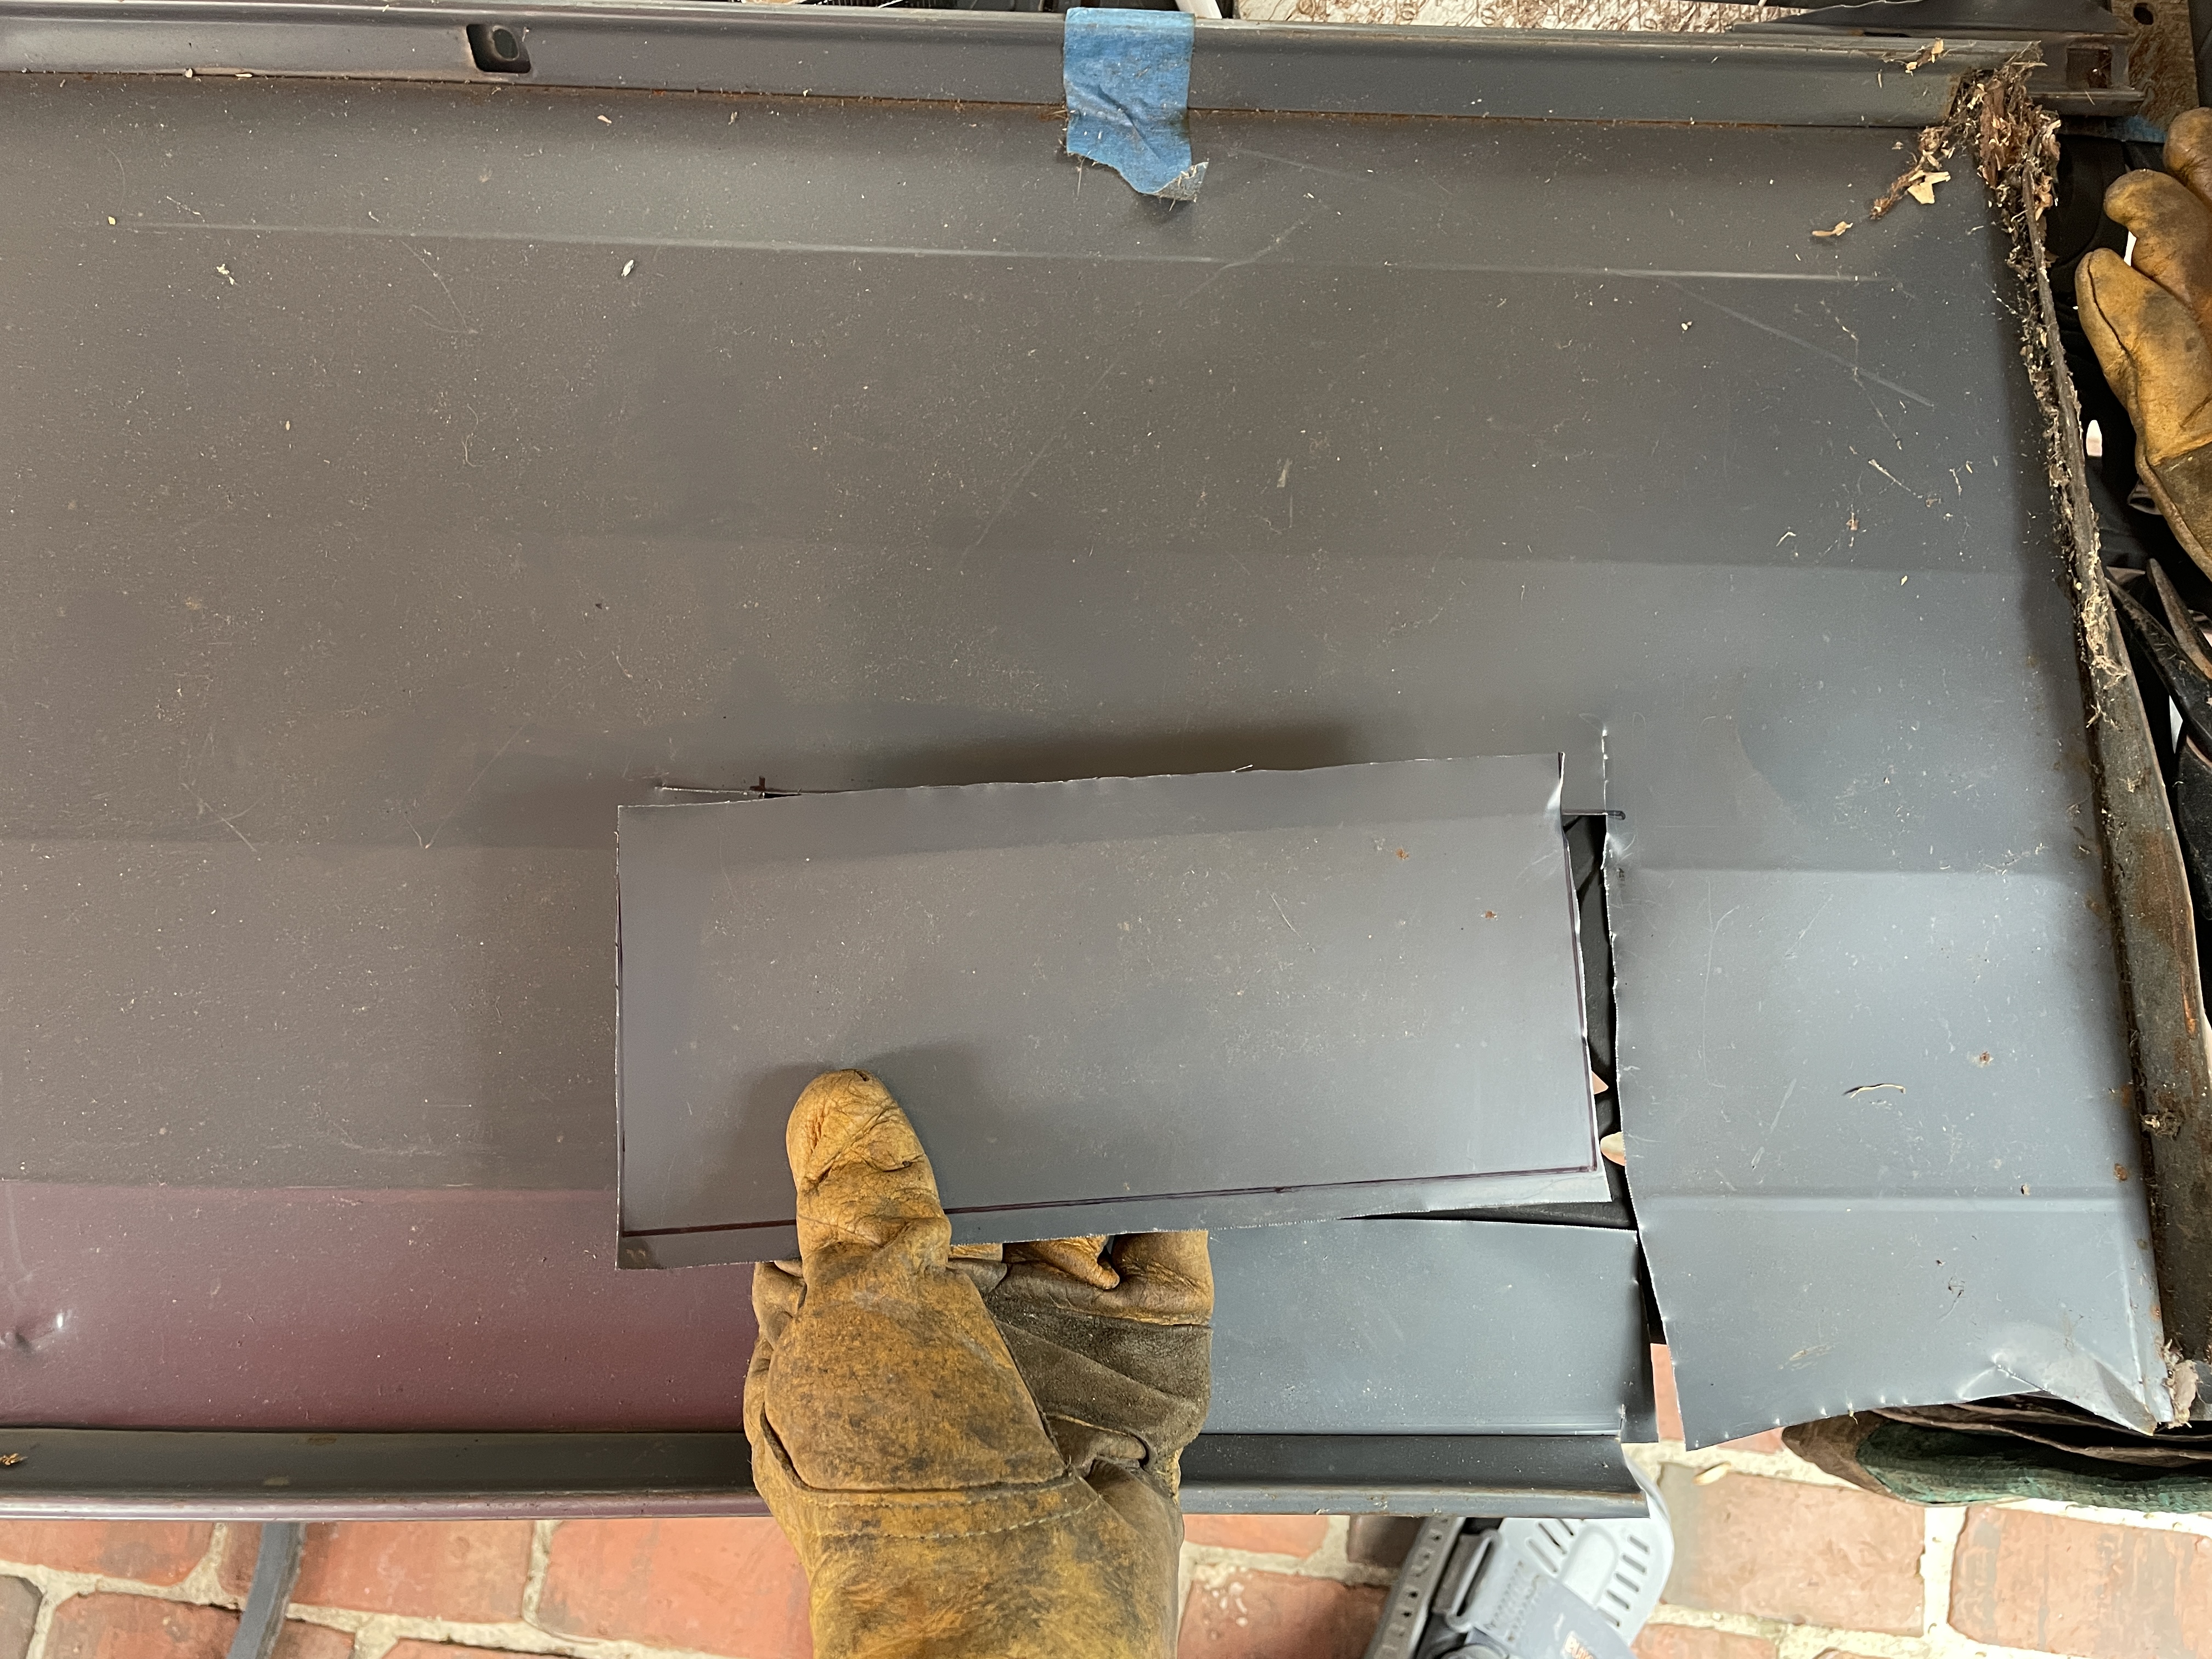
With some pliers, I bent the edges so I’d have a surface that could be mounted to the roof and inside front wall of the library. Apologies for the bad explanations, I hope the images help. The marked square with an x inside is where the phone camera will be.
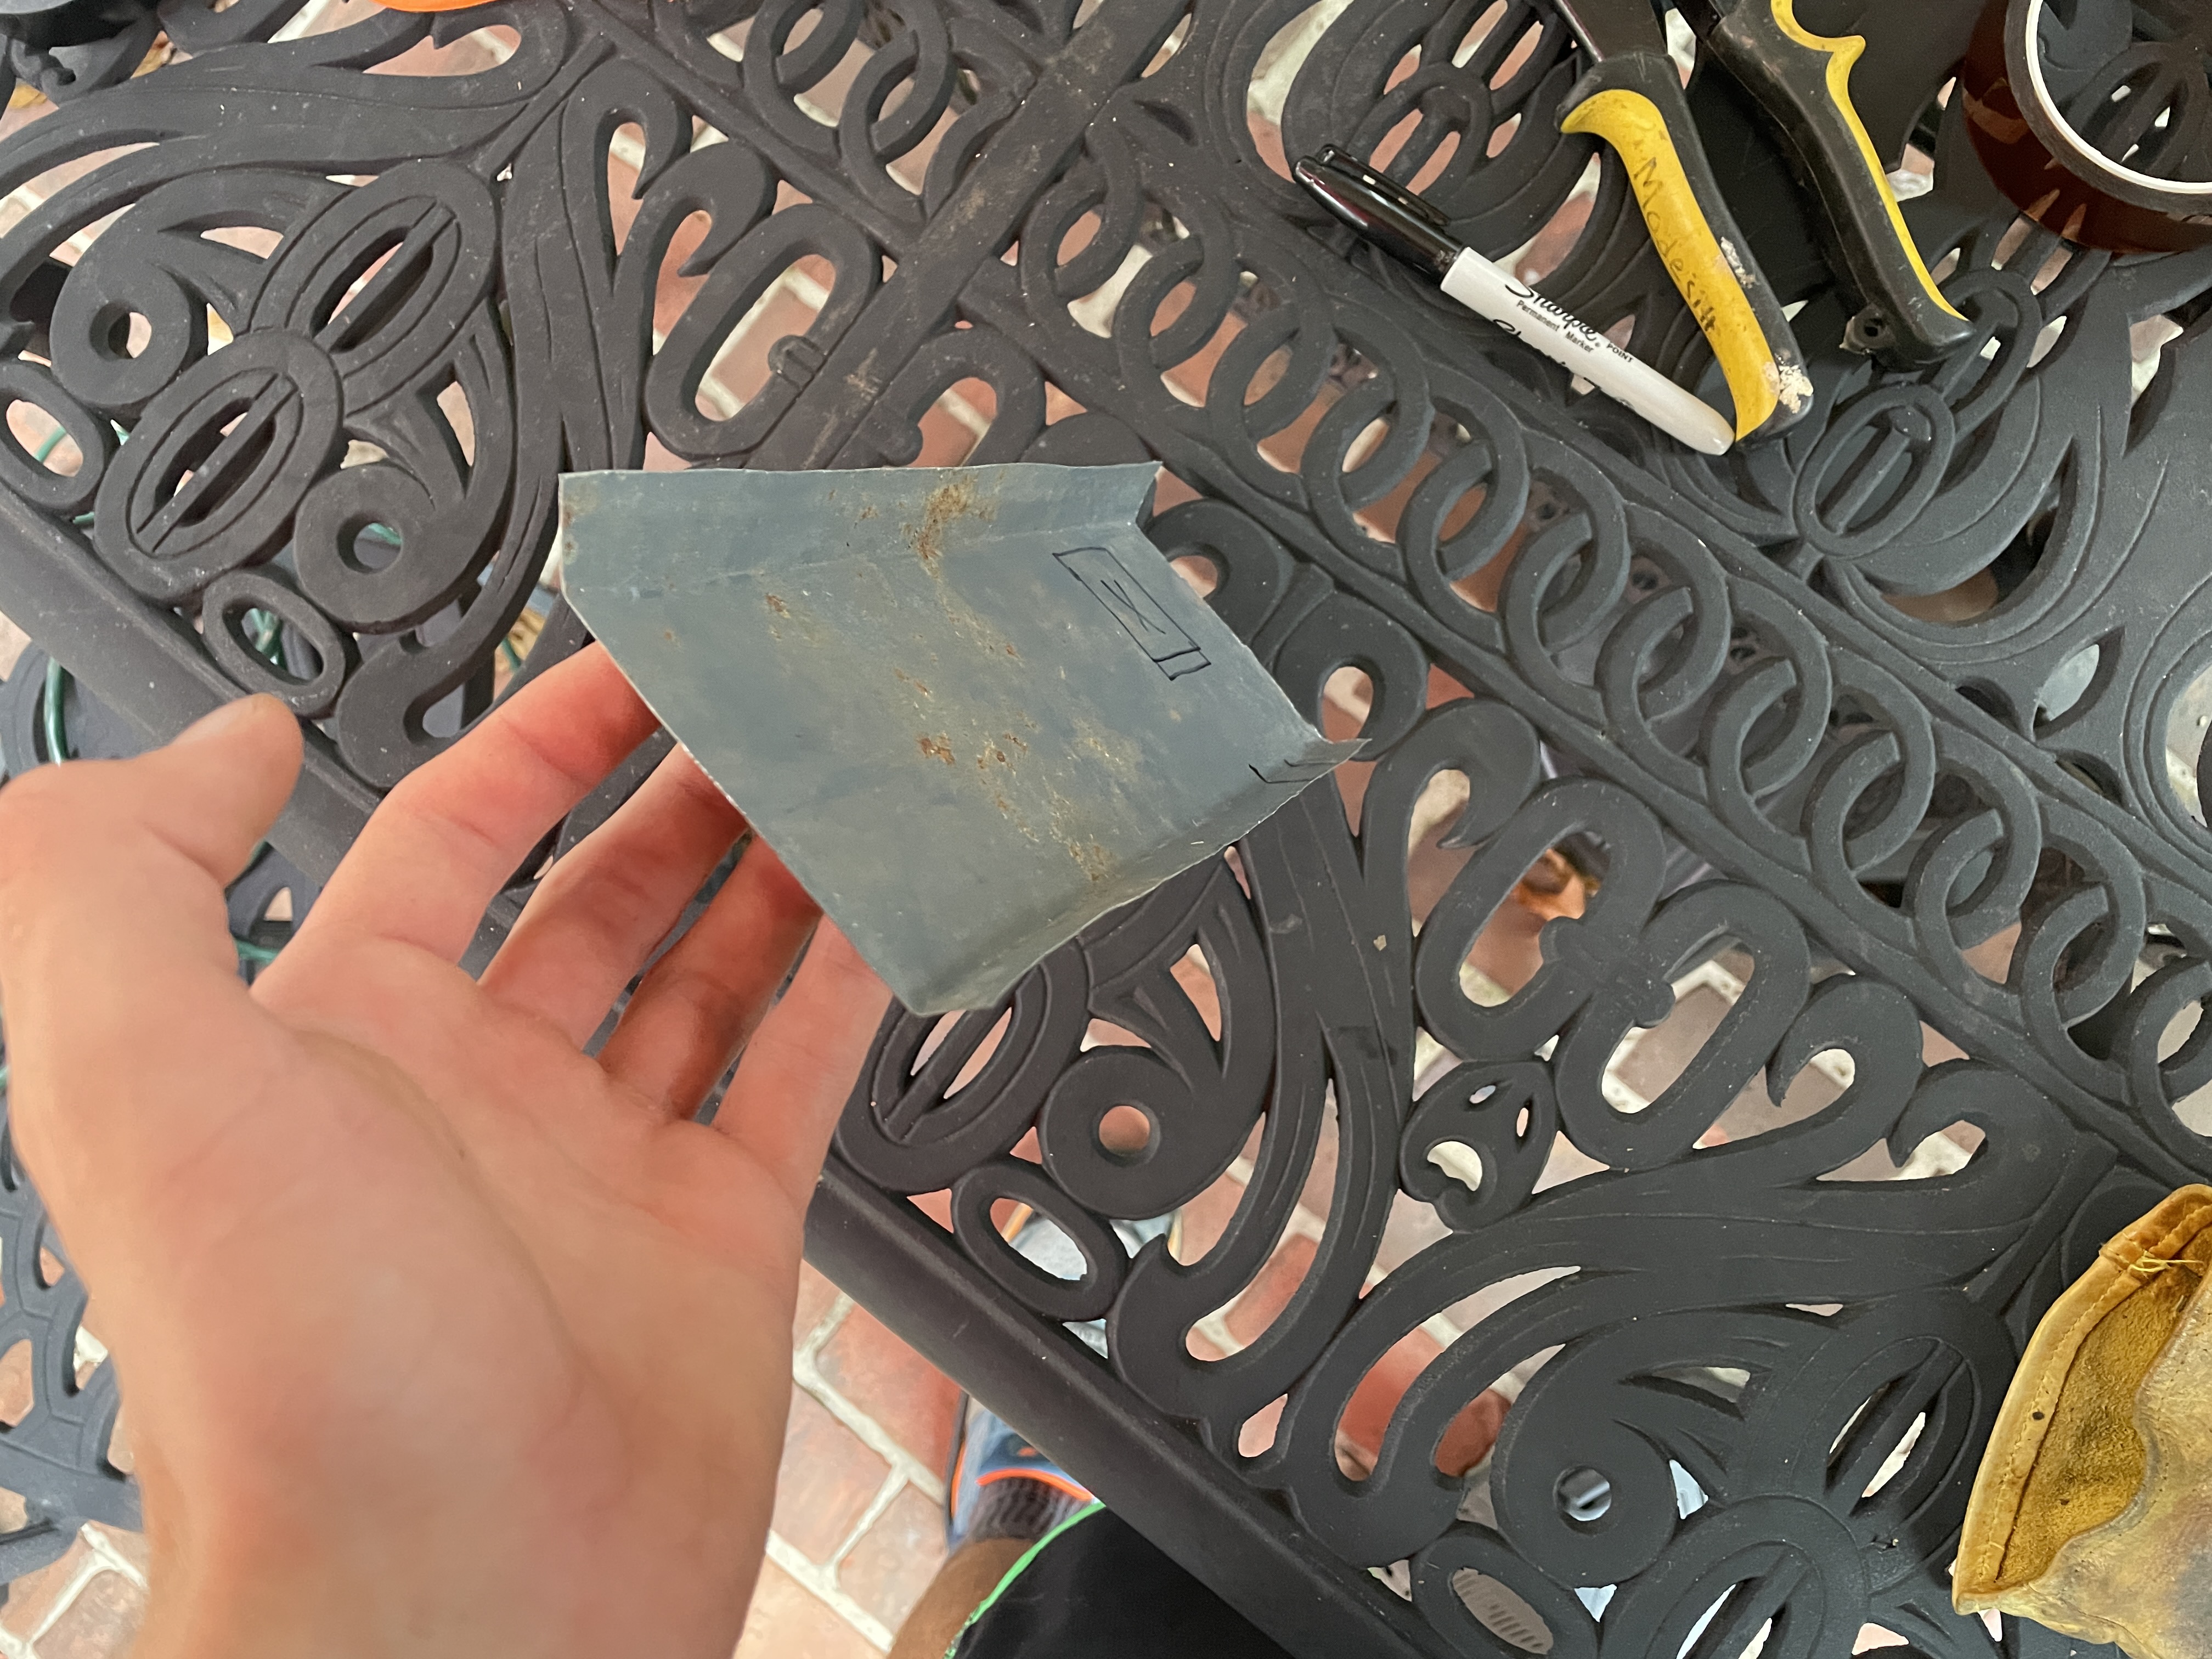
I drilled some holes into the spot where the phone camera is. This was the first step I took in removing the sheet metal covering up the phone camera.
The new phone I used was a Google Pixel 2. I heavily modified the case so I could slide the phone in and out through the top.
![]()
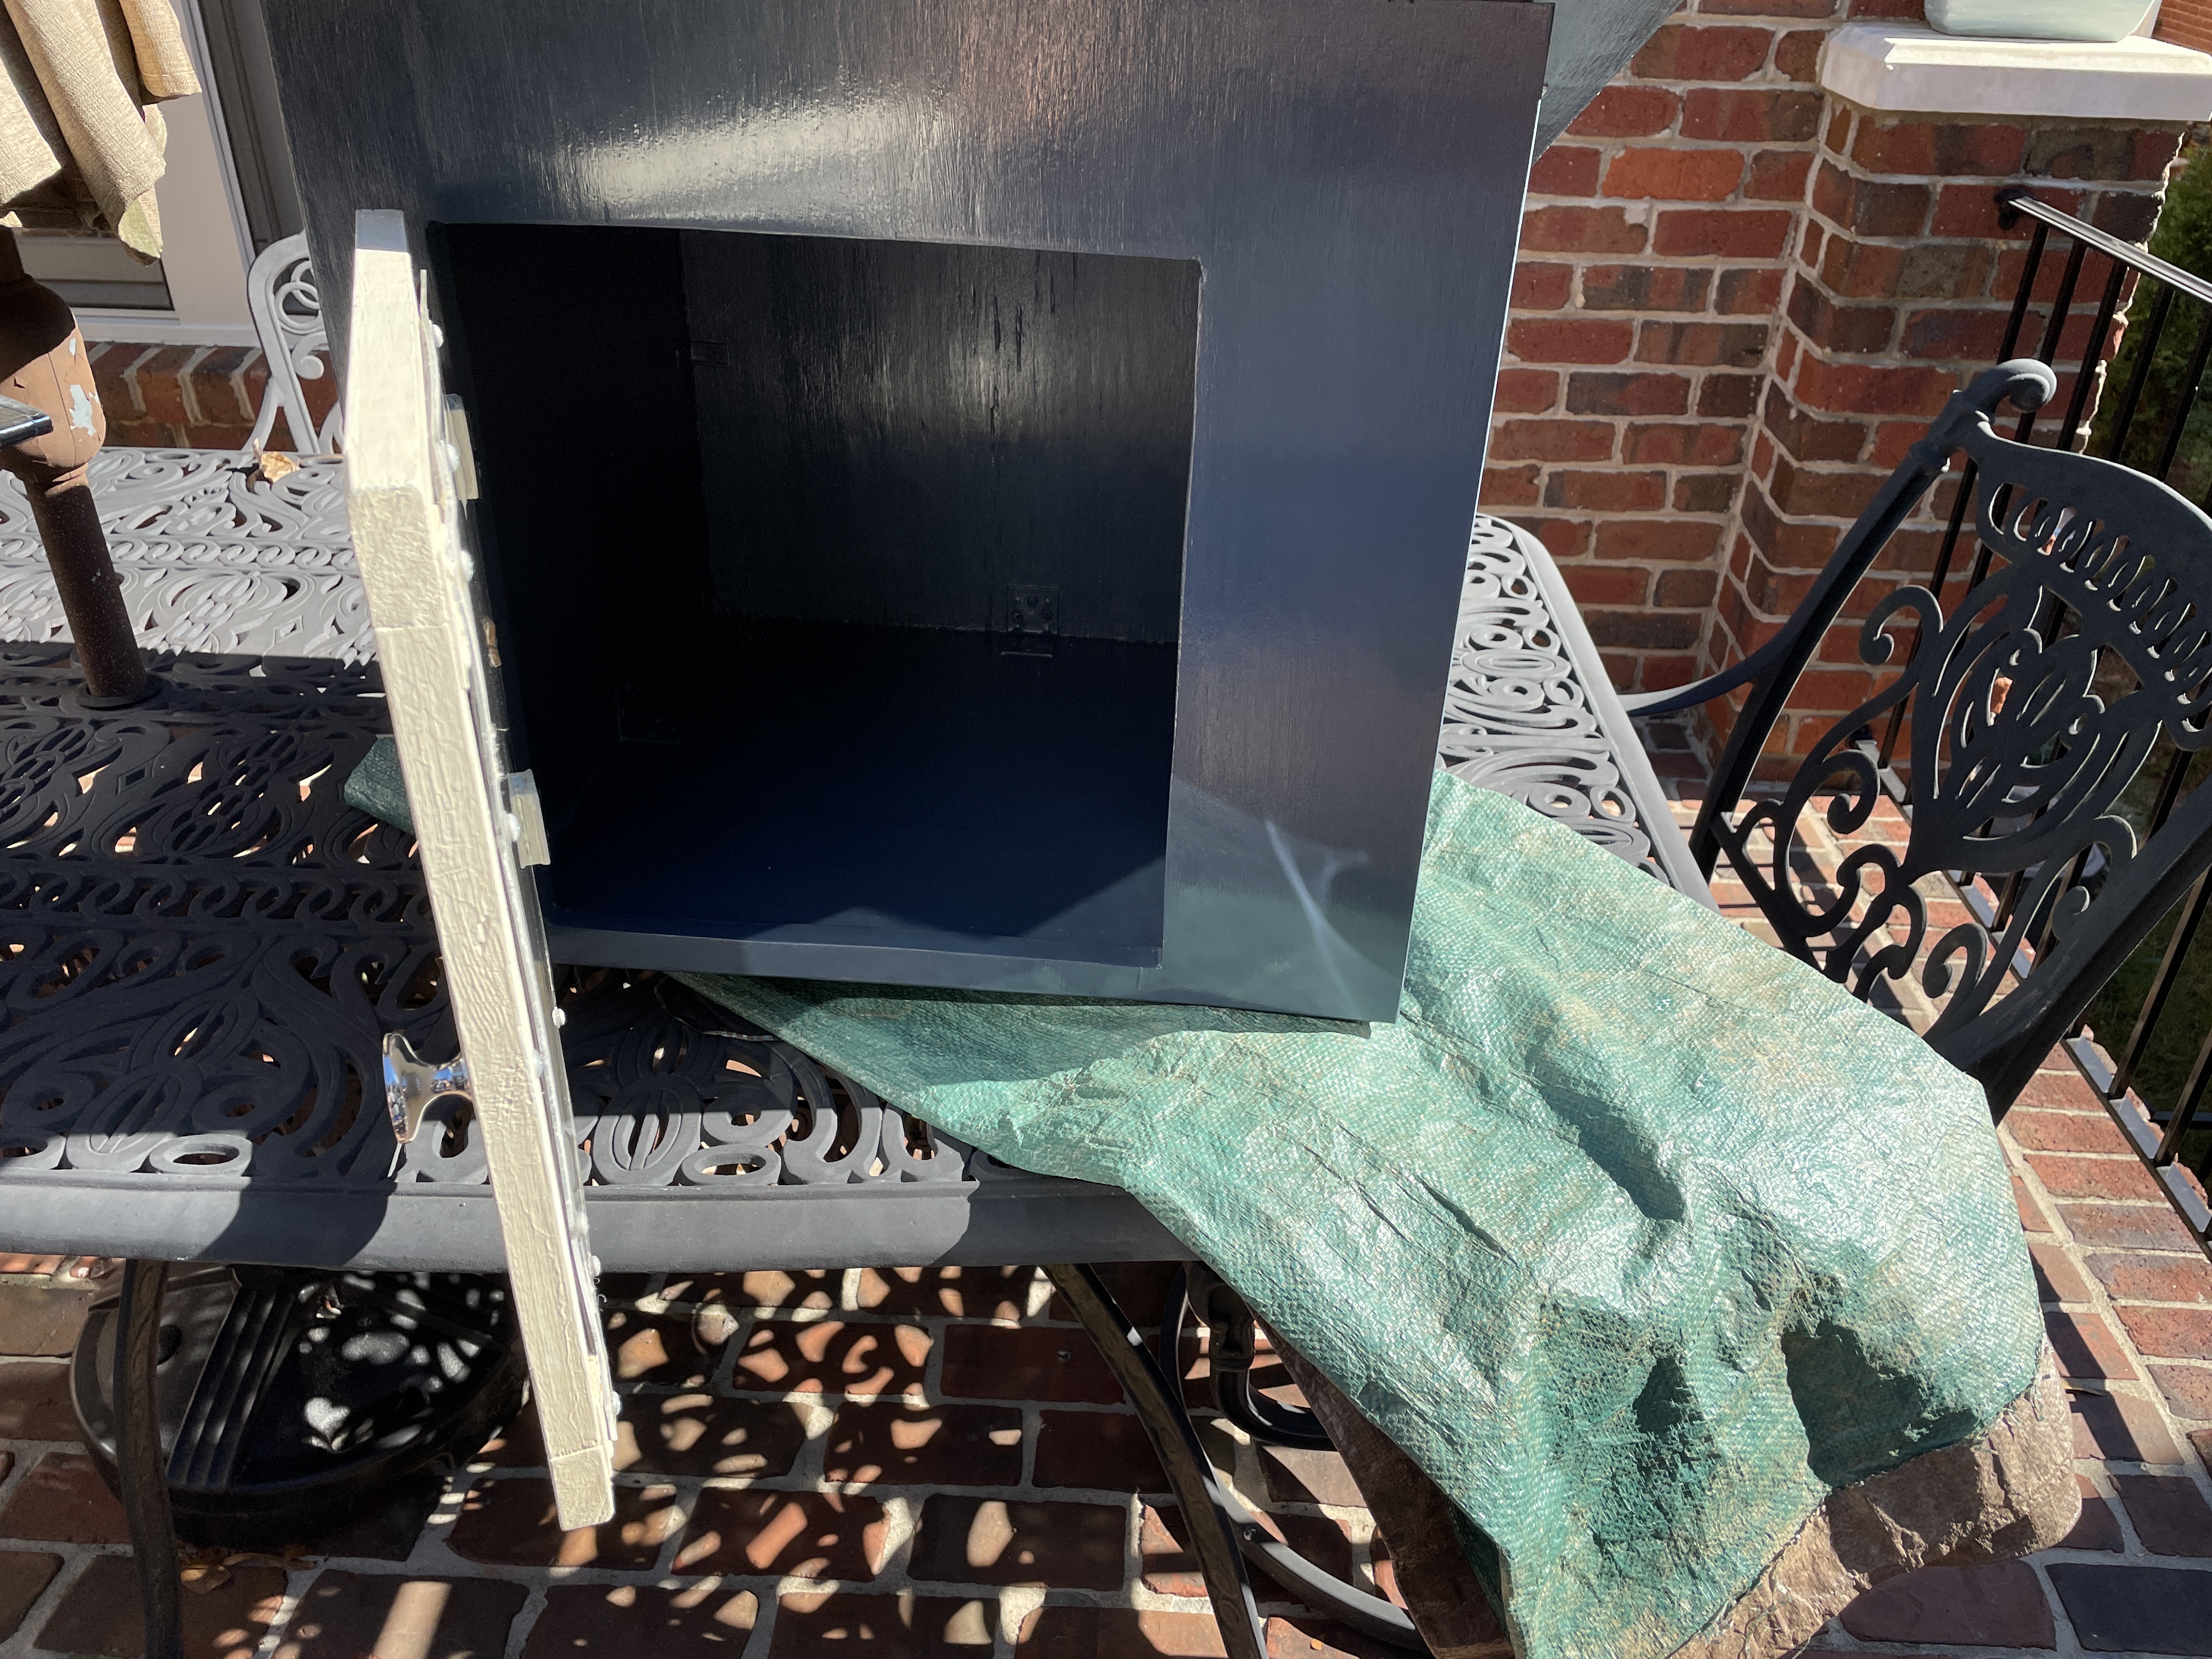
I then covered the sharp edges of the sheet metal mount with electrical tape and screwed it into the library. It is mounted at the joint where the “roof” of the library meets the front. The charging cable goes through the gap between the roof and the false wall and plugs into the usb port on the solar charge controller. Pictured on the right in the photo below is the false wall.
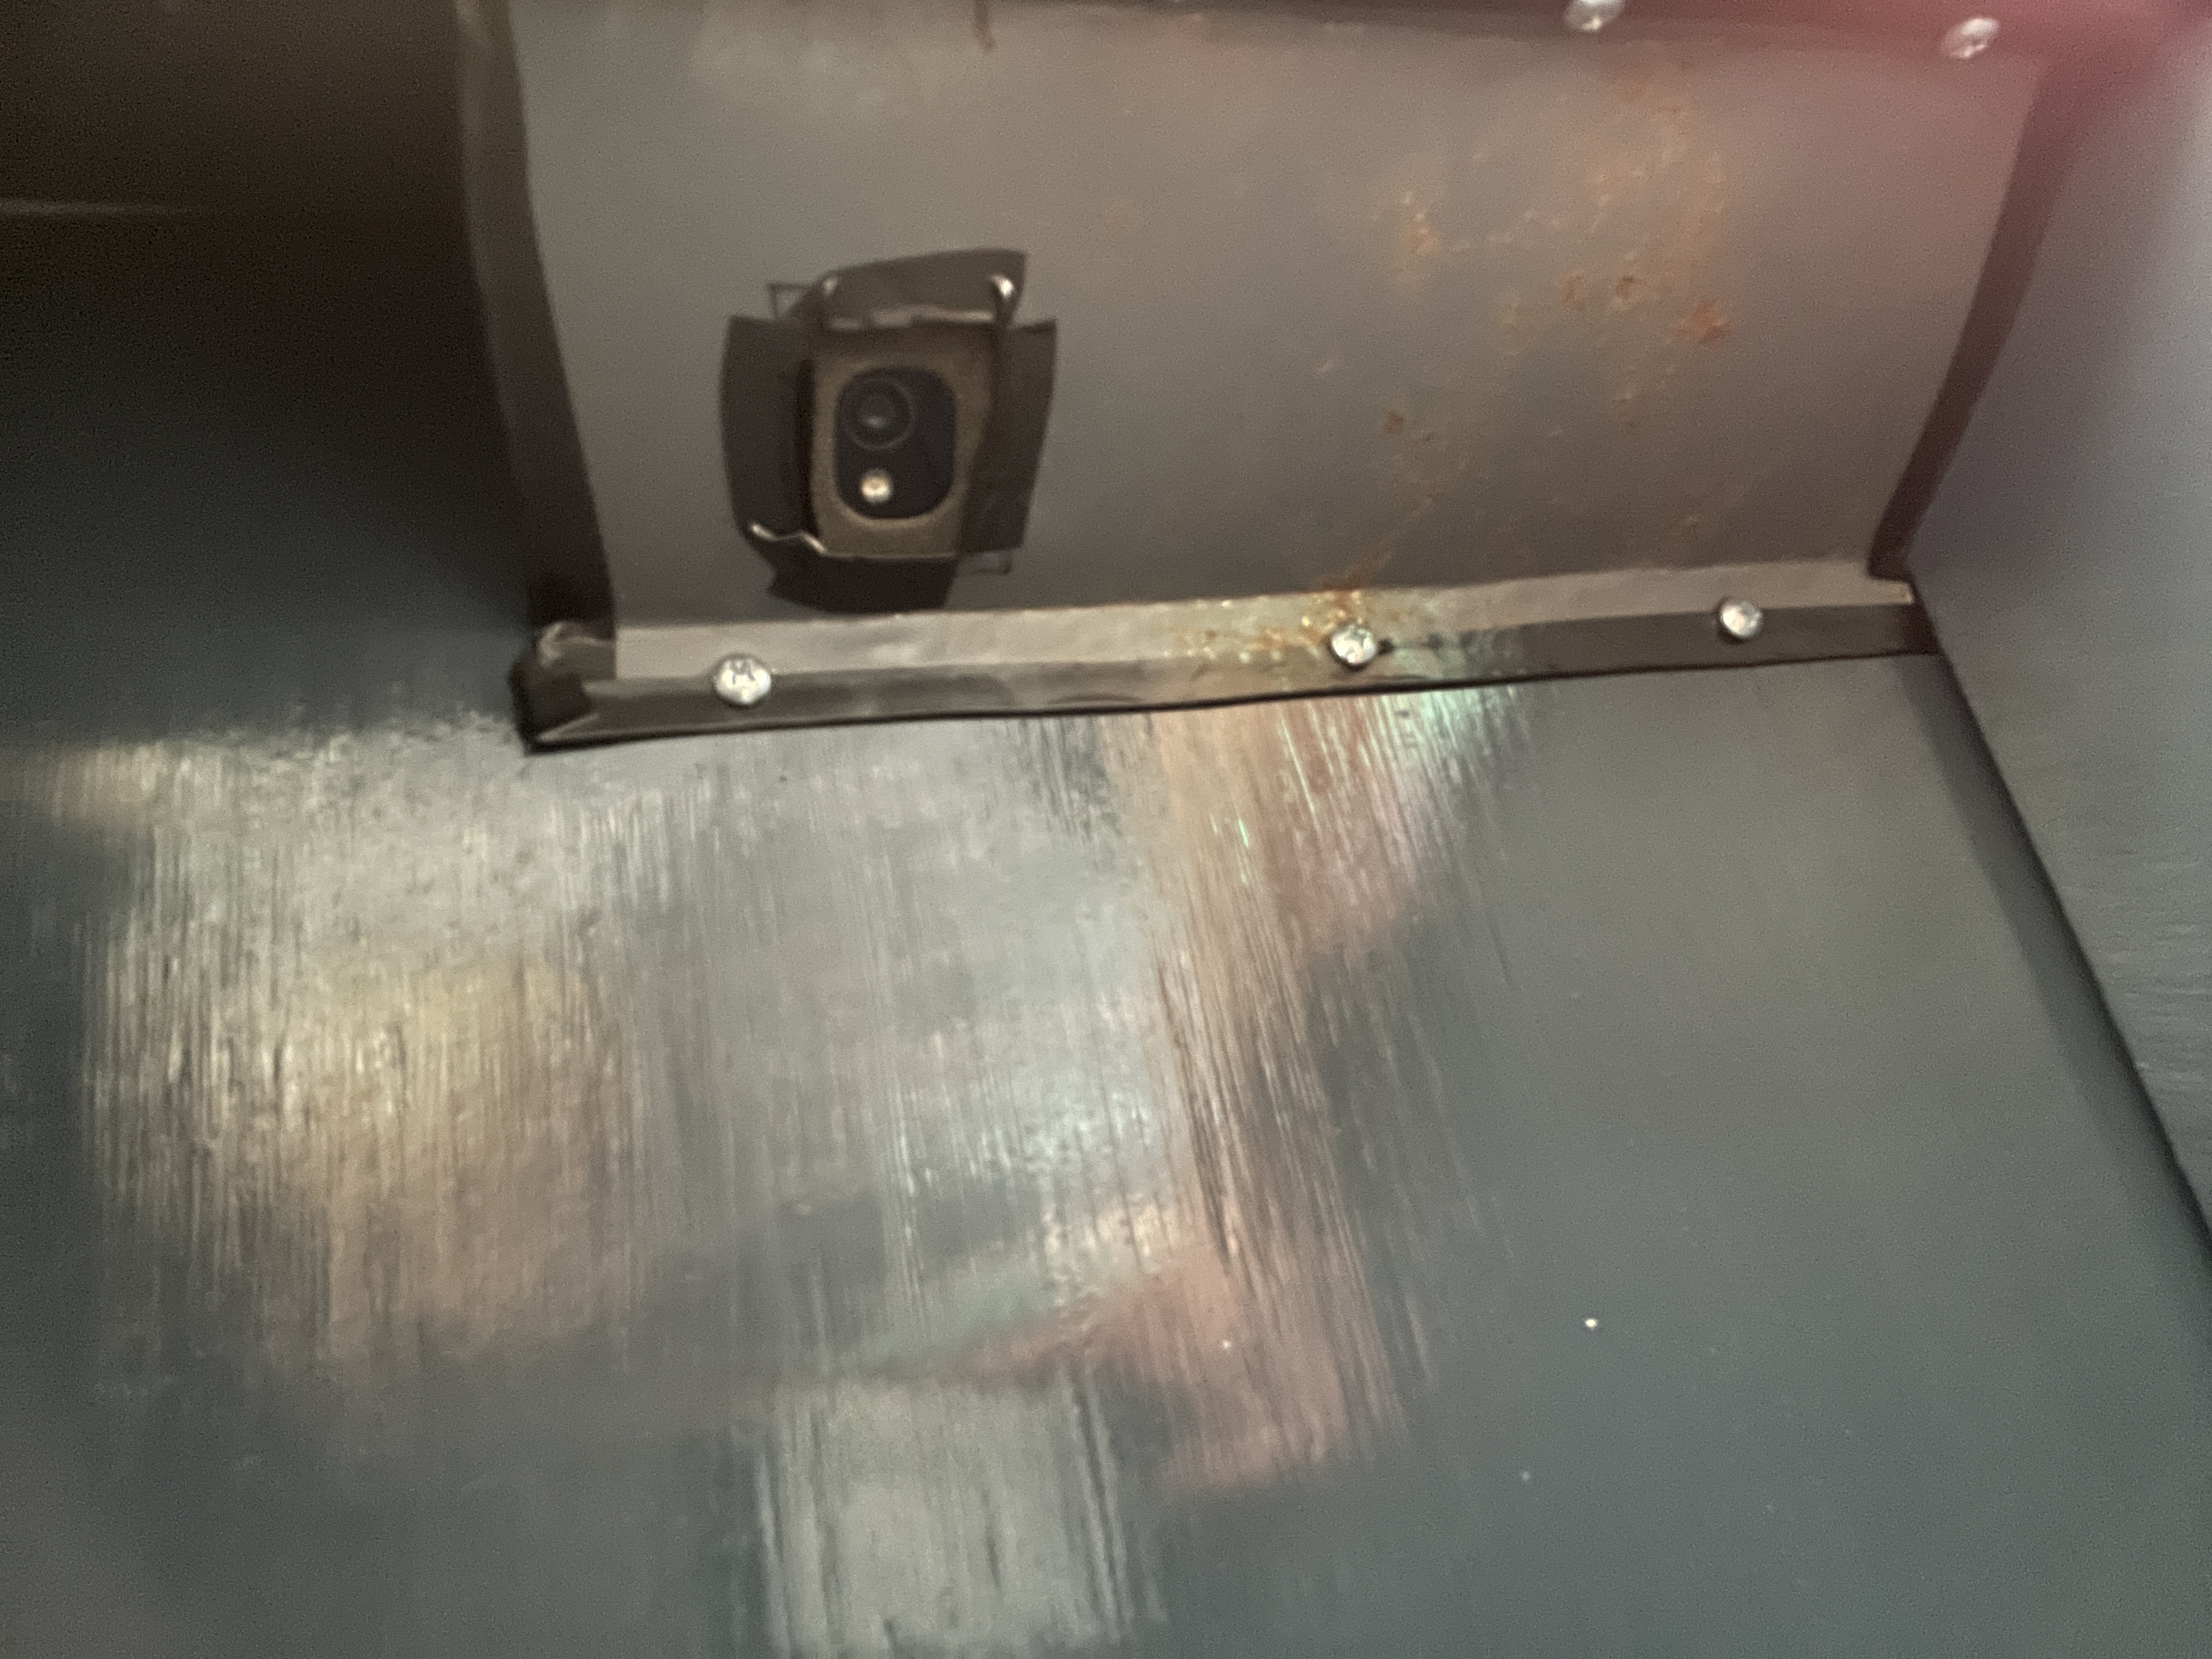
Here you can see the mount in action. If the phone ever needs to be removed, the top screws, the ones going into the roof, are removed. This allows the phone to be easily slid out horizontally (remember, the sheet metal mouont simply hugs the heavily modified phone case to the inside of the library).
With those changes/improvements finished, I could finally install the library somewhere!
Installation
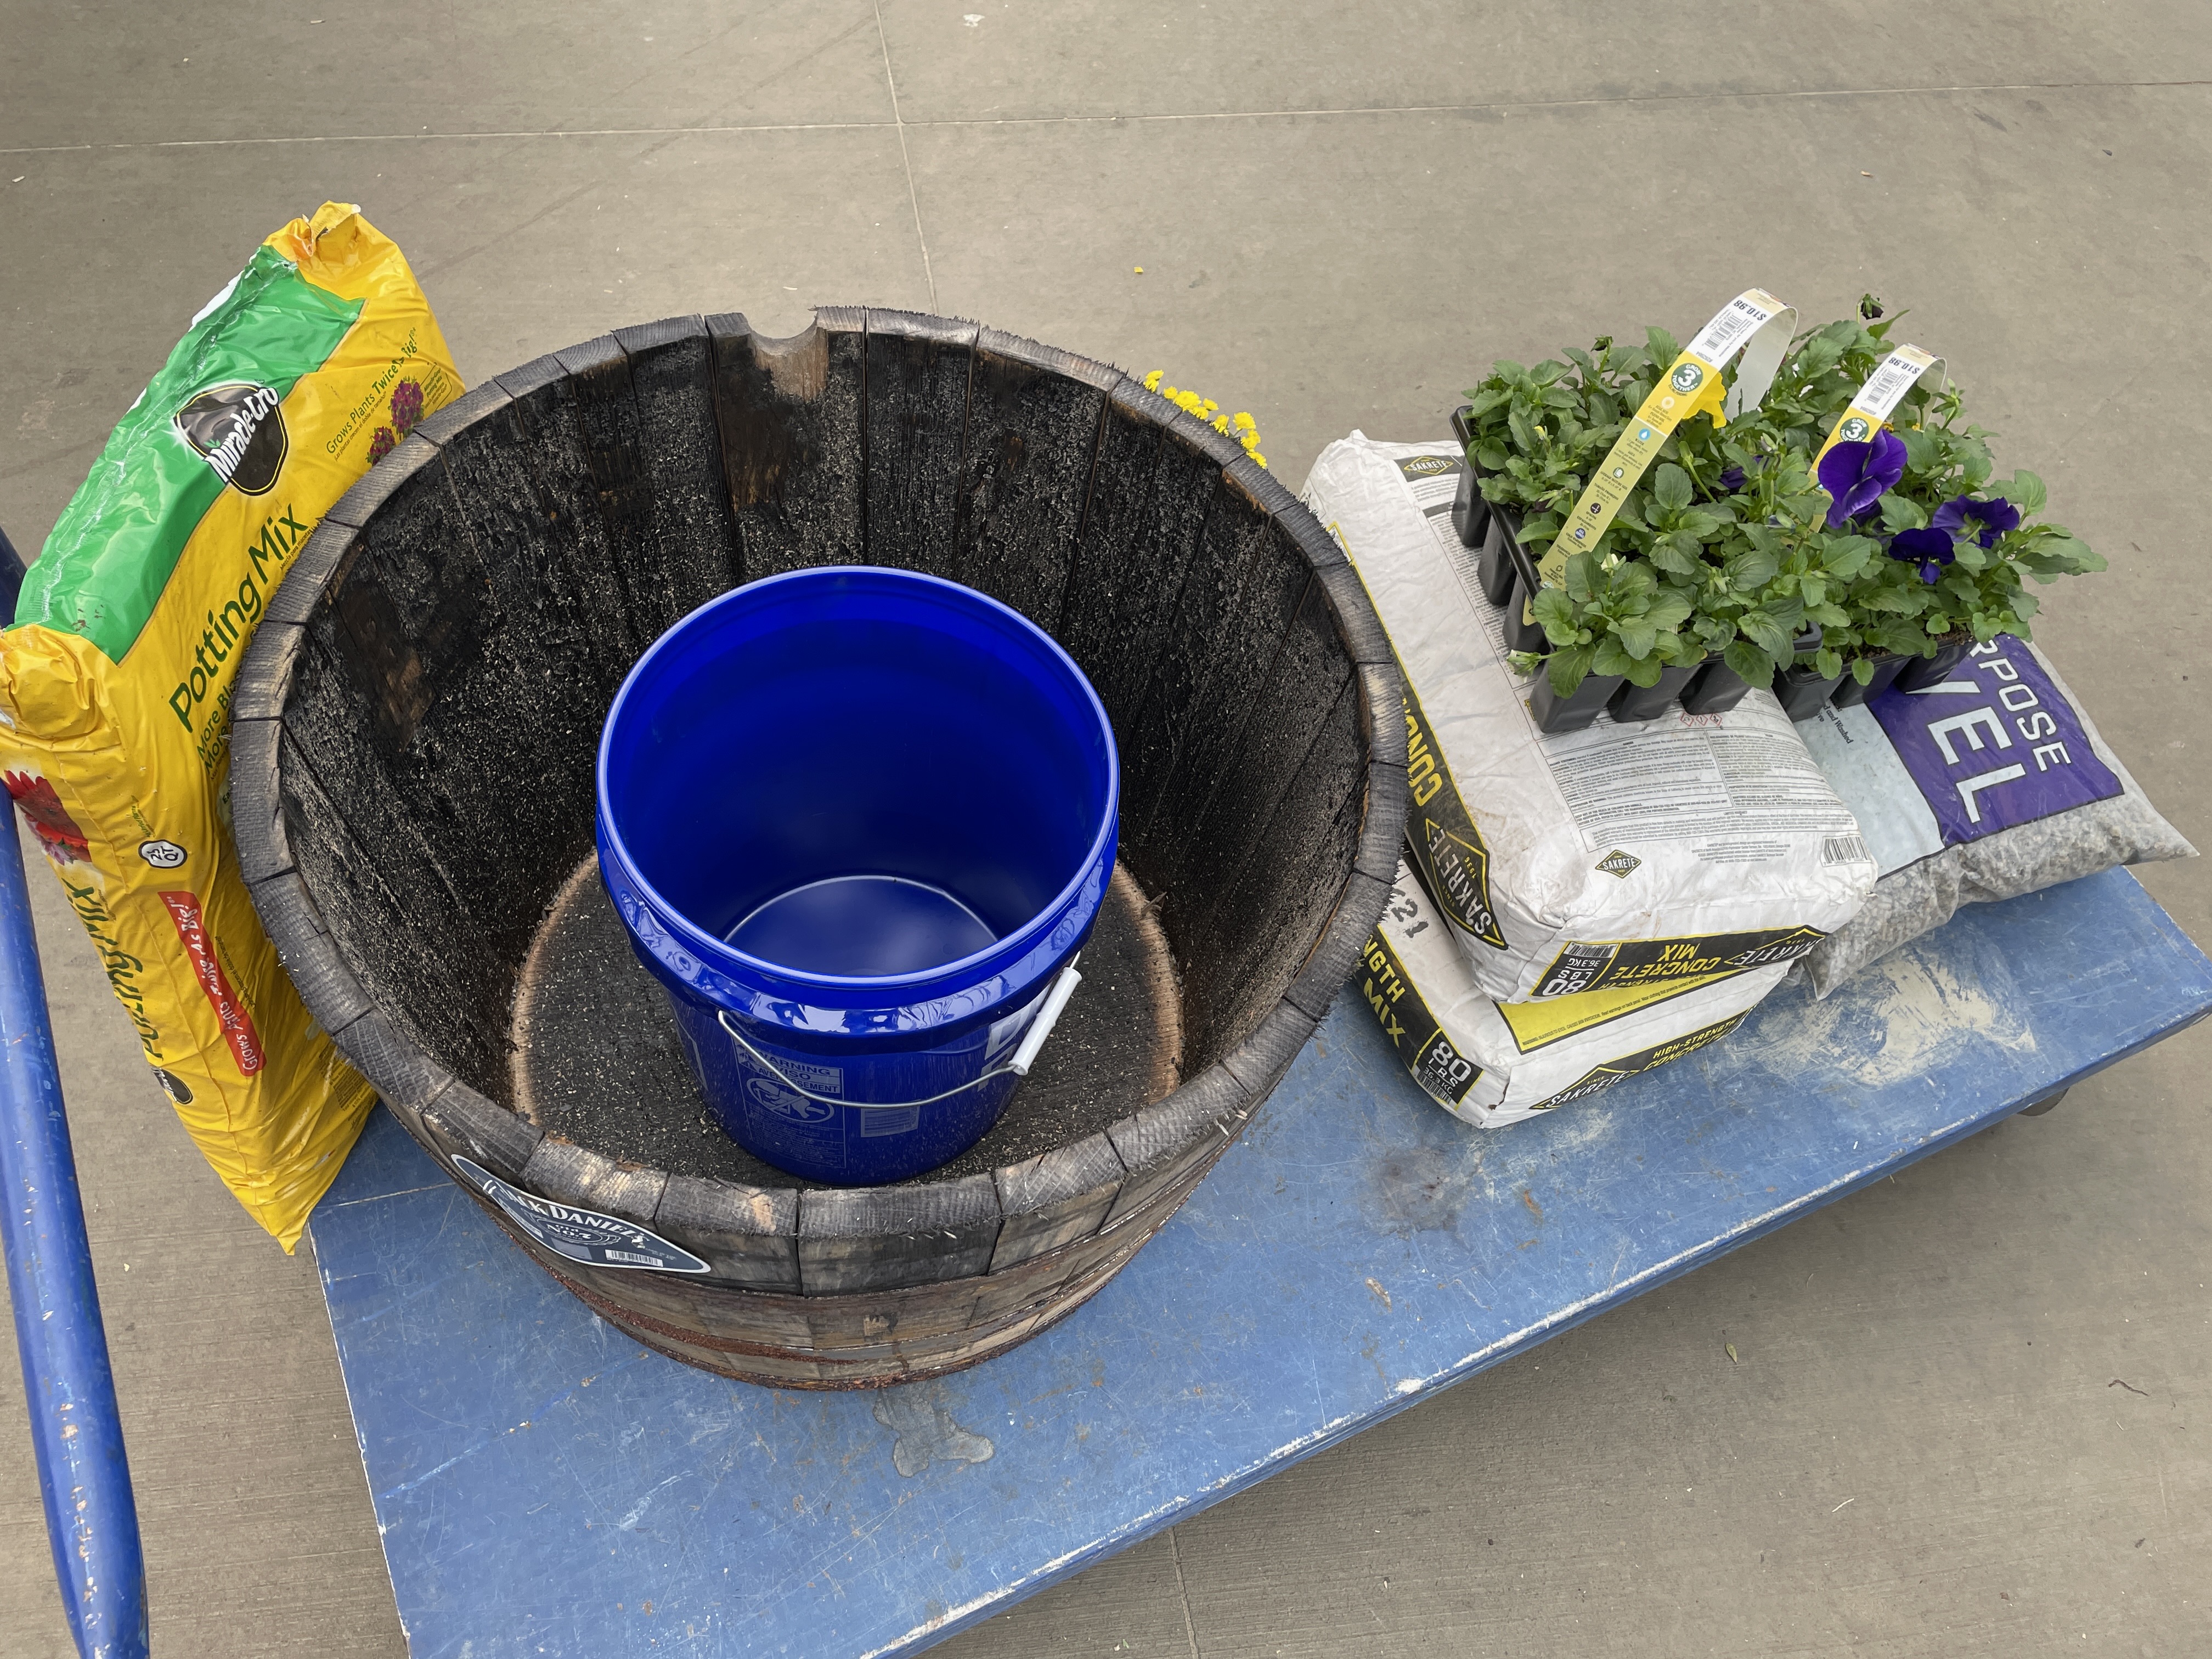
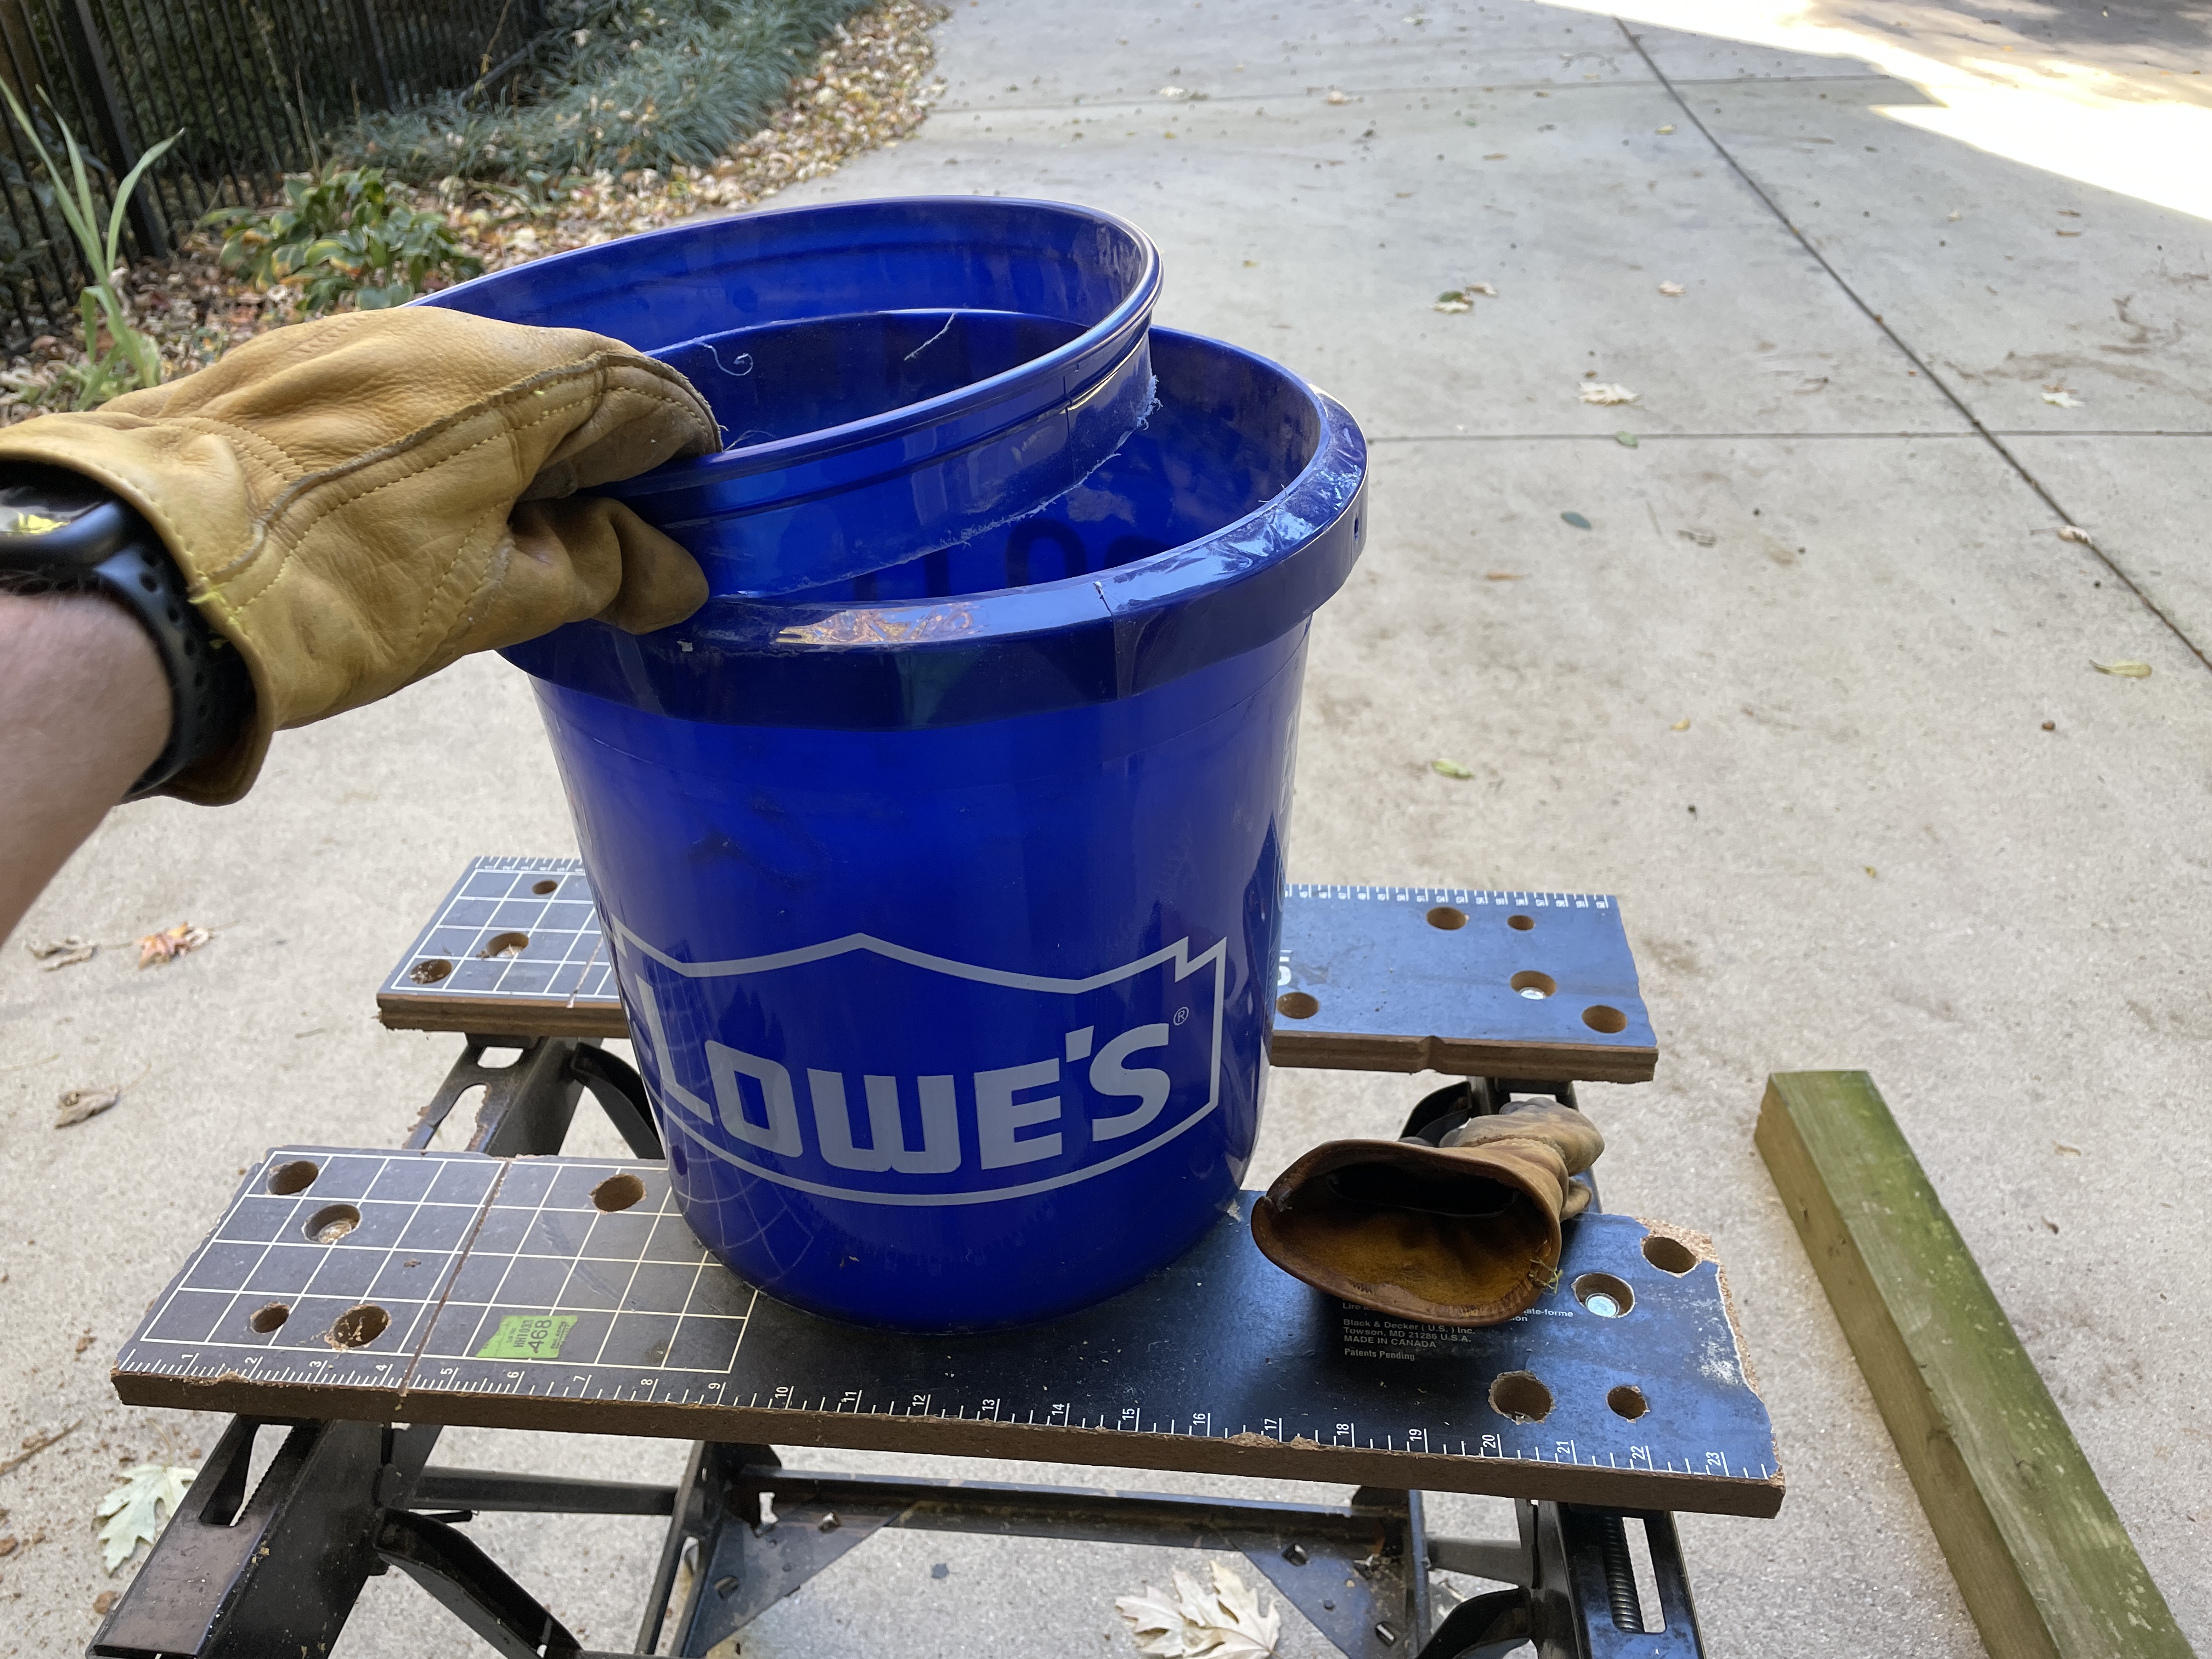
I asked my neighbors at the end of the street if they wanted to host the library and they said yes! They weren’t so hot on the idea of me digging a hole for the library post, so we came up with the idea to use a planter. We went to lowes and found a half whiskey barrel, which looked pretty cool. So we got it, along with some other supplies (concrete bags, lowes bucket, soil, panzeys, gravel).
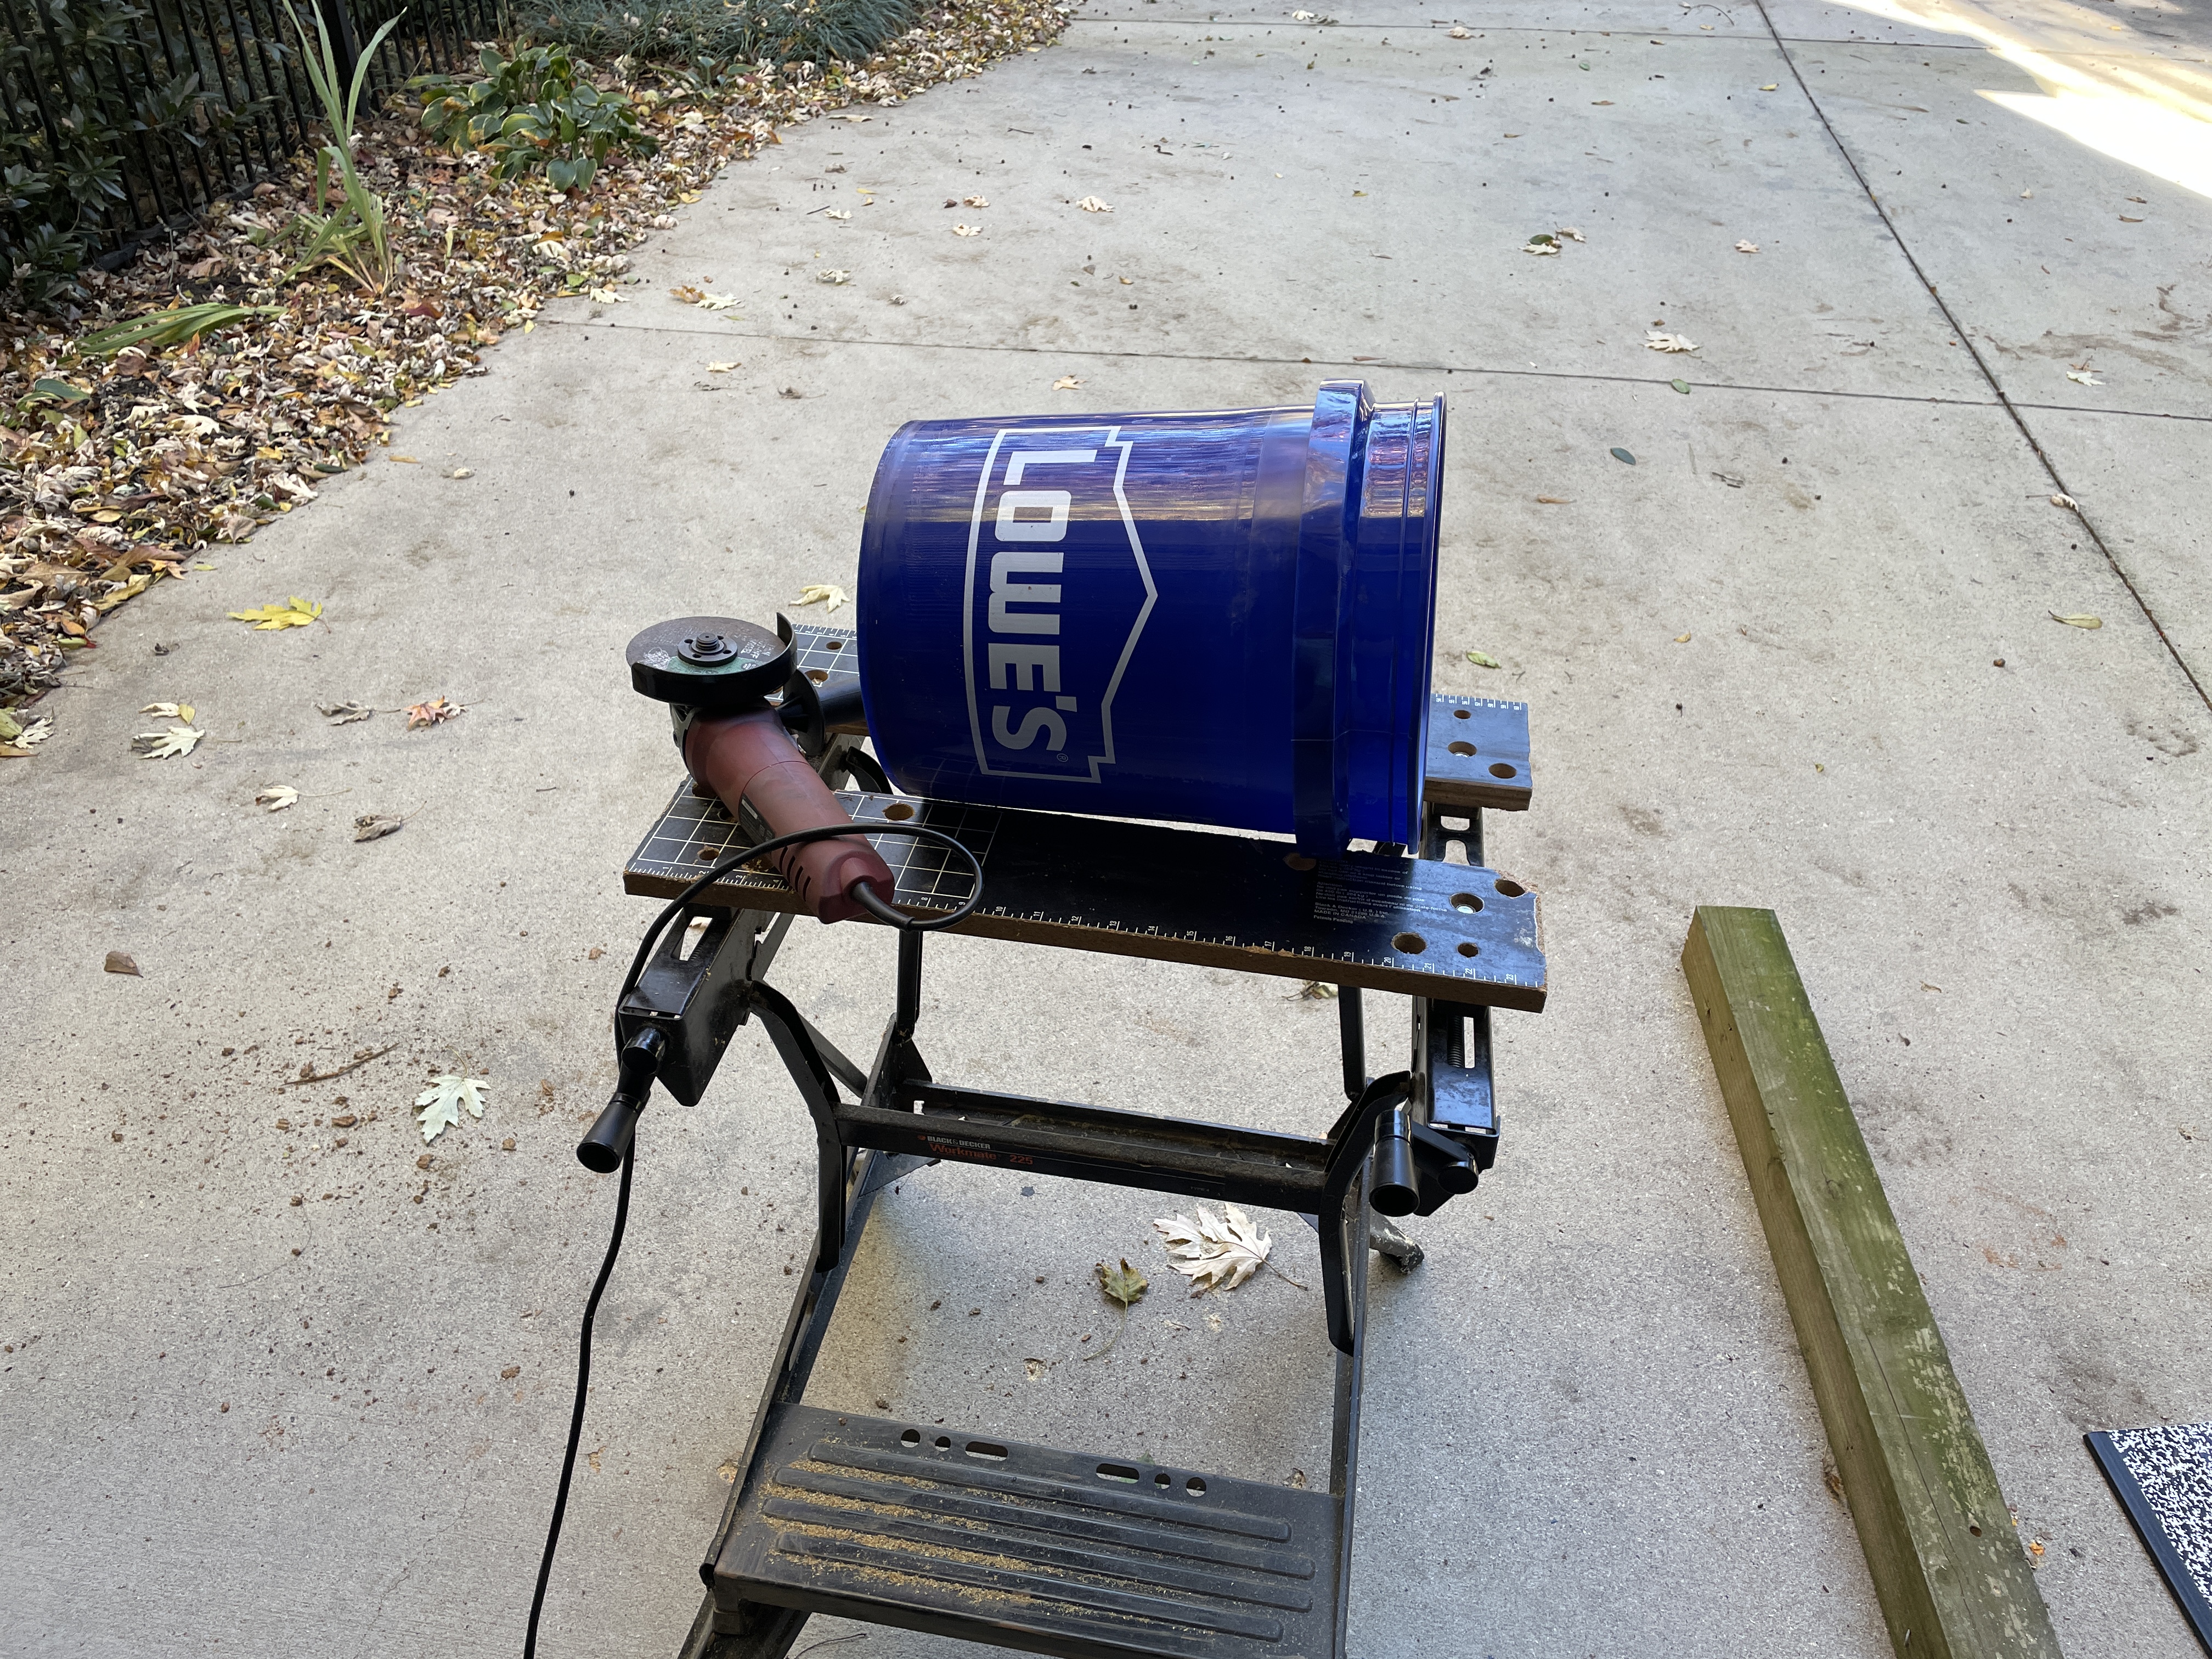
The Lowes bucket was used to better secure the post in the barrel. It would allow a greater section of the 4x4 post to be surrounded with concrete without filling up the entire barrel with concrete. A small layer of concrete in the bottom of the barrel would then the Lowes bucket in place. However, the Lowes bucket was too high and I didn’t want it poking out of the soil. The angle grinder made quick work of that issue.
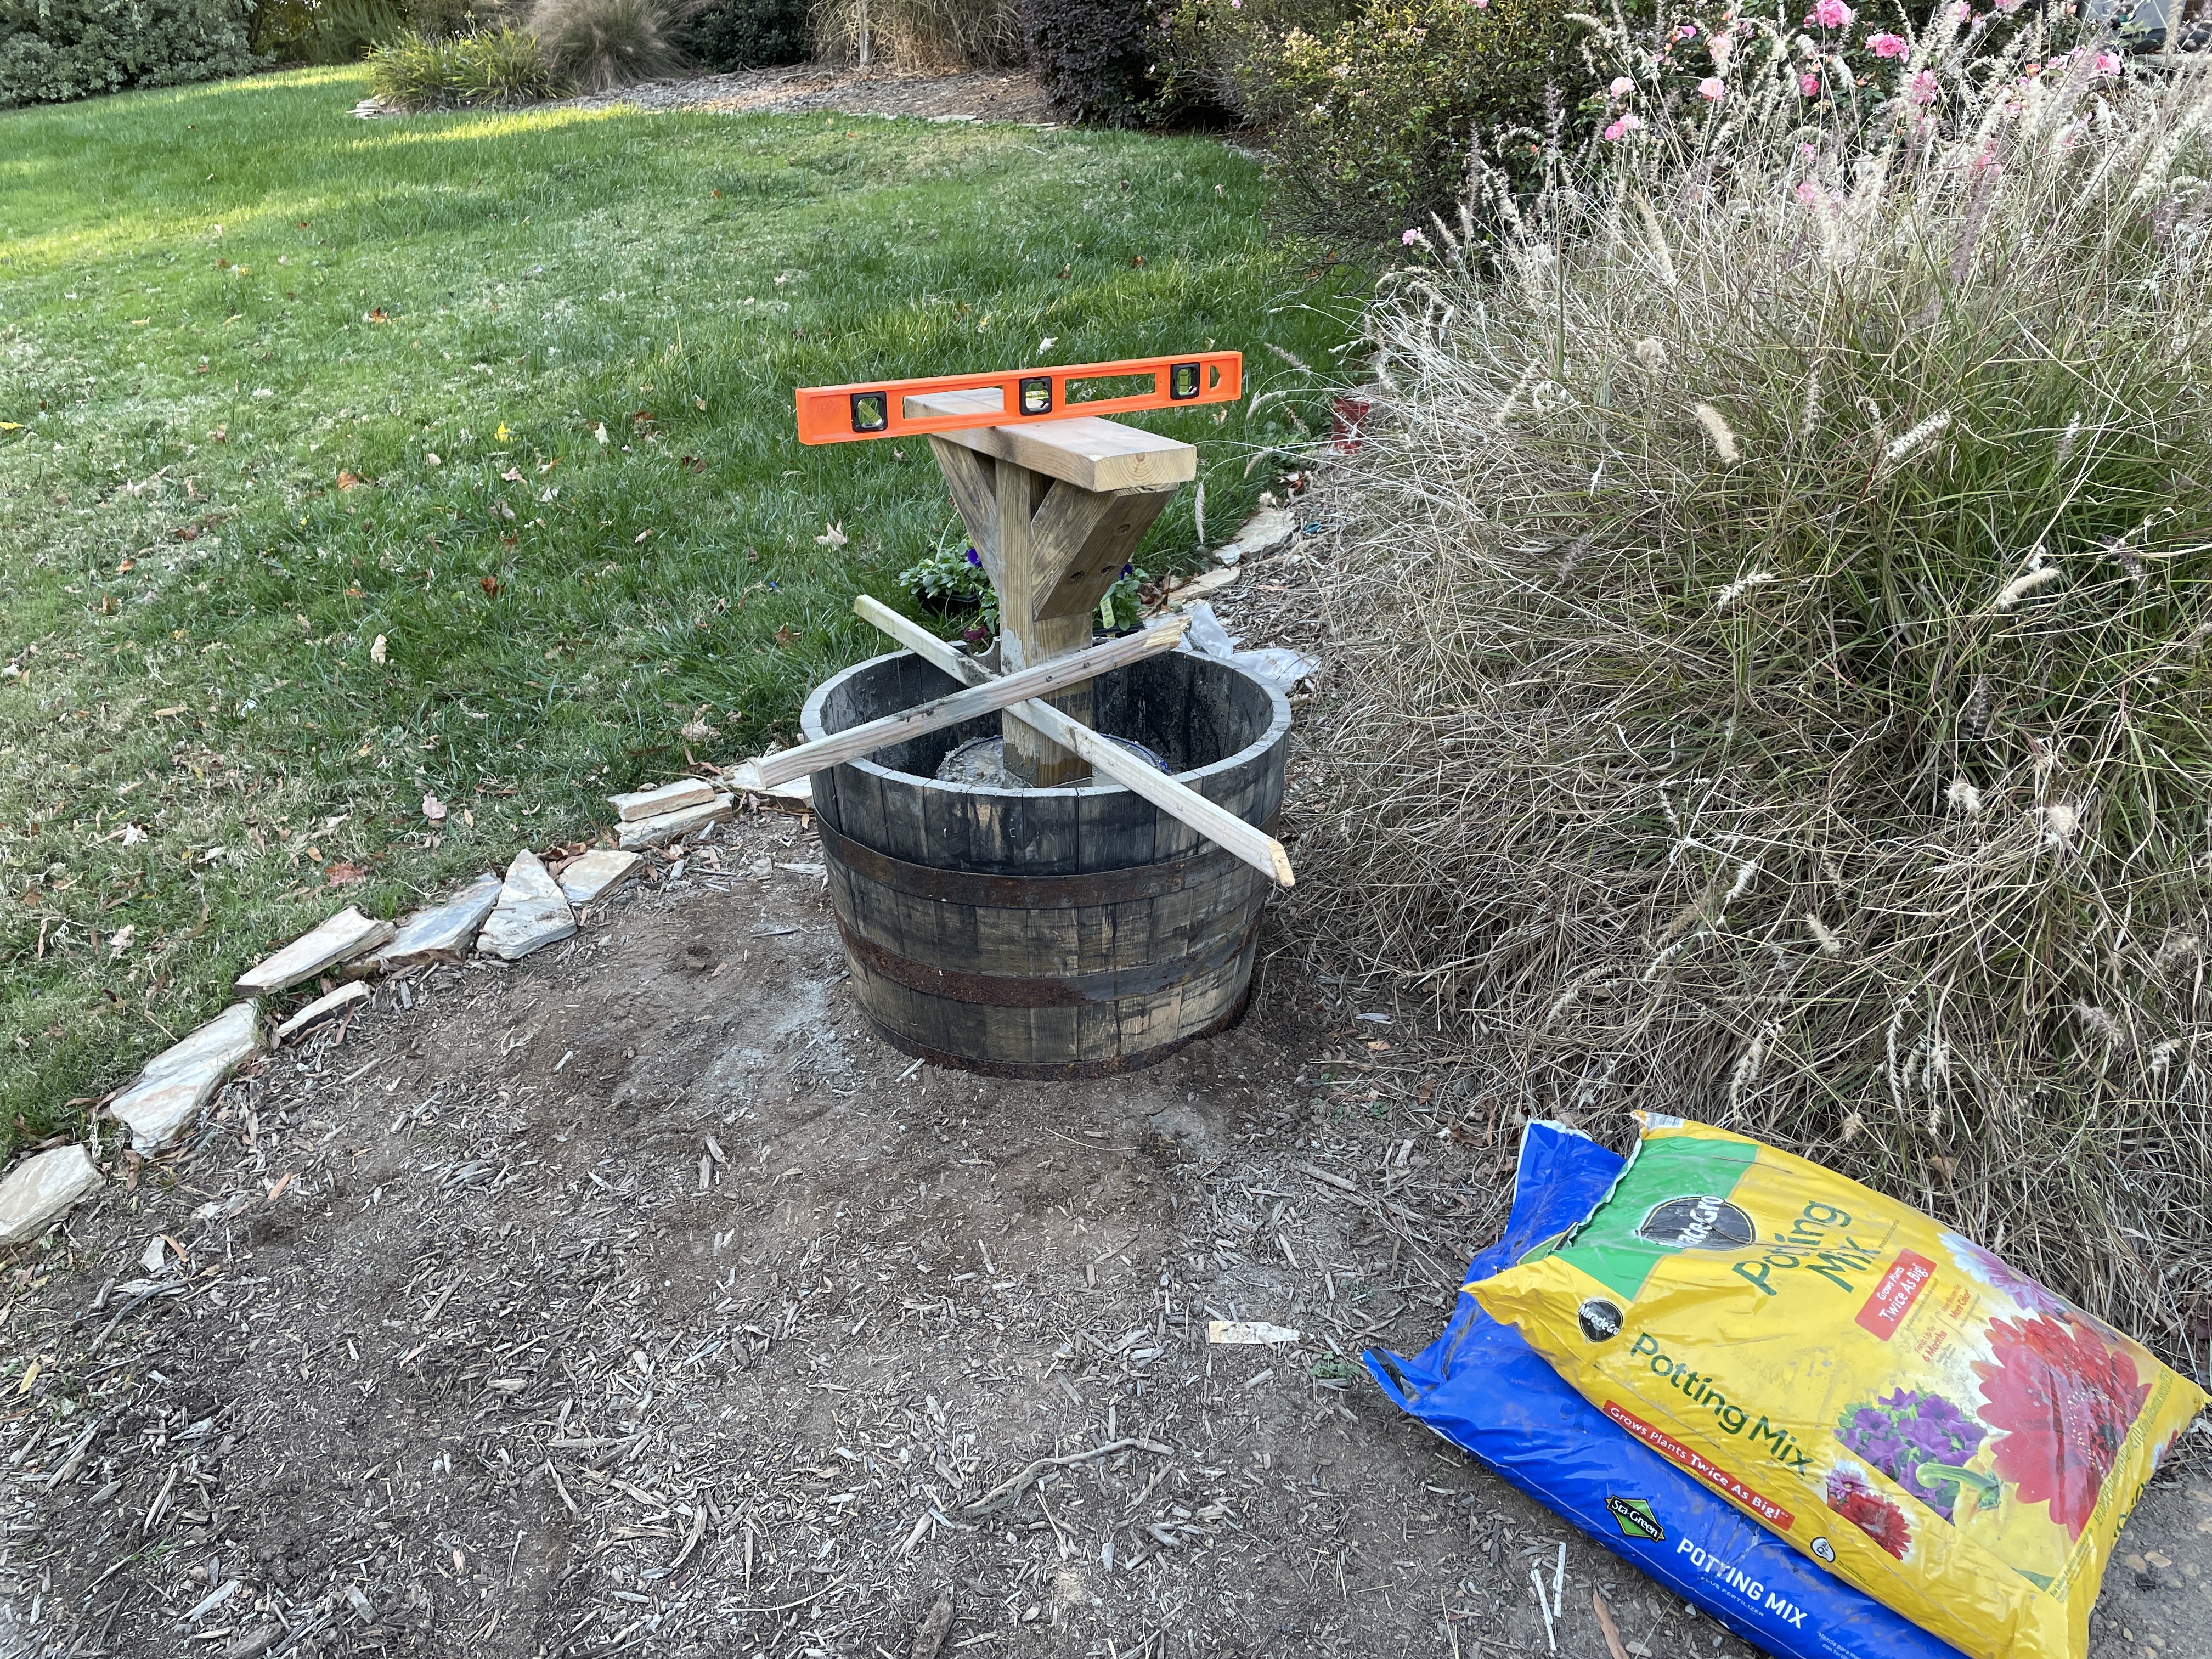
Unfortunately I don’t have any more photos of the installation. But here’s what I did: I put the modified bucket in the planter and then added concrete. I then inserted the post into the bucket, and used some scrap 1x2s to hold it in place. Ensuring the modified bucket was centered in the planter, I added the rest of the concrete to the bottom of the planter, locking the position of the modified bucket. I double checked to ensure the post was level and then let it cure overnight. Also, before pouring any concrete, I made sure the planter was level.
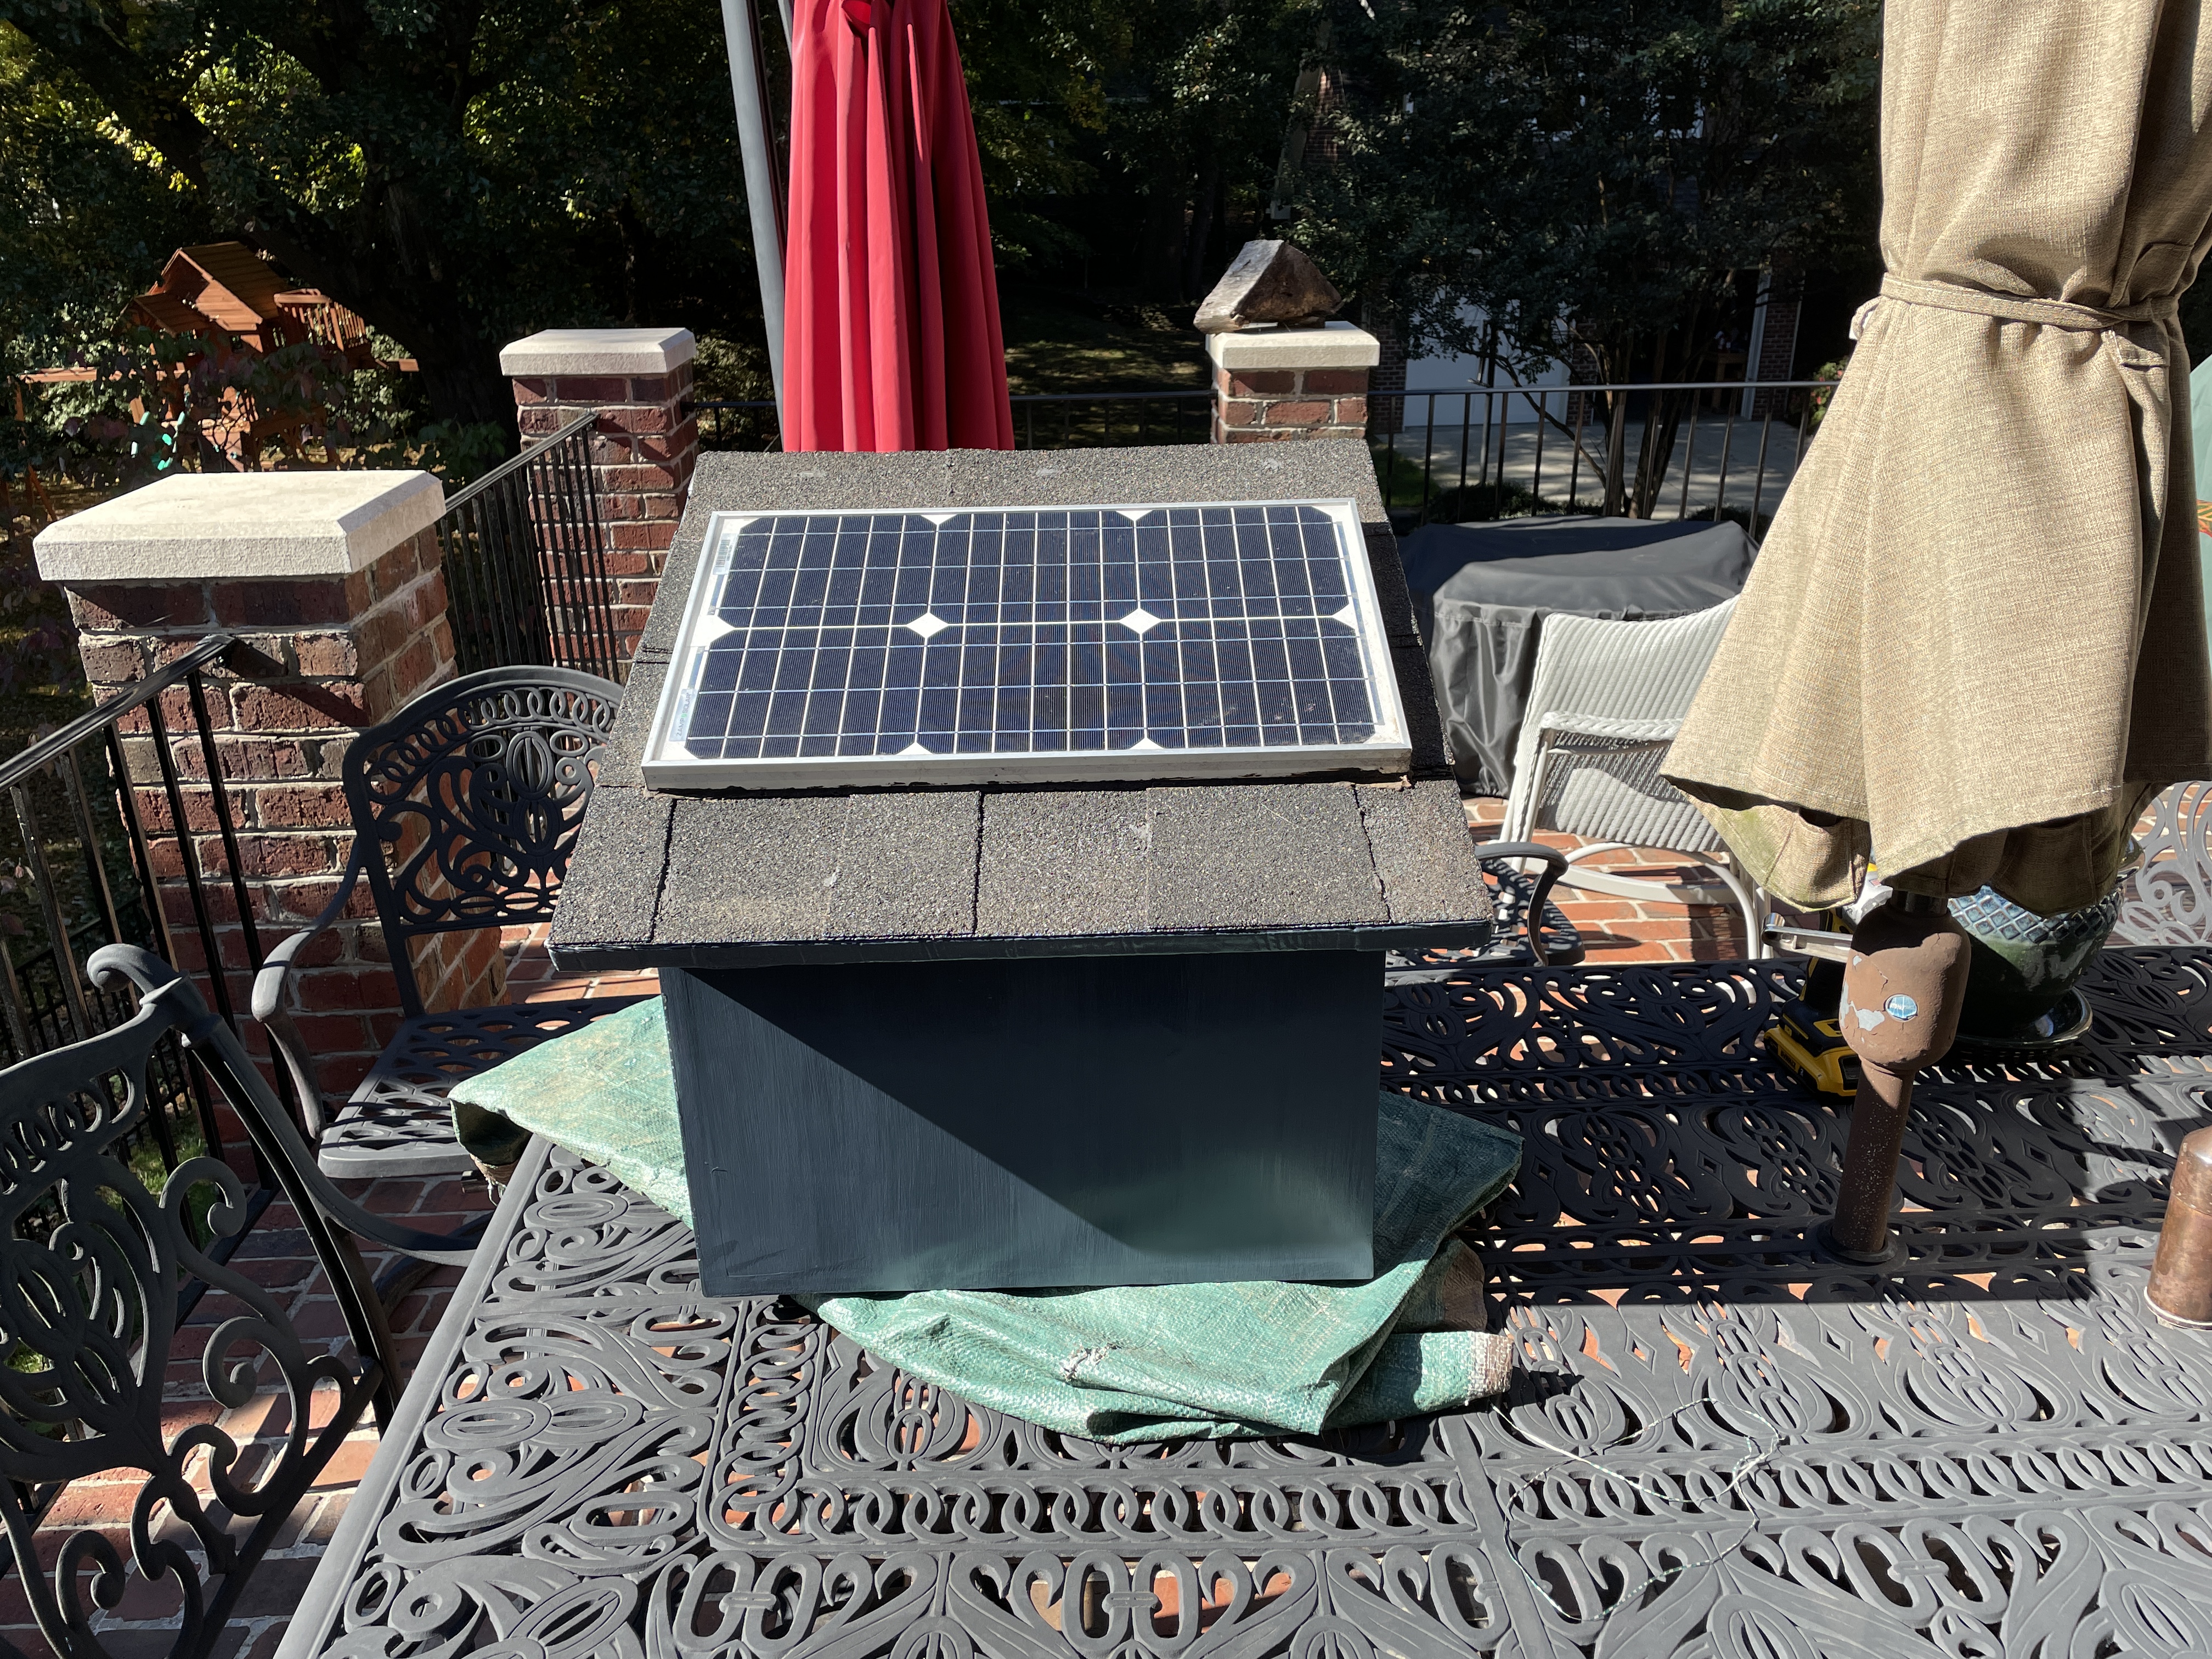
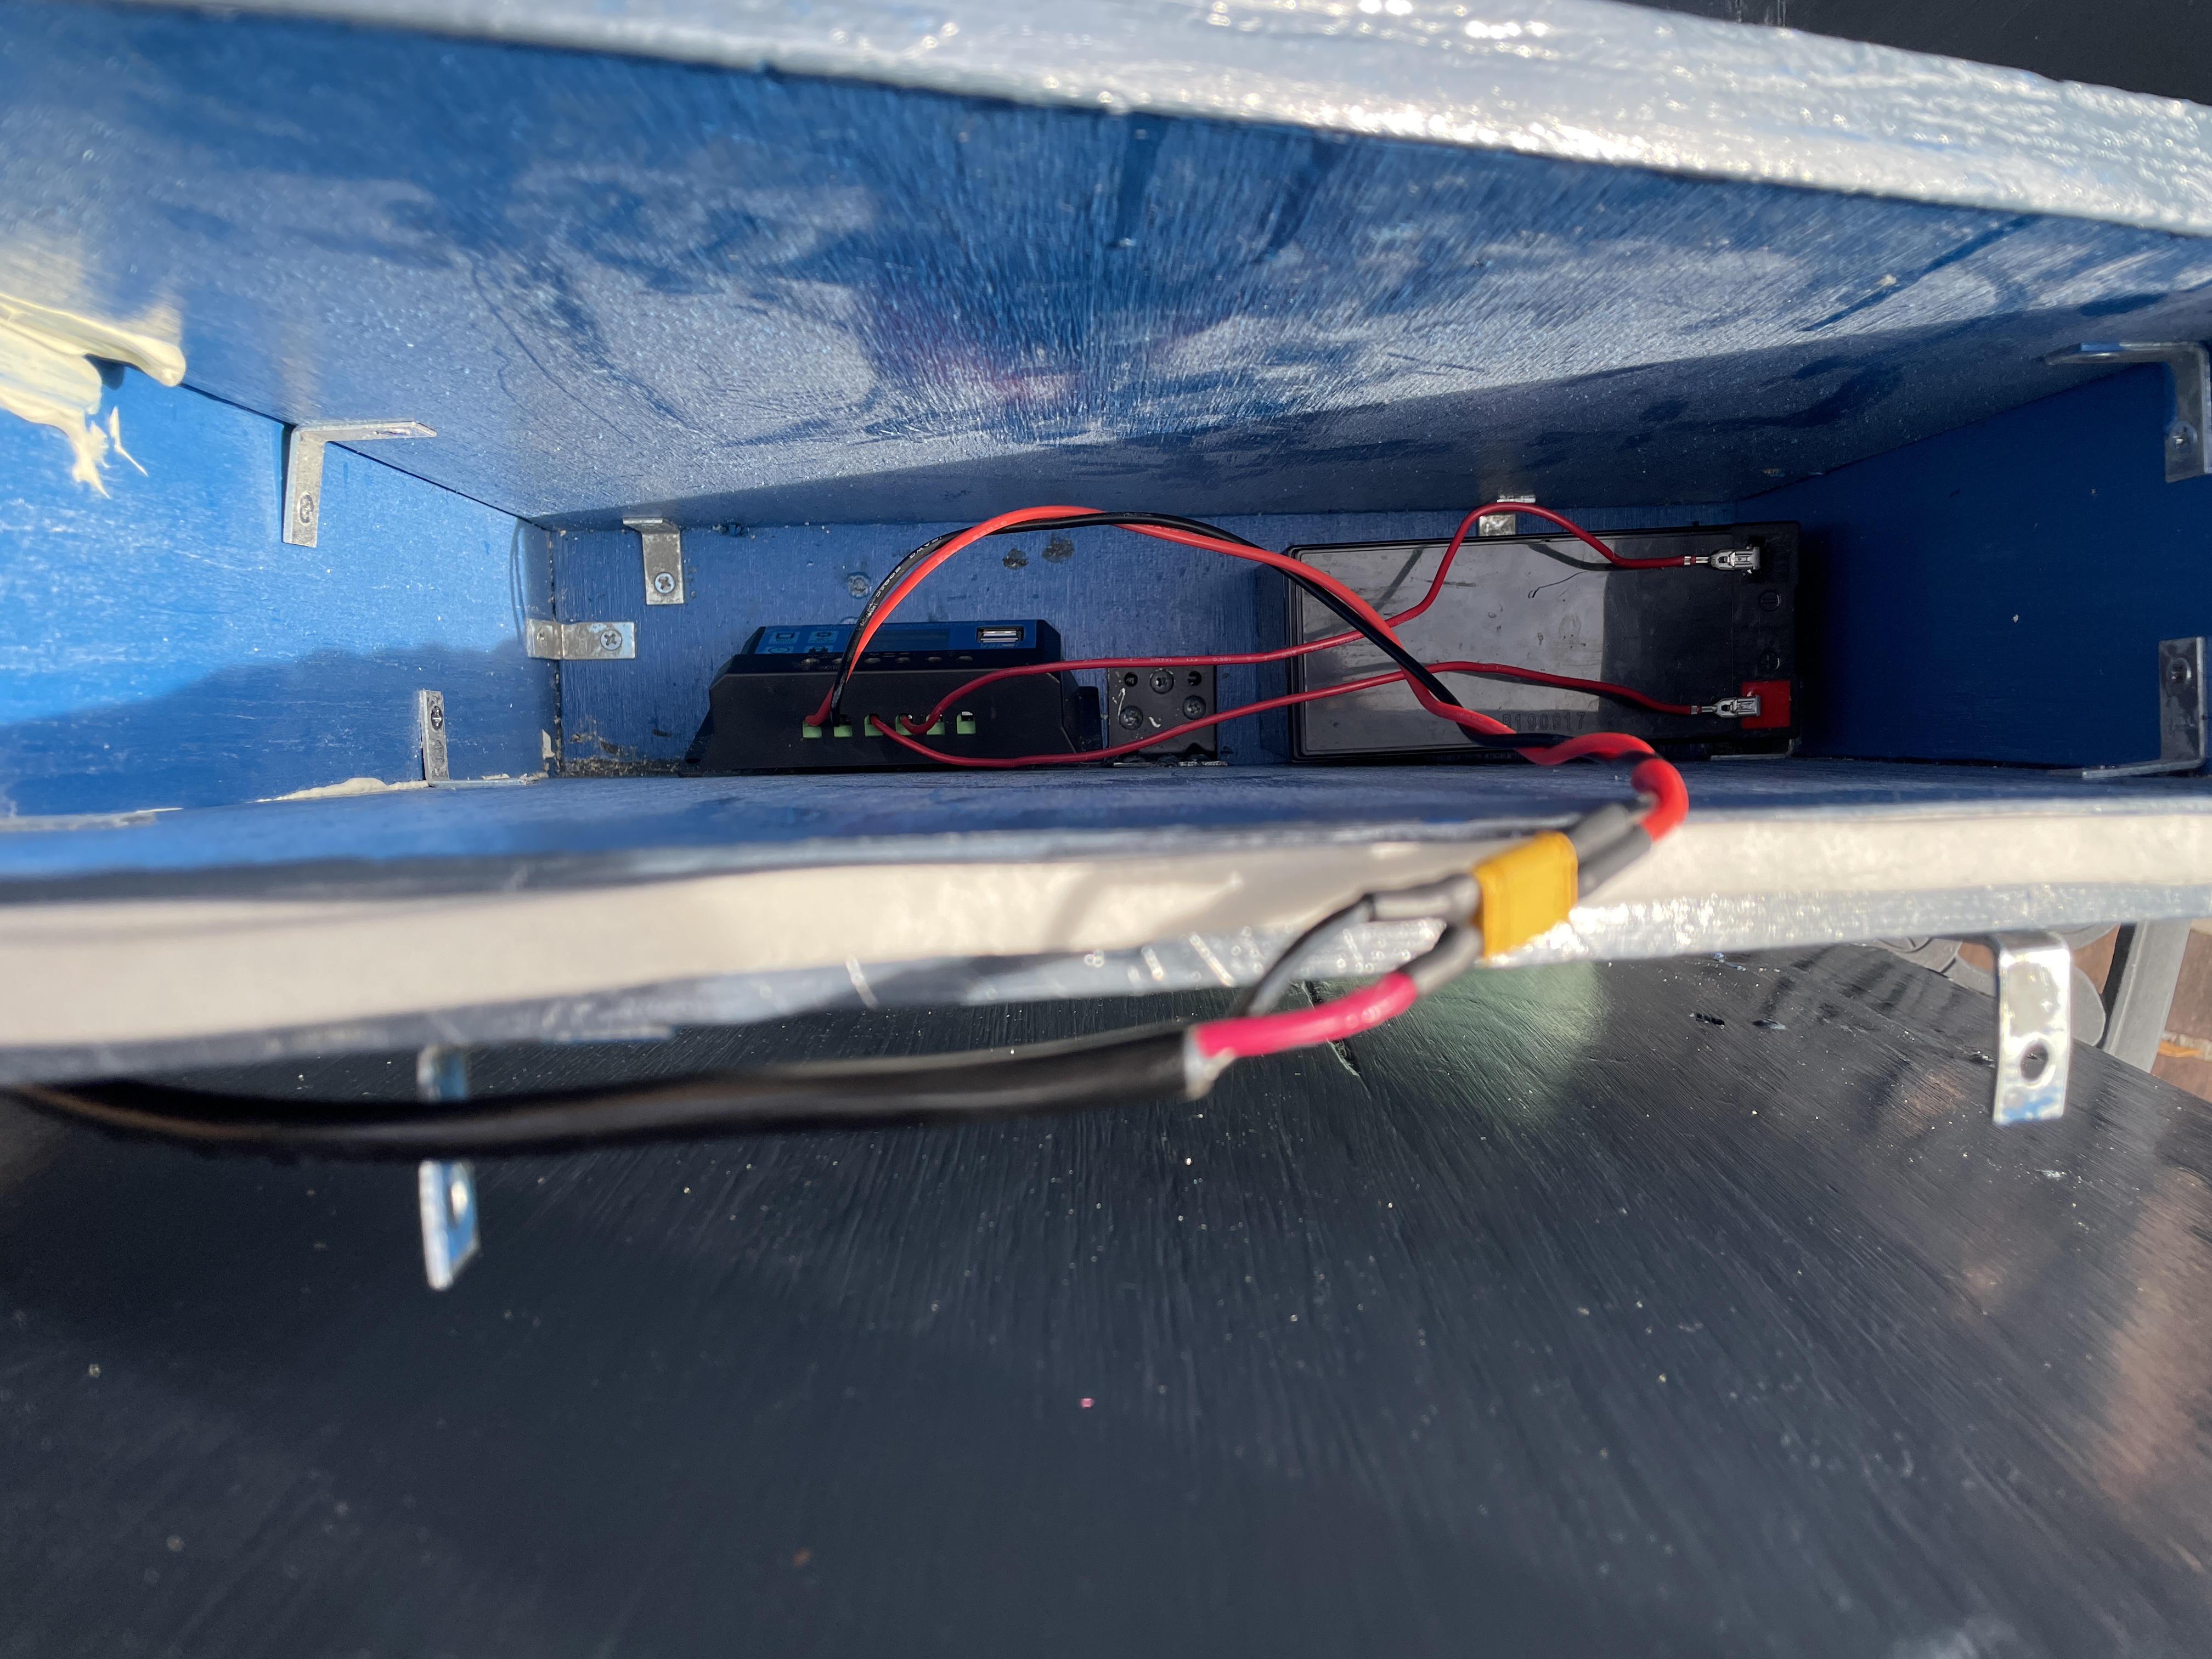
Then, the library could be installed. Because I haven’t shown it yet, here is what the hidden battery compartment looks like. The battery, charge controller, and solar panel were all purchased on amazon. I added an XT-30 connector between the solar panel and the charge controller to make it easy to disconnect for maintenance.
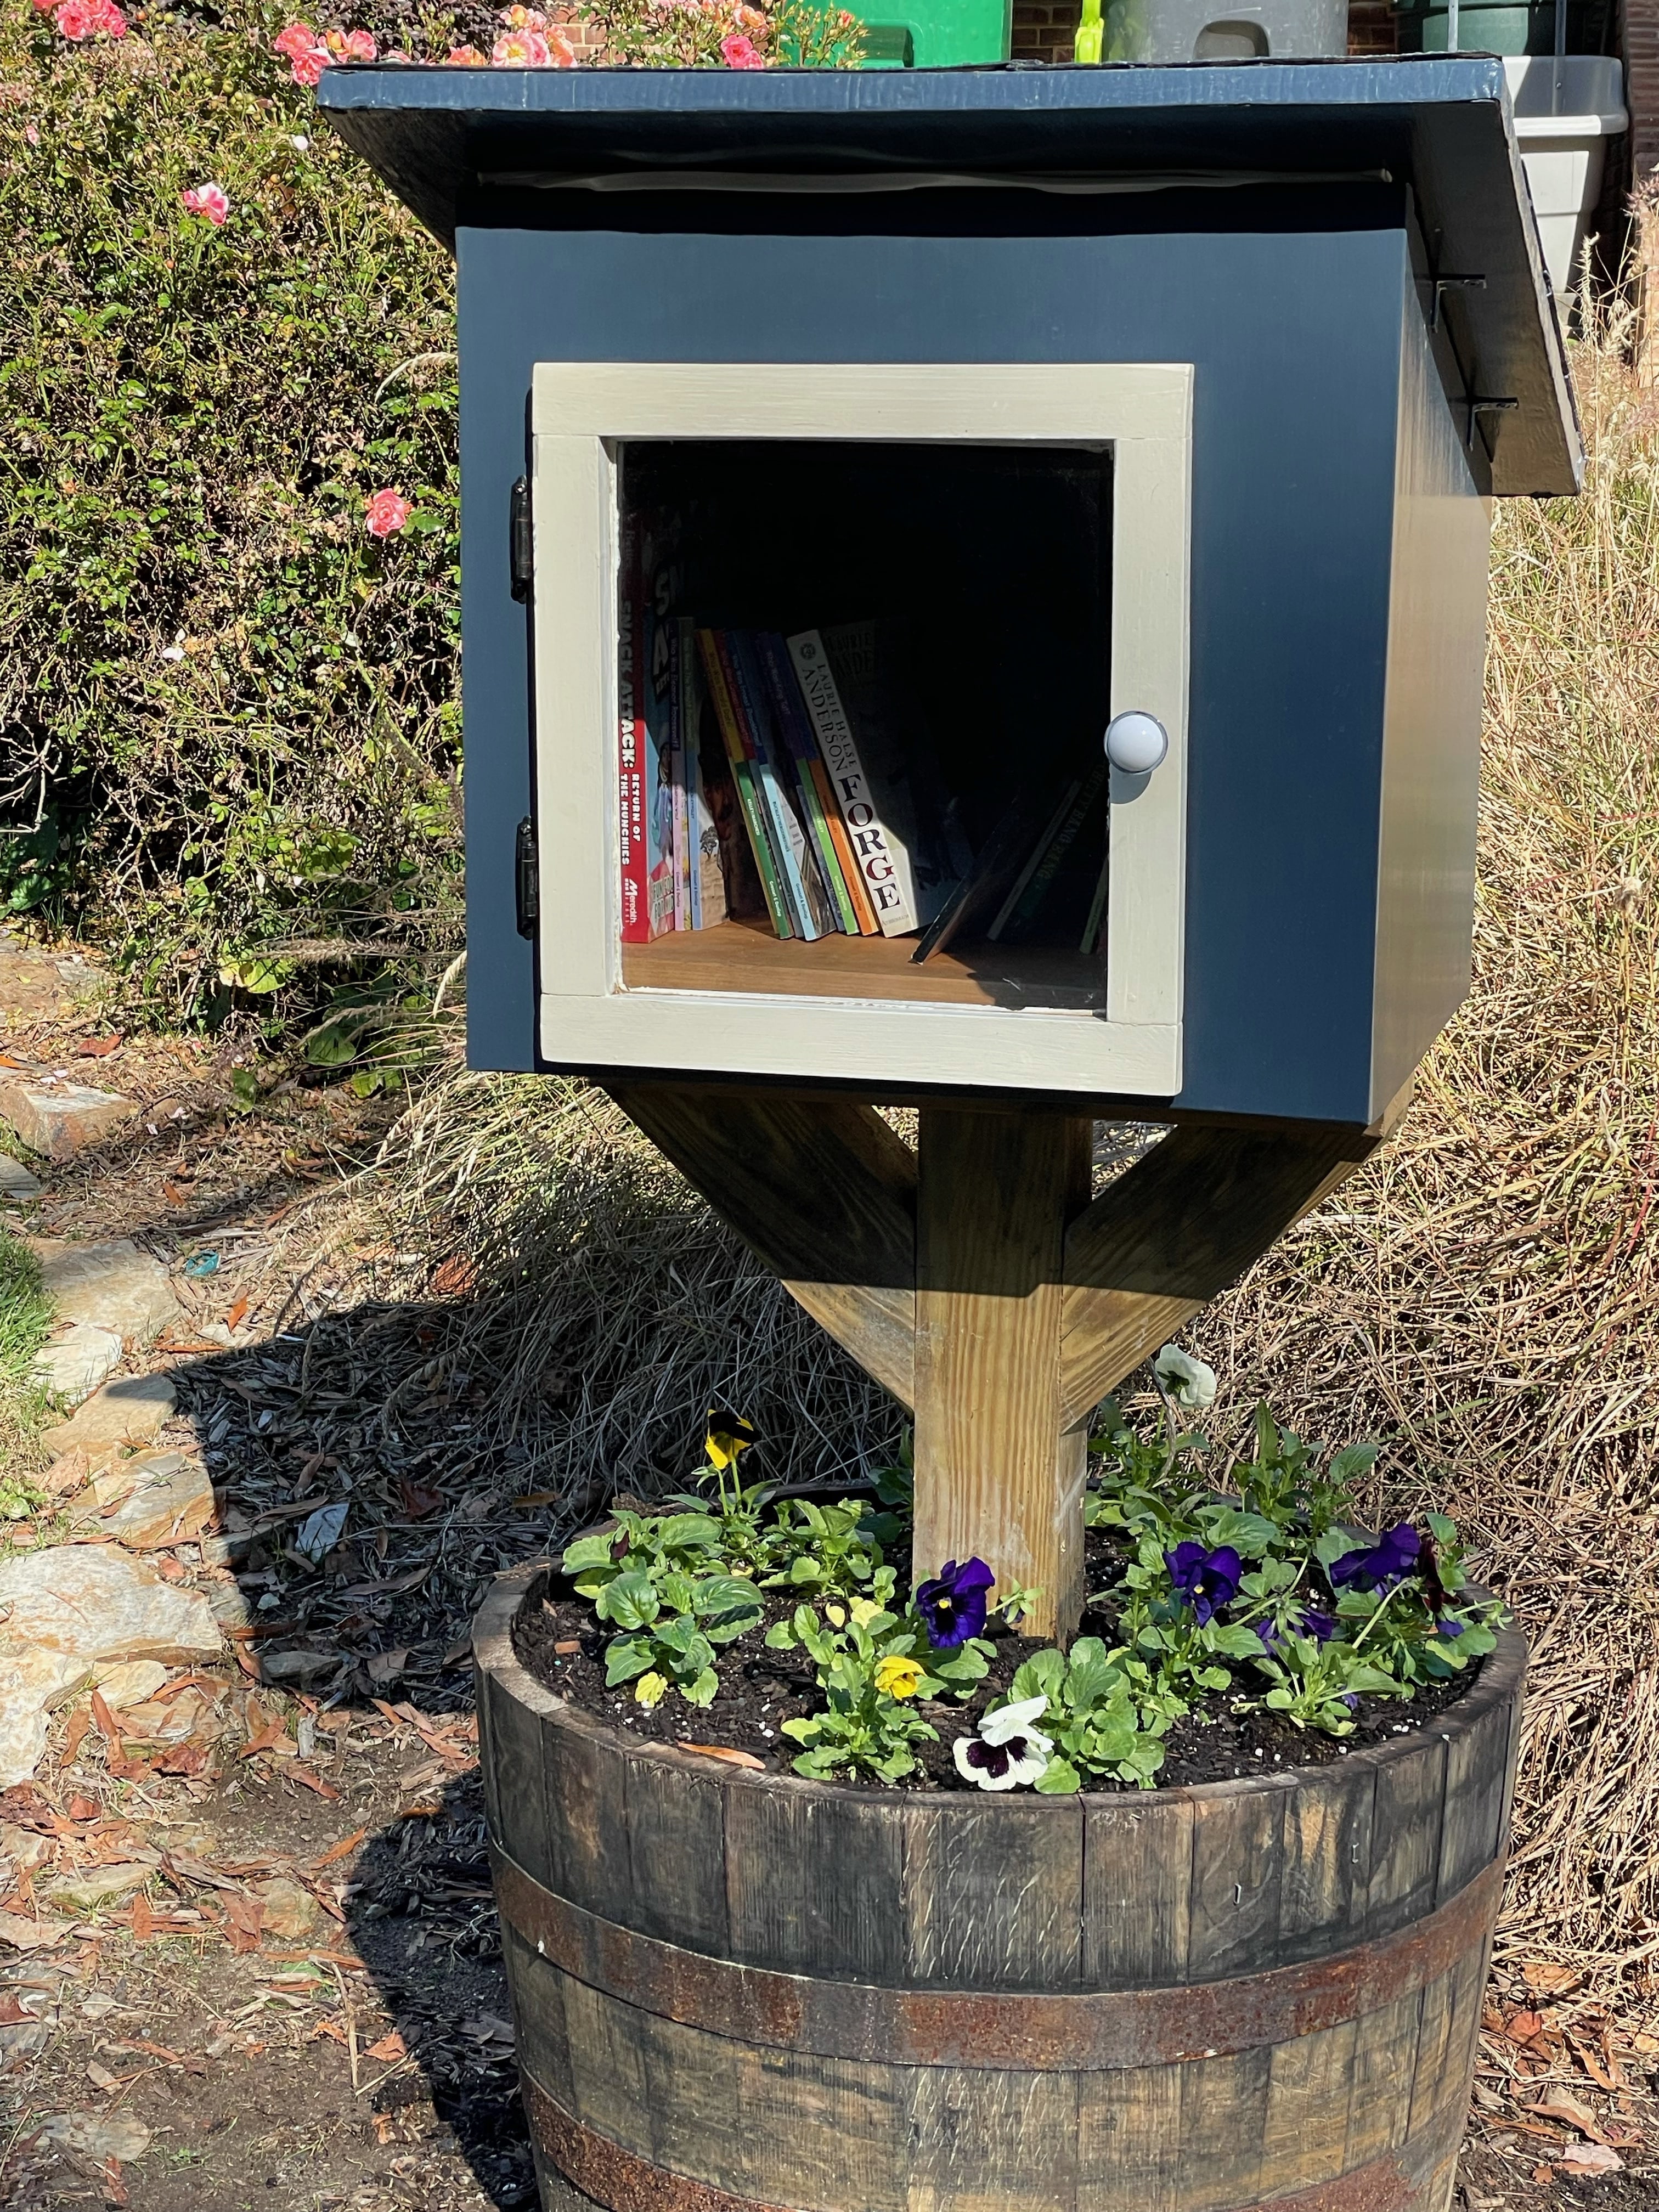
Here is the finished library:
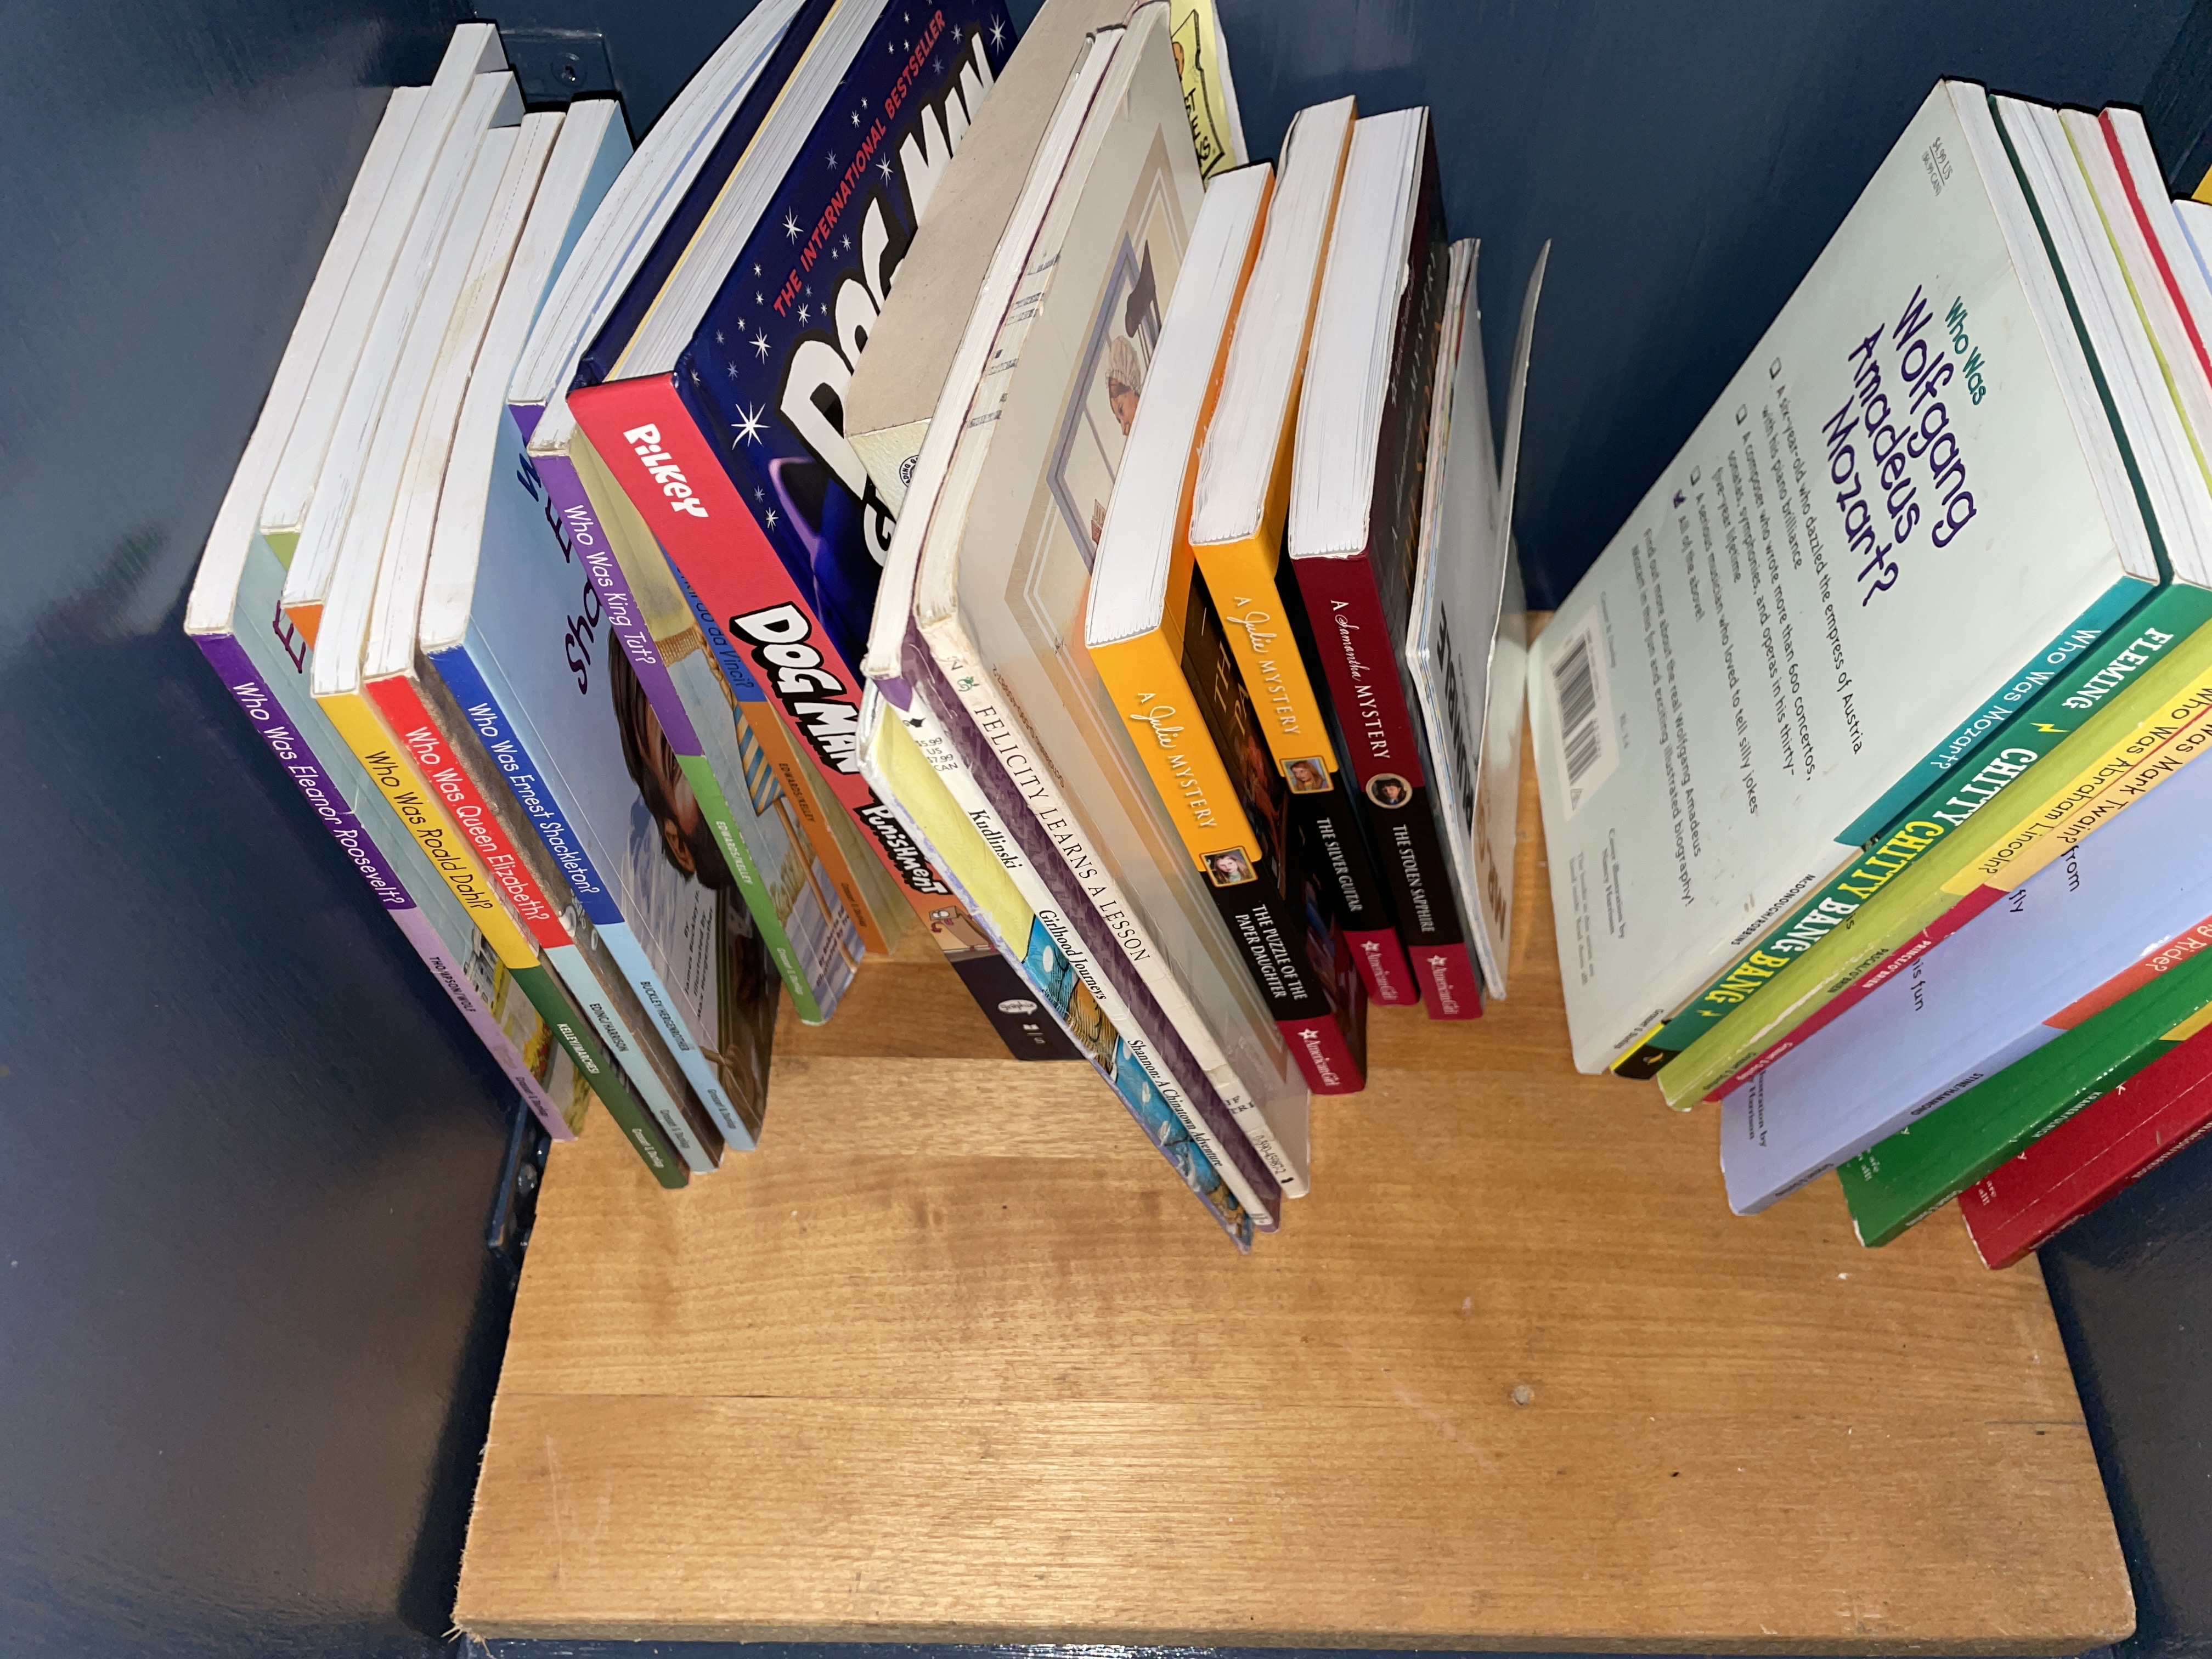
And here is a sample image of what the books look like from the website:
And that’s it! Soon I’ll have to repaint it once again, for the issues discussed previously. And I also have to check on the phone, as I believe it is offline rn. Oh well. It still works fantastically as a normal Little Free Library!