Bed
Inspiration
I wanted to replace my childhood bunk bed because it was a little embarrassing to be using one as a 17 year old. I really liked the look of the Thuma Beds. If you haven’t heard of them, they are a platform bed using Japanese castle joints and the whole thing assembles in a couple minutes. The Thuma Beds were pretty expensive and I wanted a summer project, so I decided to build my own.
Process
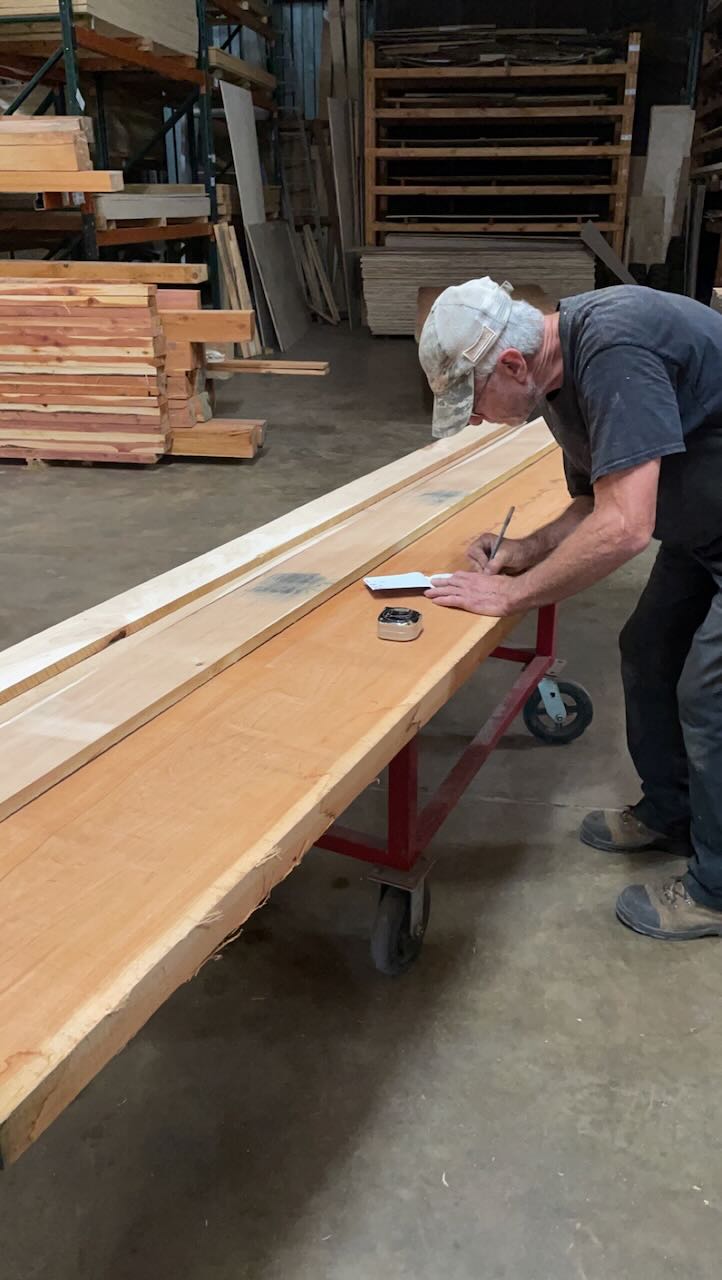
I got the lumber from B.E. Klutz. I was recommended to them by a friend and they did not disappoint. This was my first time doing anything with non dimensional lumber, but the people here were friendly and helpful. The price was also the best in town.
I regretfully didn’t take more photos during the build process🙁. But I’ll include the photos I did take.
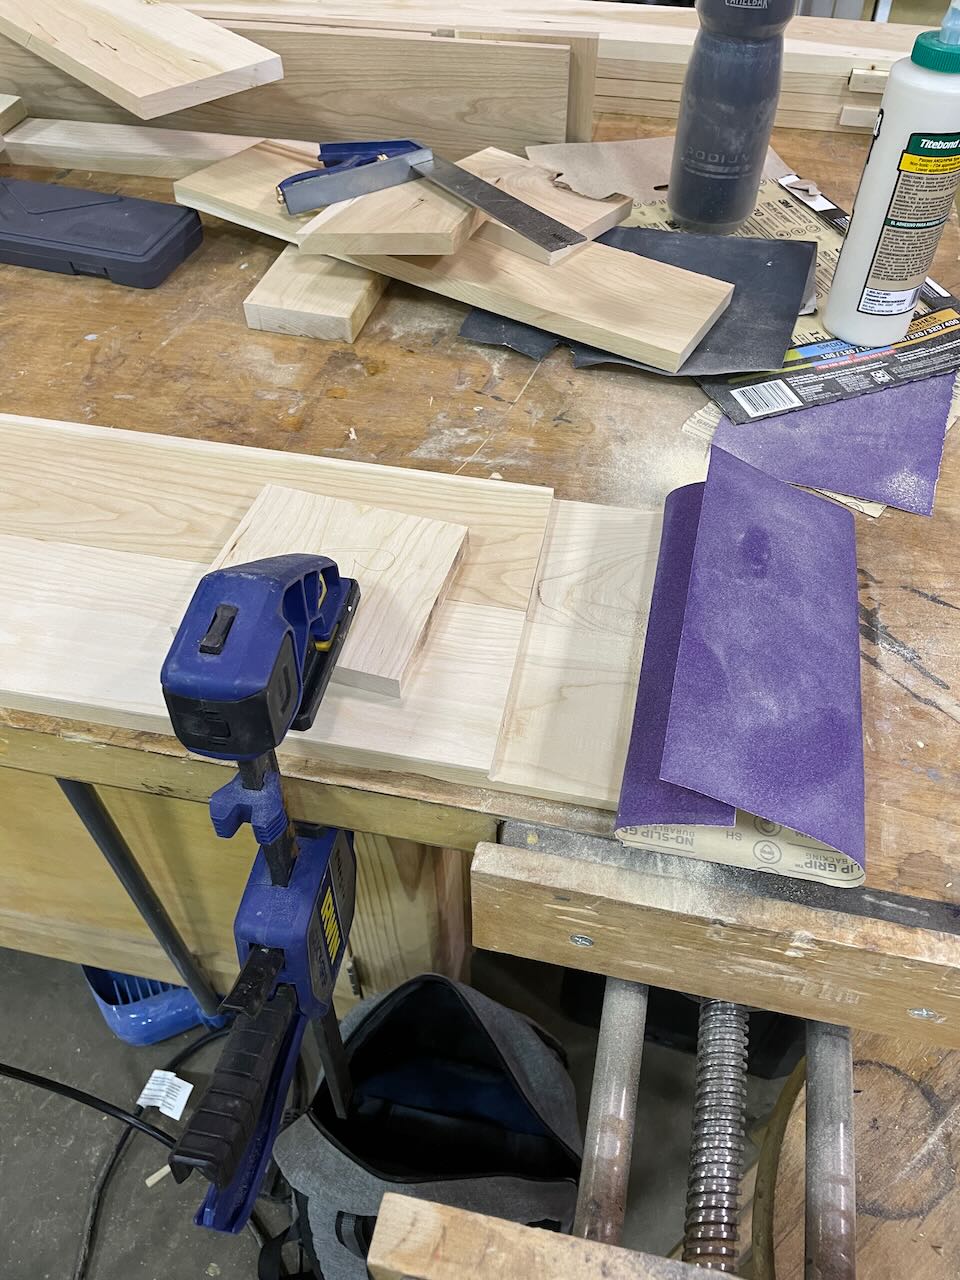
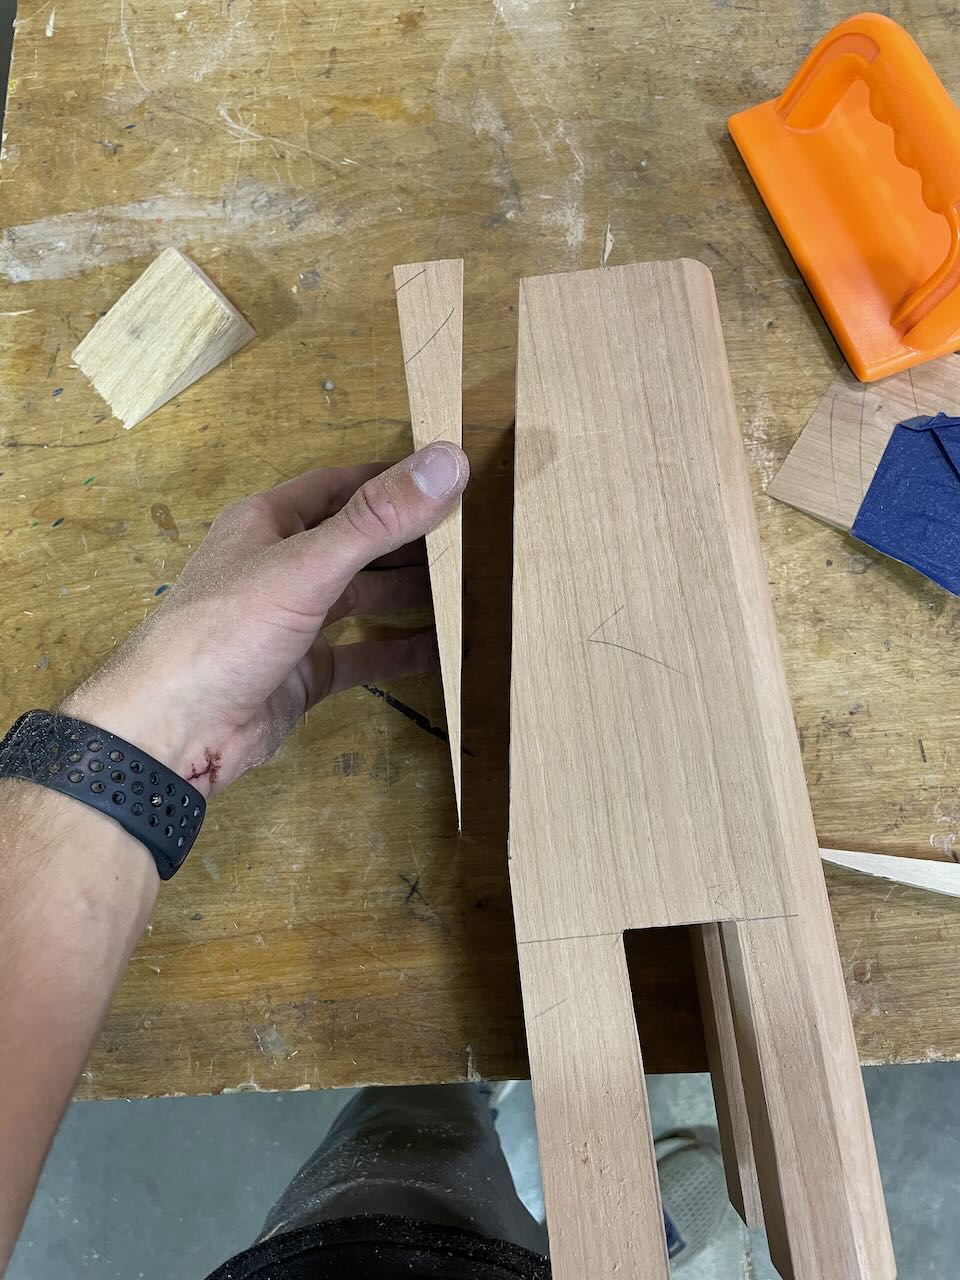
The rails consisted of 2 4/4 lengths of cherry glued together. Although after jointing and planing, the final width of the rail (without the edging) was less than 1.5in. I probably removed too much material surfacing each piece because I was stressing that the rails would be warped after lamination. But I bet during the lamination process this warp would have gone away. A spline was added to the end of each rail to strengthen the castle joint. To do this, I used the table saw to cut away half of the board at each end, and then clamped them to a table and sanded them together. Then, I would size the spline. Sadly I don’t have any photos of the lamination, probably because it was the most stressful part of the project. But here’s the sanding setup:
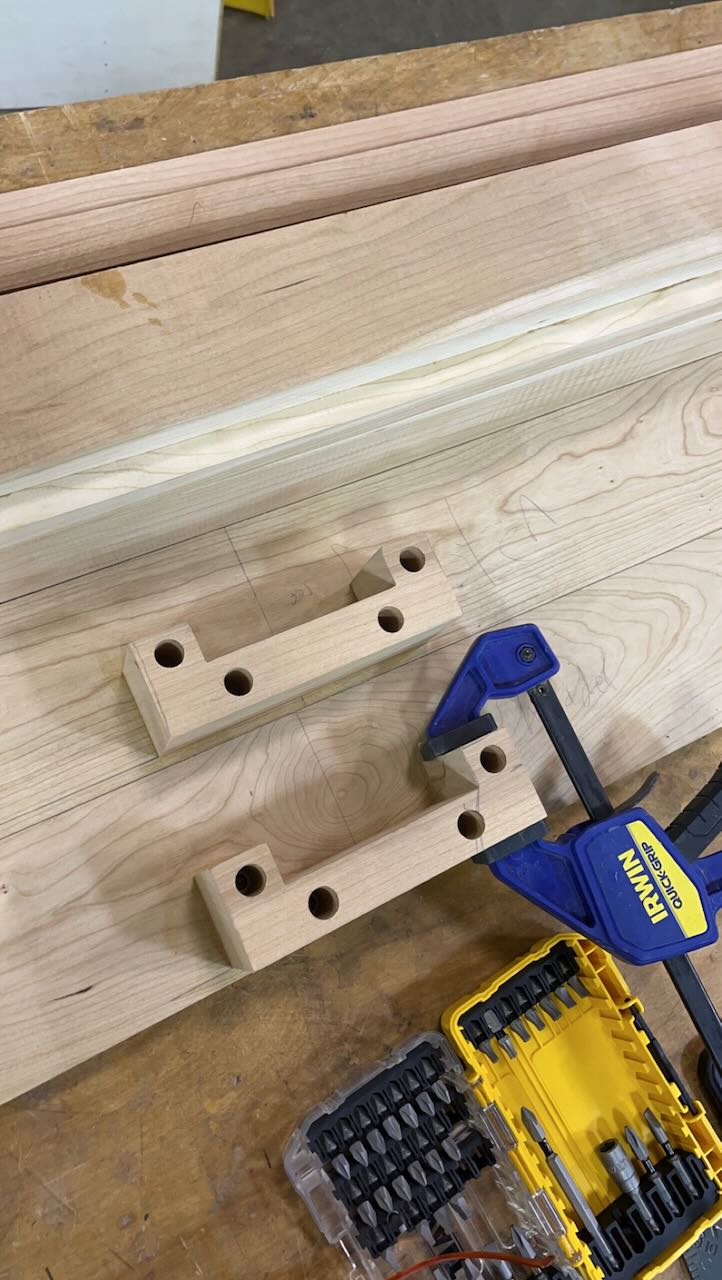
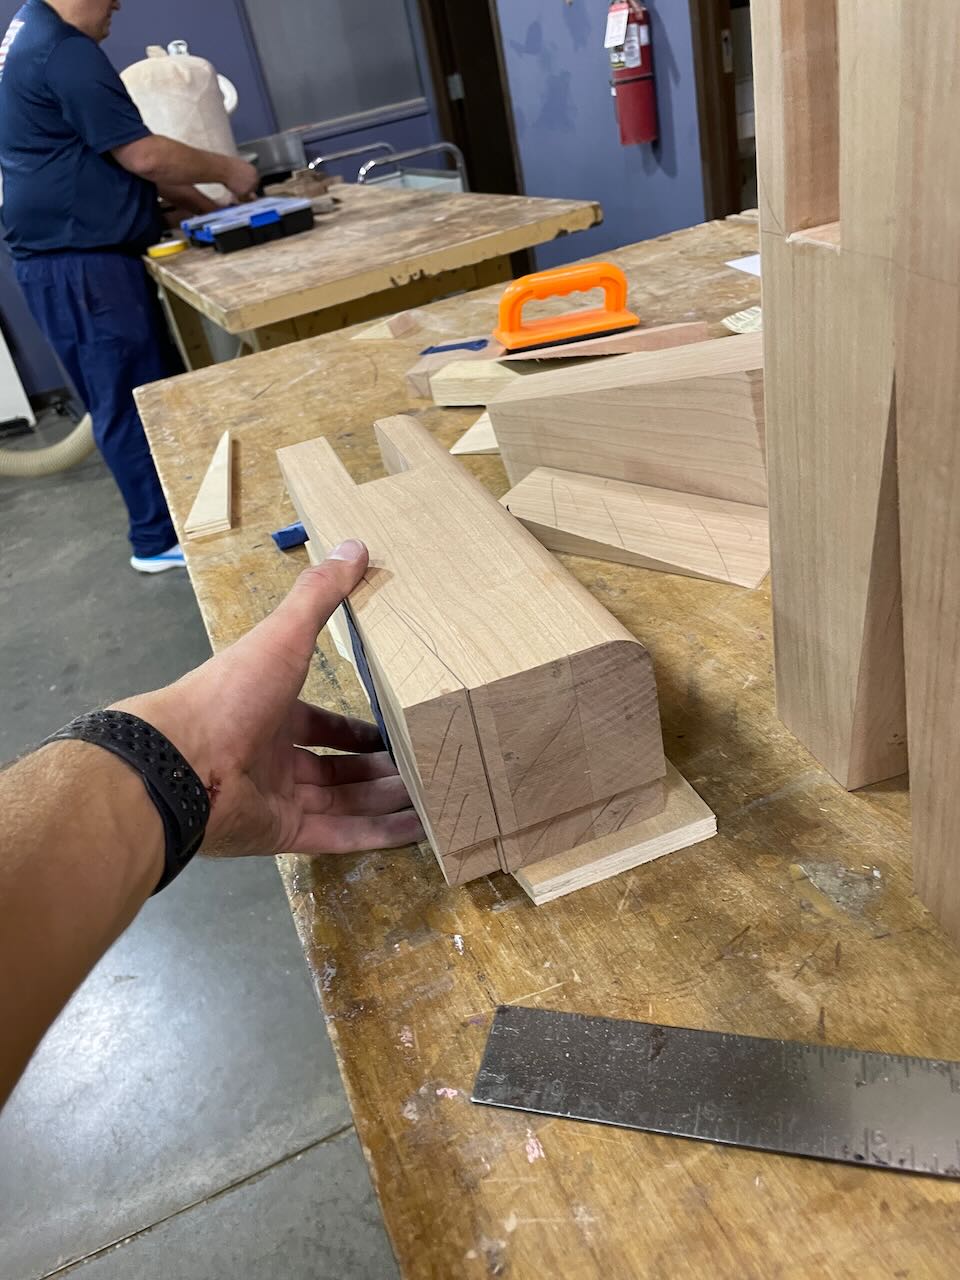
Once the rail glue ups were finished, I cut the notches for the castle joints. Before this I also routed away the excess material from the splines. And probably something else that I’m currently forgetting😂. Here’s the setup I used to cut the notches:
 Lots of things going on here.
I also had an oopsie when mounting the center rail bracket to the front and back rails. I didn’t predrill the hole sufficiently and the cherry just cracked. Lesson learned. Thankfully the incident was just a minor annoyance.
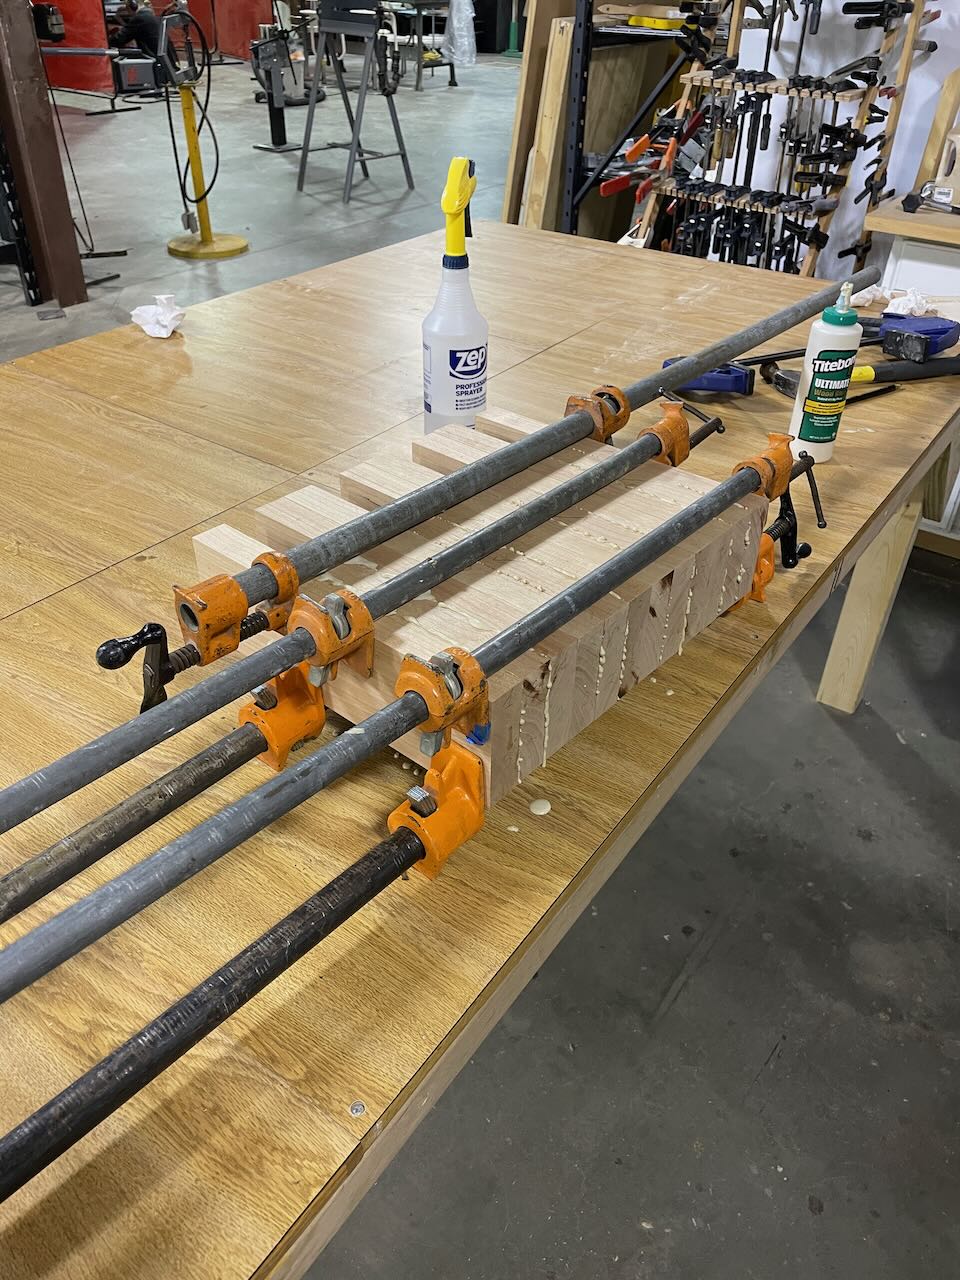
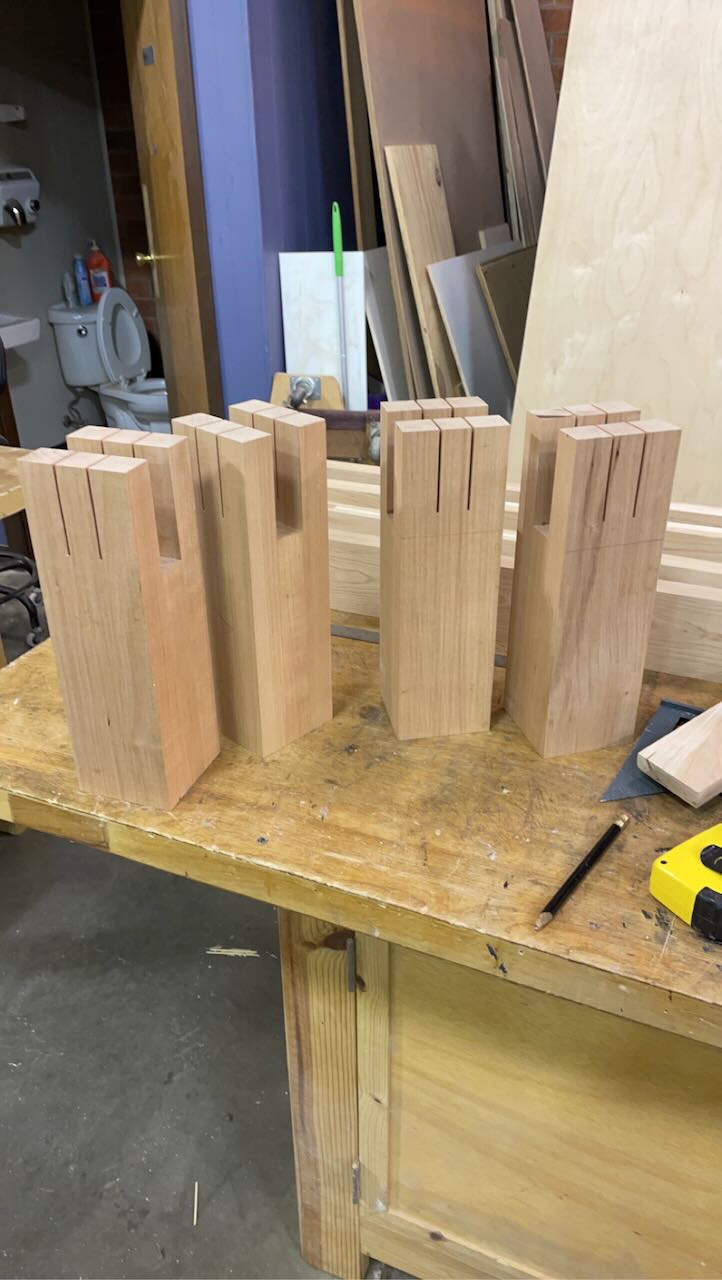
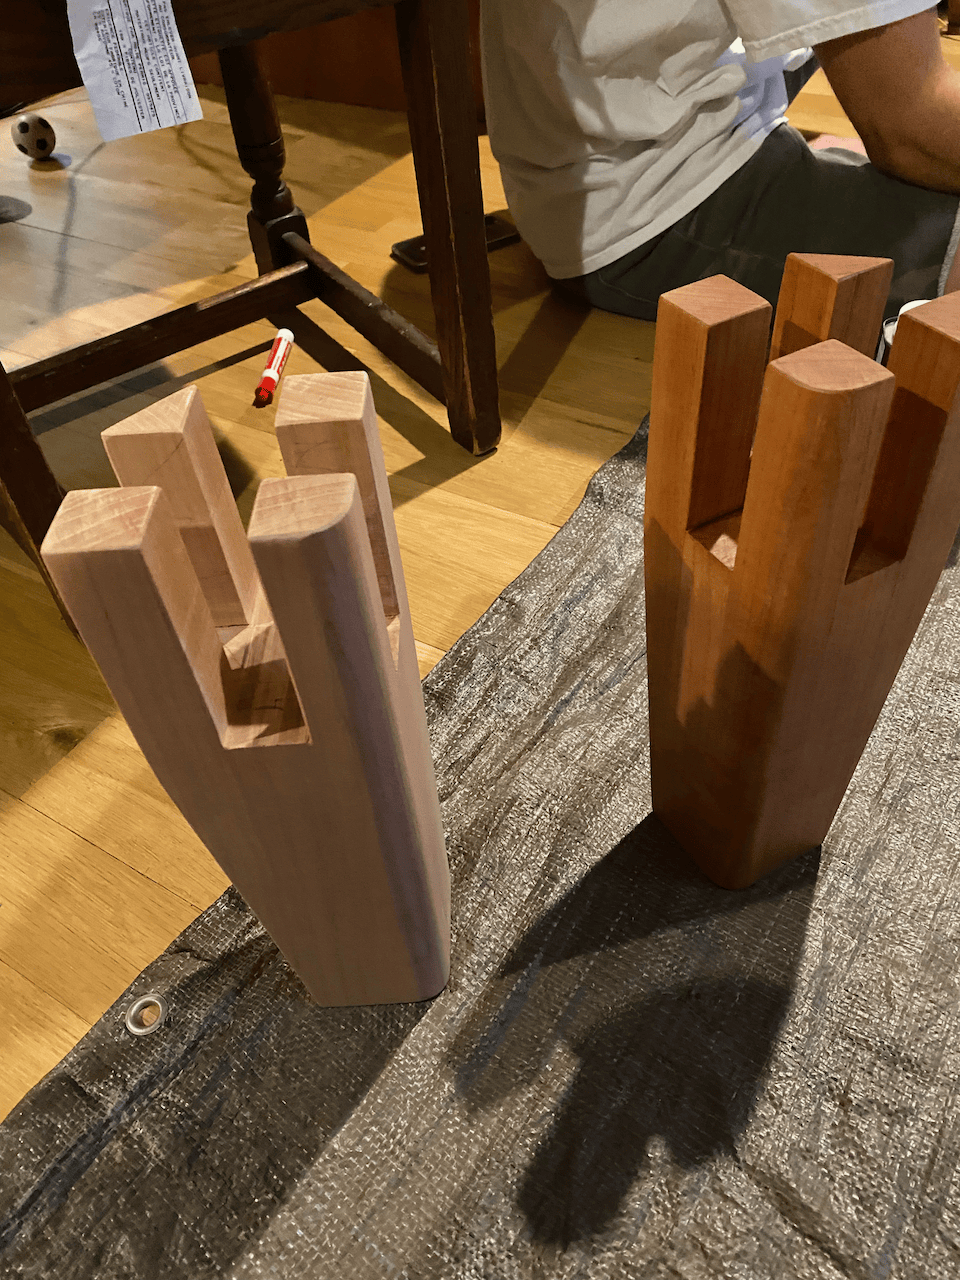
Eventually it was time to make the posts. I used the 8/4 cherry and milled it to a thickness that matched the width of the rails. Then, I cut it to lengths, with each leg in the glue up consisting of a 13in length and a 9in length. I glued them all up at once.
After the glue up, I cleaned up the glue excess with the jointer and then cut the spaces for the castle joint. Pictured below are the posts after I cut them using the table saw. I then used the bandsaw to finish the cut.
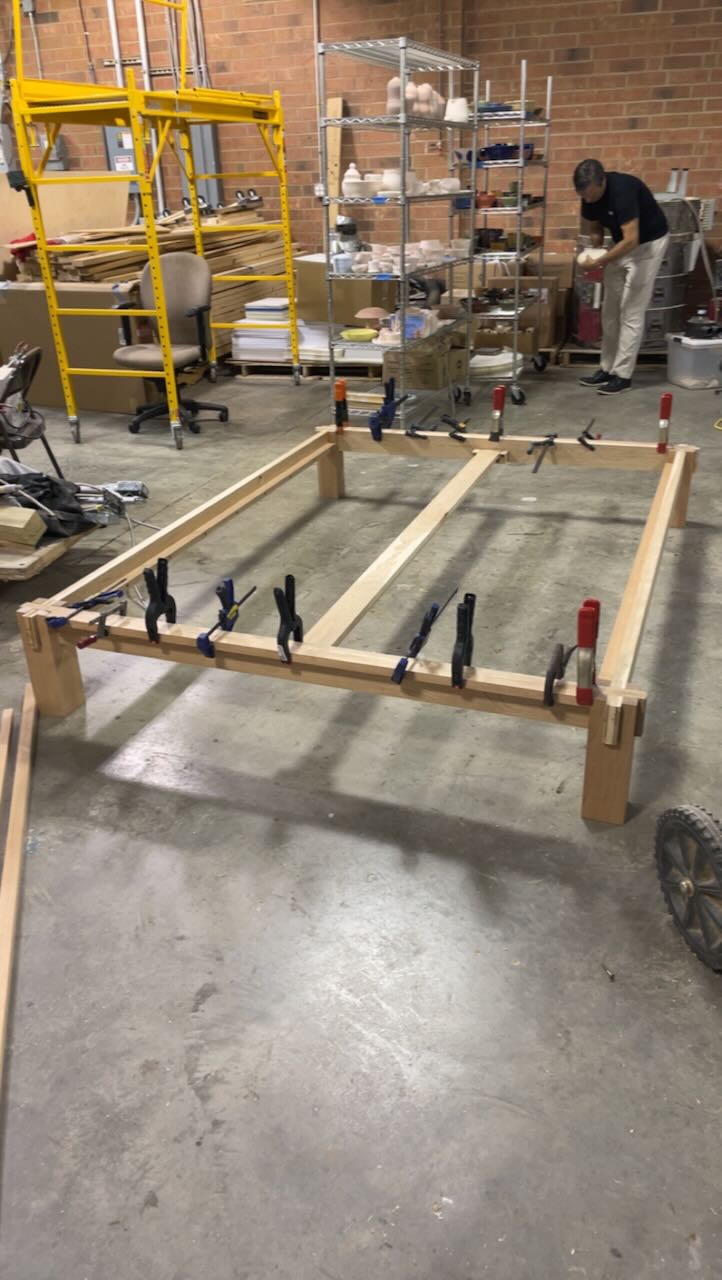
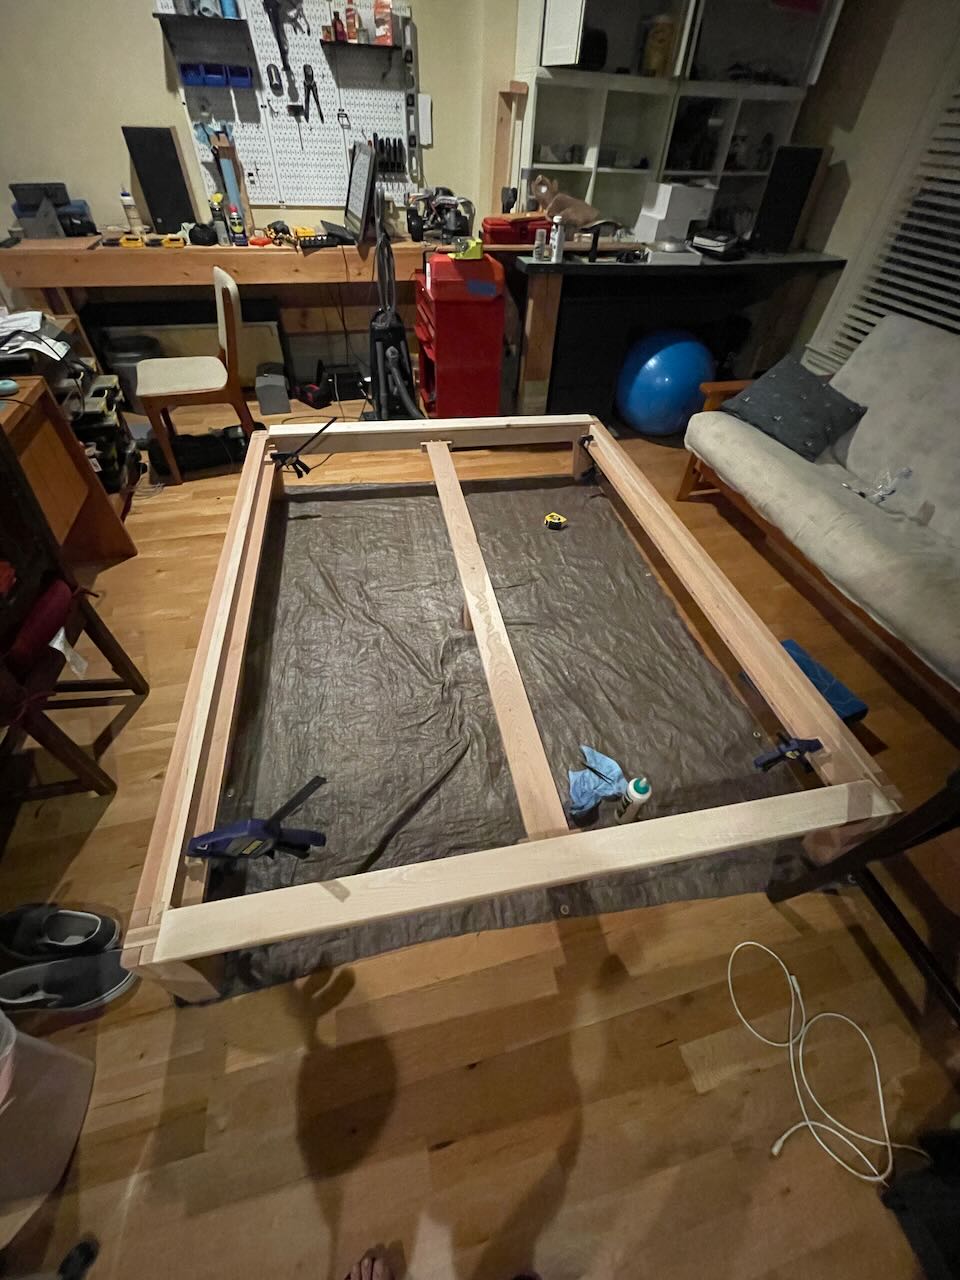
At this point, I couldn’t resist assembling the bed. Well, I also needed to, so I could mount the slat edges (thin piece of wood on inside of the side rails that slats rest on) and decorative edges (that ended up being more than just decorative). I don’t have any pictures of me mounting the slat edges, but I used countersunk screws. They’re on the inside, so nobody will see them, and I didn’t have to use clamps while the wood glue cured. I got a whole bunch of really nice GRK cabinet screws for just $4 at Home Depot on the clearance rack (originally $27 or something) and used those.
Here, I’m gluing up the front and back rail decorative edges.
And now the side rail decorative edges.

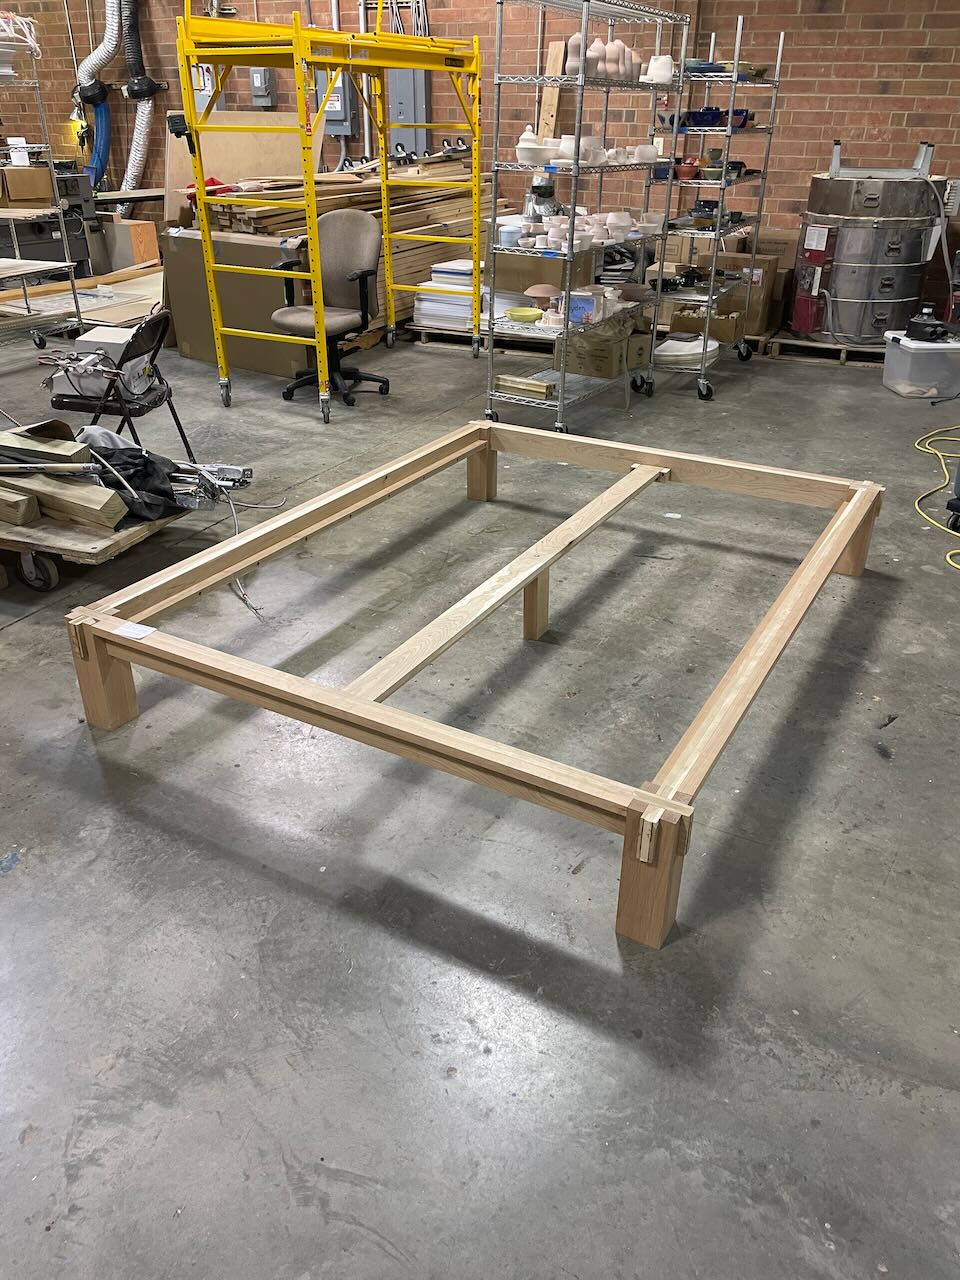
Finally, the bed was structurally complete. I realized that I brushed over the center rail. It’s another length of two 4/4 cherry sections glued together. I secured it to each mount using two lag bolts. Unlike the Thuma bed, which has a knob visible on the outside, this keeps the nice cherry rail unblemished. This was another Josh suggestion.
I used a bandsaw to cut a taper on the posts.
To cut the taper on both sides, I used the offcut to keep the post balanced. I also used a thin piece of plywood as a sort of sled when cutting.
I then cleaned up the bandsaw cut using the jointer. It turned out pretty well!
Again, a lot of steps skipped. The next photo I have is when its at home. I’ve just sanded everything and brought it upstairs to put on the danish oil. Before this, I mounted the slat stop blocks, which keep the slats in place. These go in between the last and second to last slat on each side. Oh, the slats! I just used pine 1x4s and stapled them to cheap nylon webbing from amazon. Besides some of the 1x4s being cupped, this worked pretty well.
I finished the bed with danish oil. I used Watco and while I did research different ways to apply the finish, I ended up just following the directions on the can. Pictured below is the unfinished leg on the left and a leg with one coat of danish oil on the right.
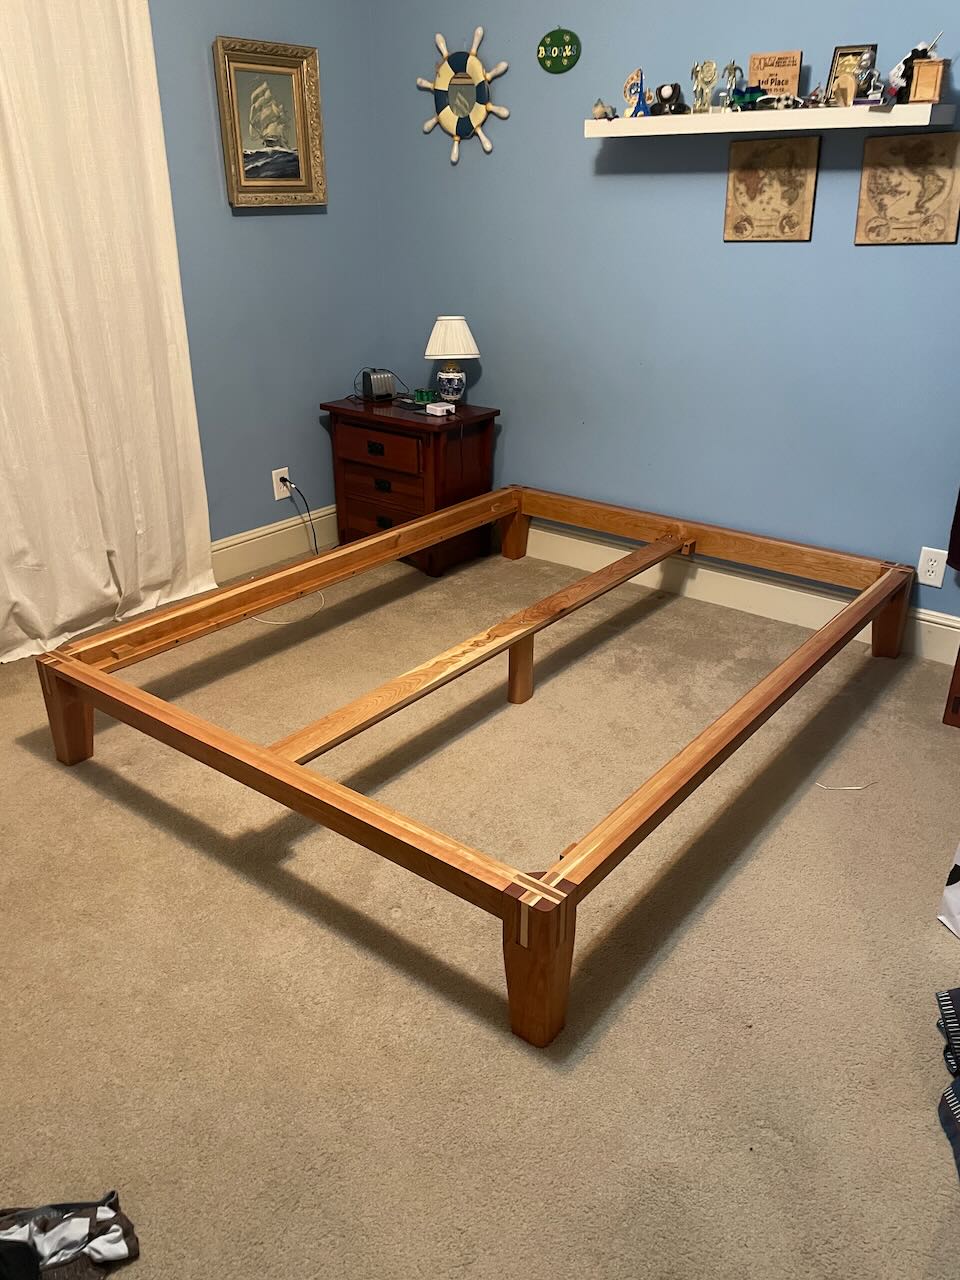
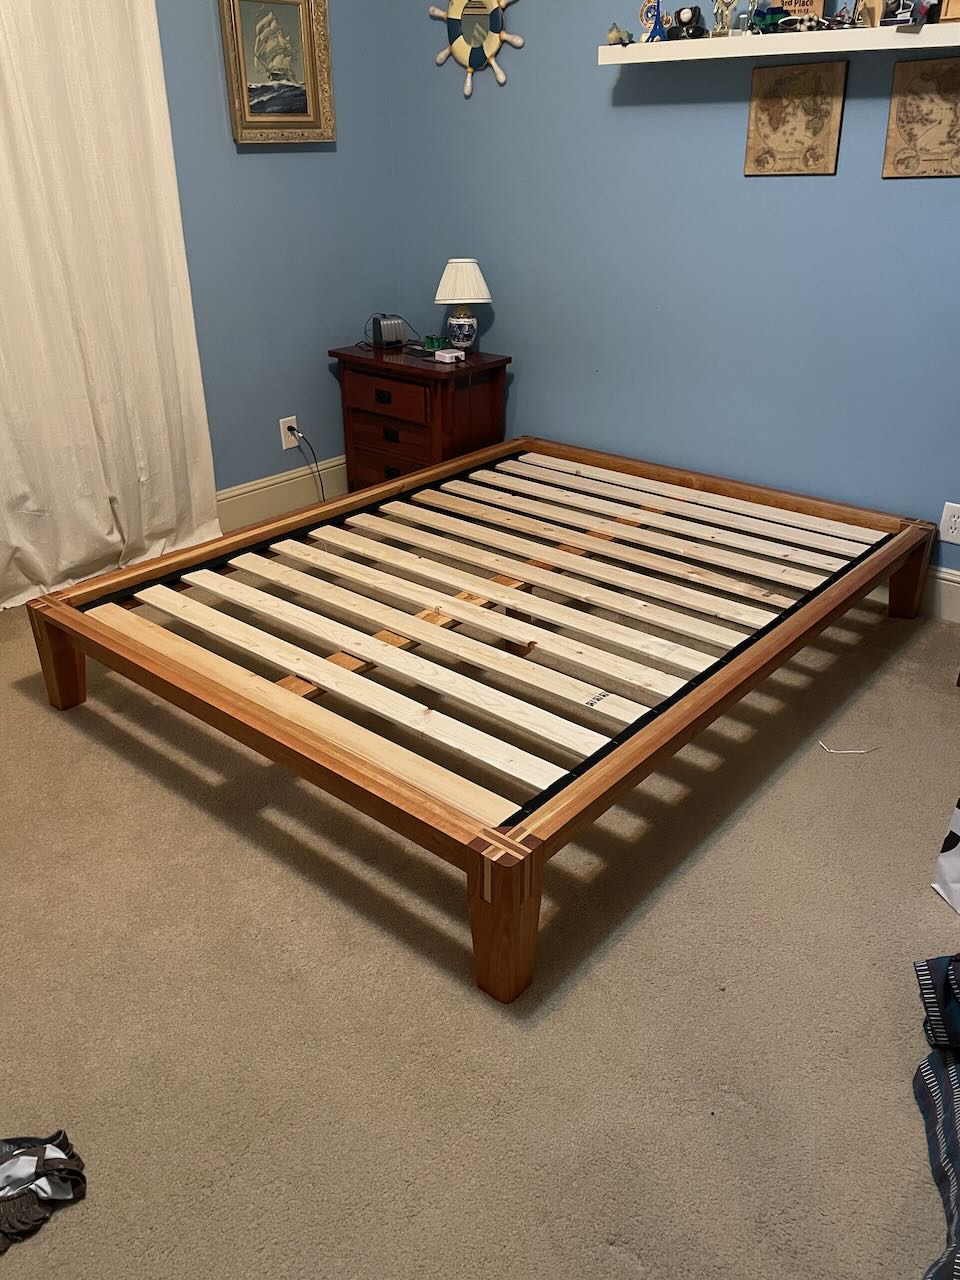
And here’s what the whole bed looked like:
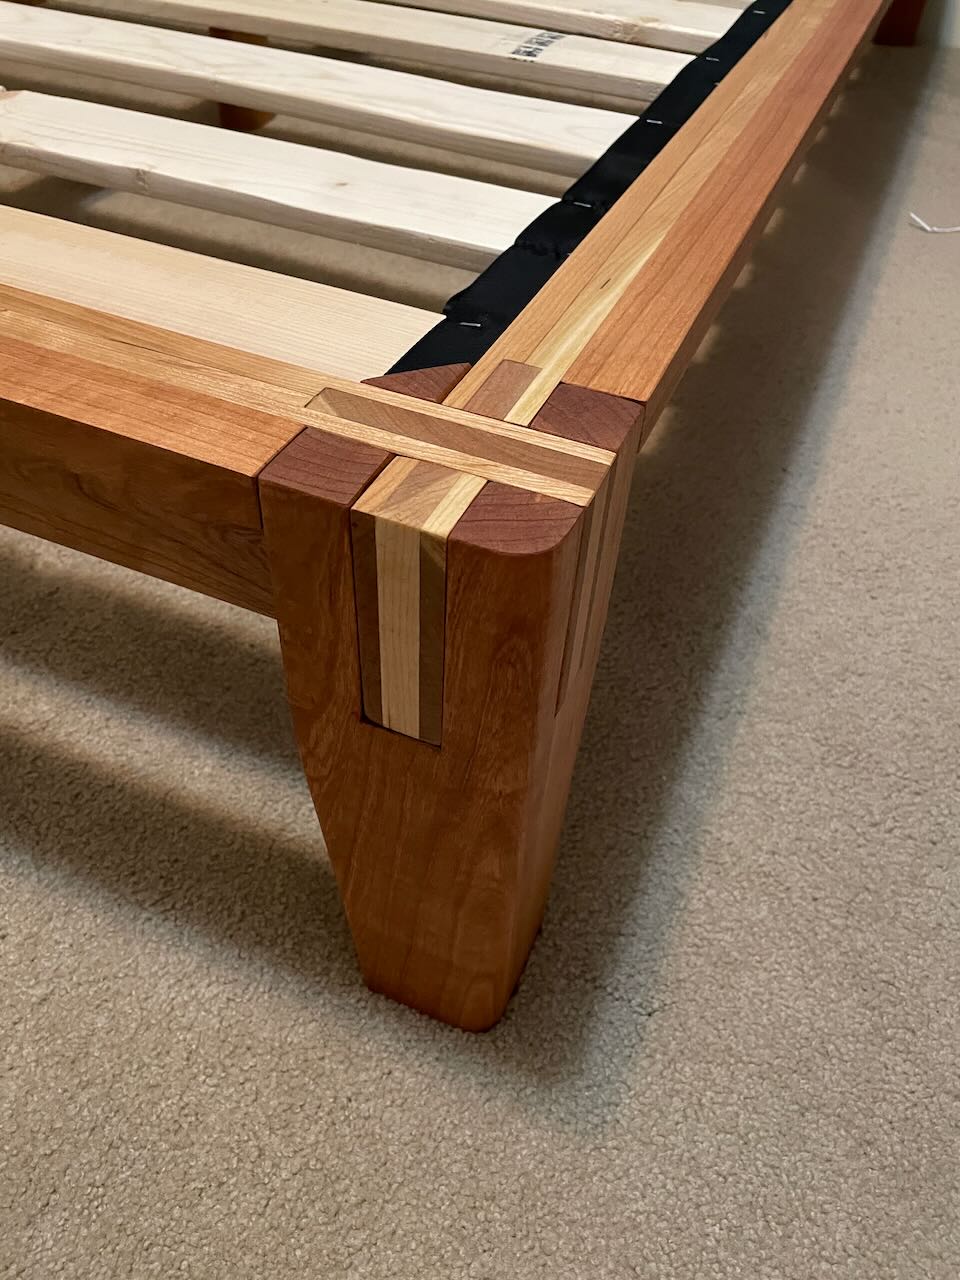
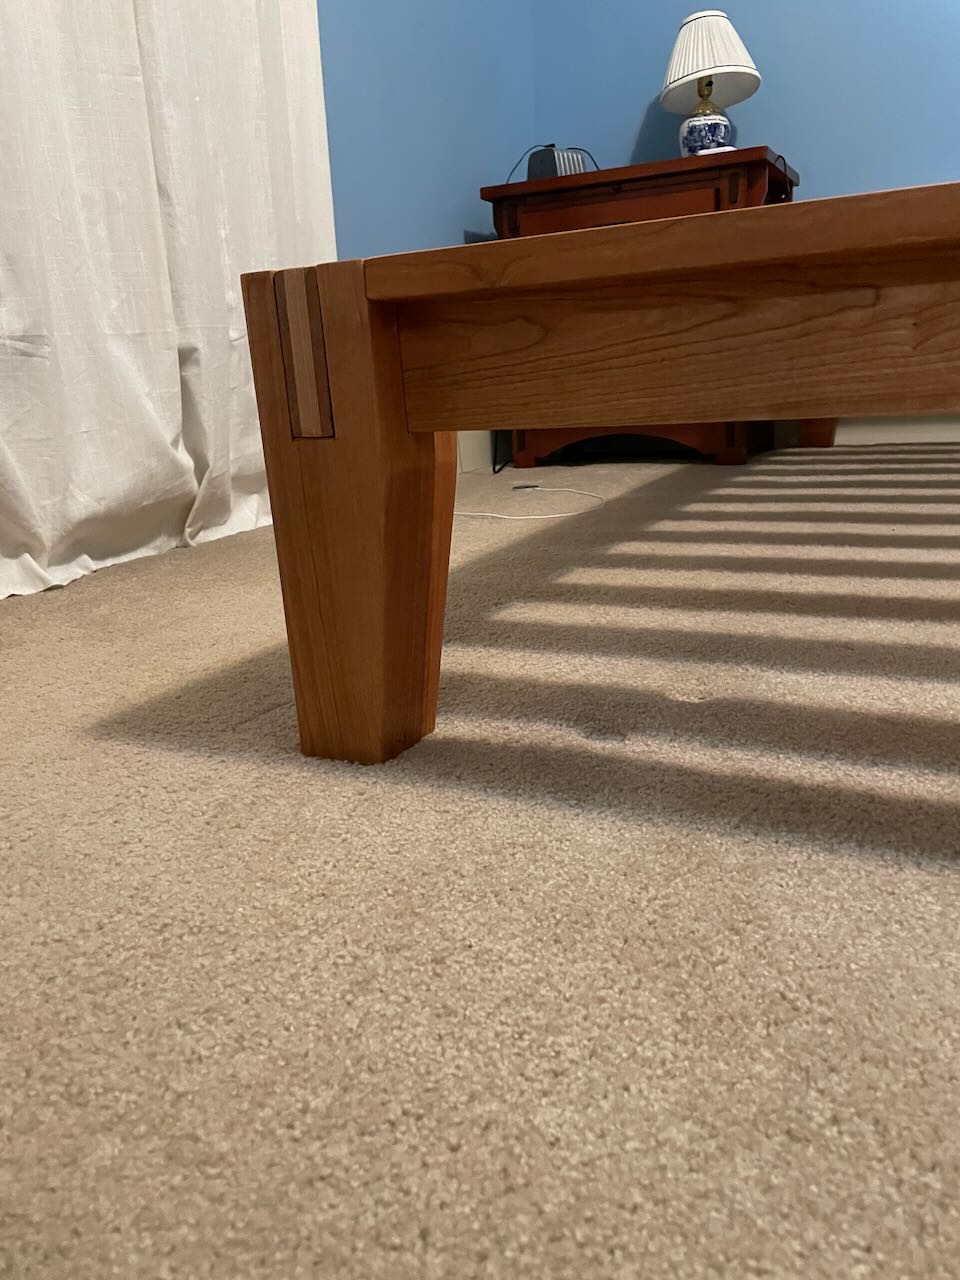
The taper ended up pretty nice!
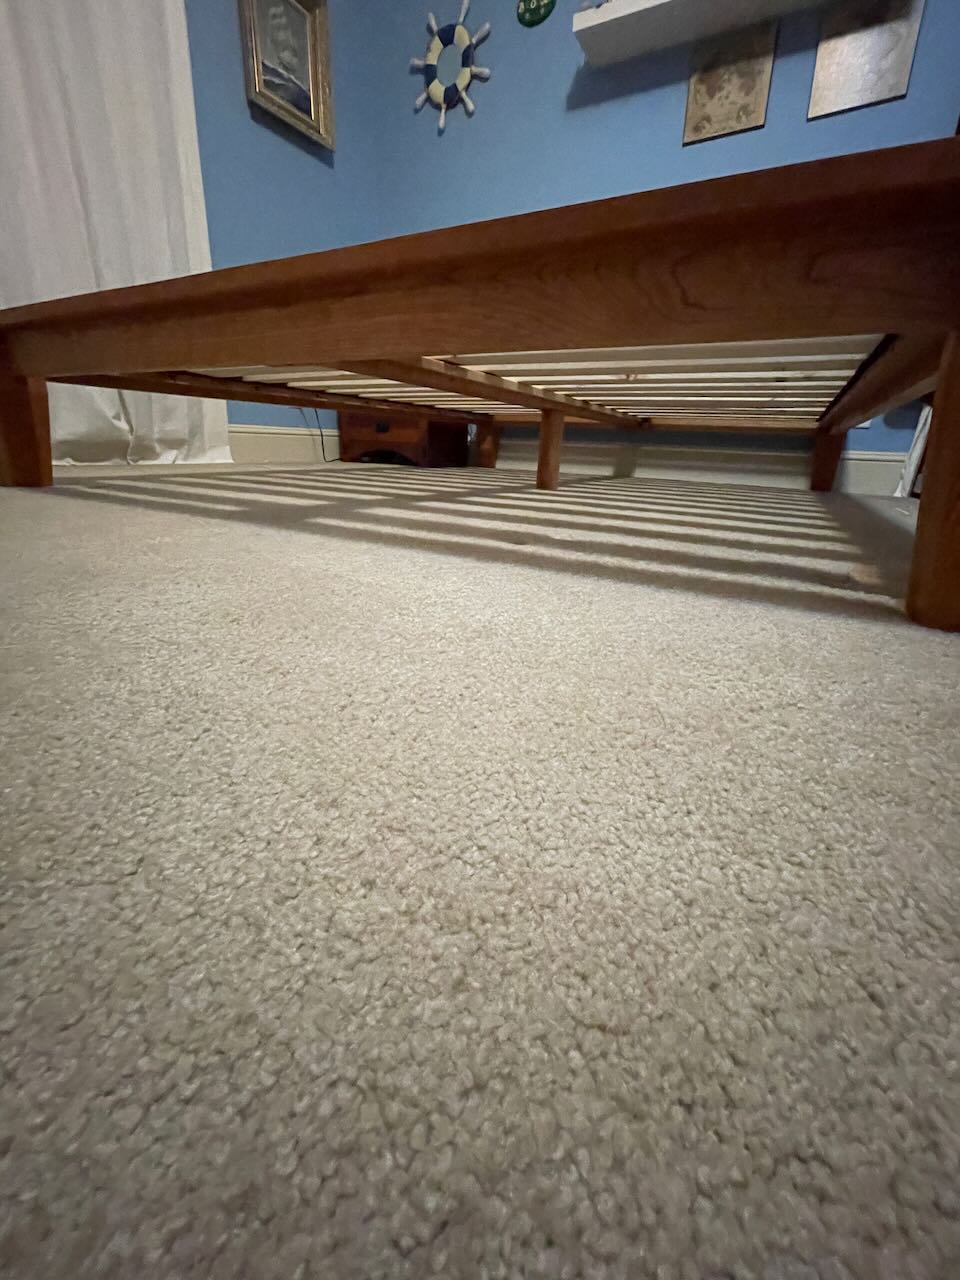
A view of the underside of the bed.
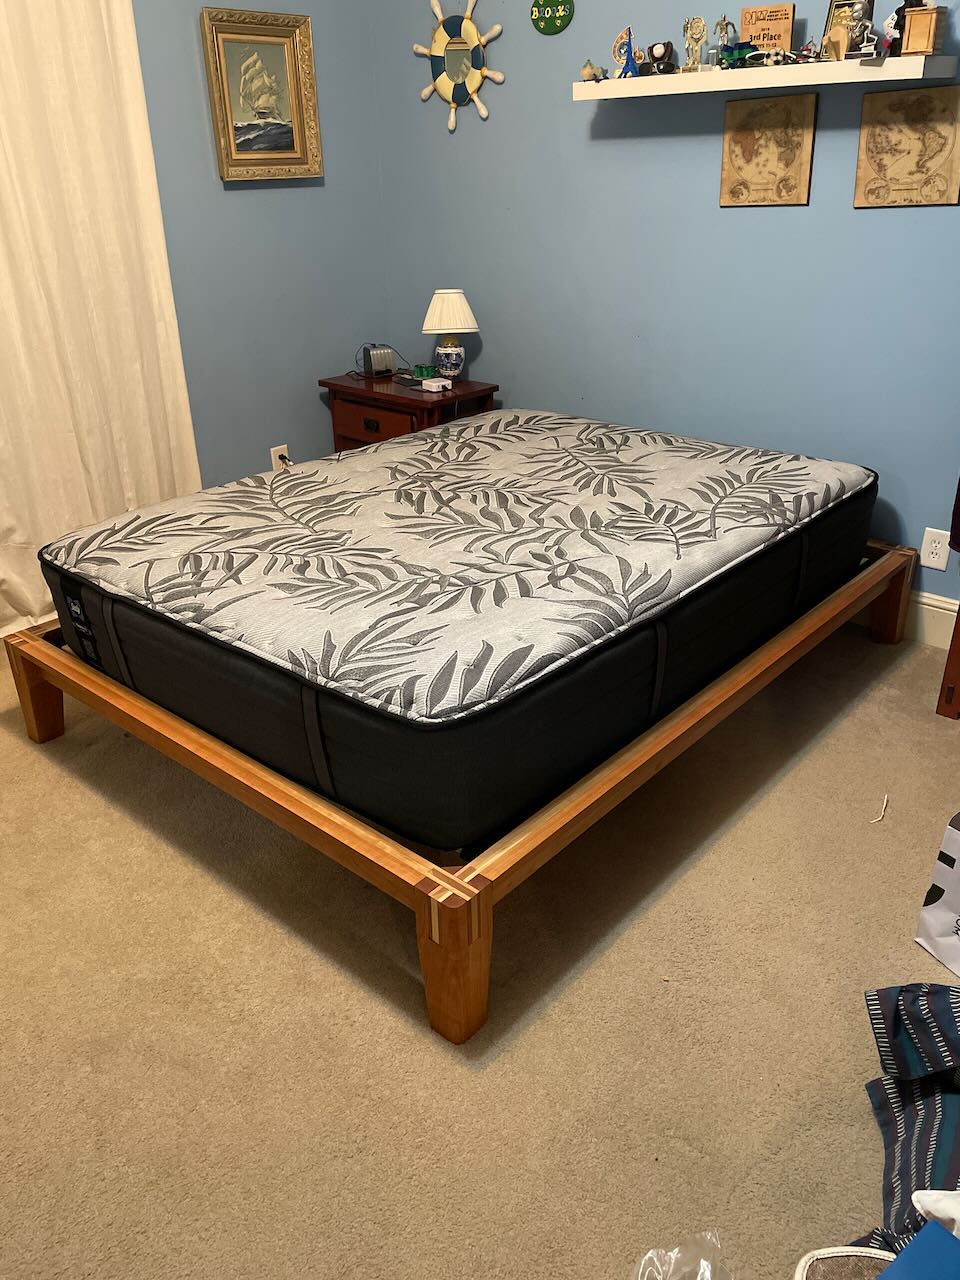
The bed with its mattress on!
Wrapping Up
I’ll probably come back and update this if I come across other images or want to add more detail. Big thanks to Makerspace Charlotte for putting up with me for a month, and huge thanks to Josh Greene (Greenwood Design) for helping me through nearly every step. Definitely couldn’t have done it without him.
Thanks for reading!