Foundry
Note
This project was crude, quick, and dirty. It doesn’t feel right putting it next to my post about my bed or even the subdomain request website, but I thought it was funny enough to include. Enjoy.
Foundry
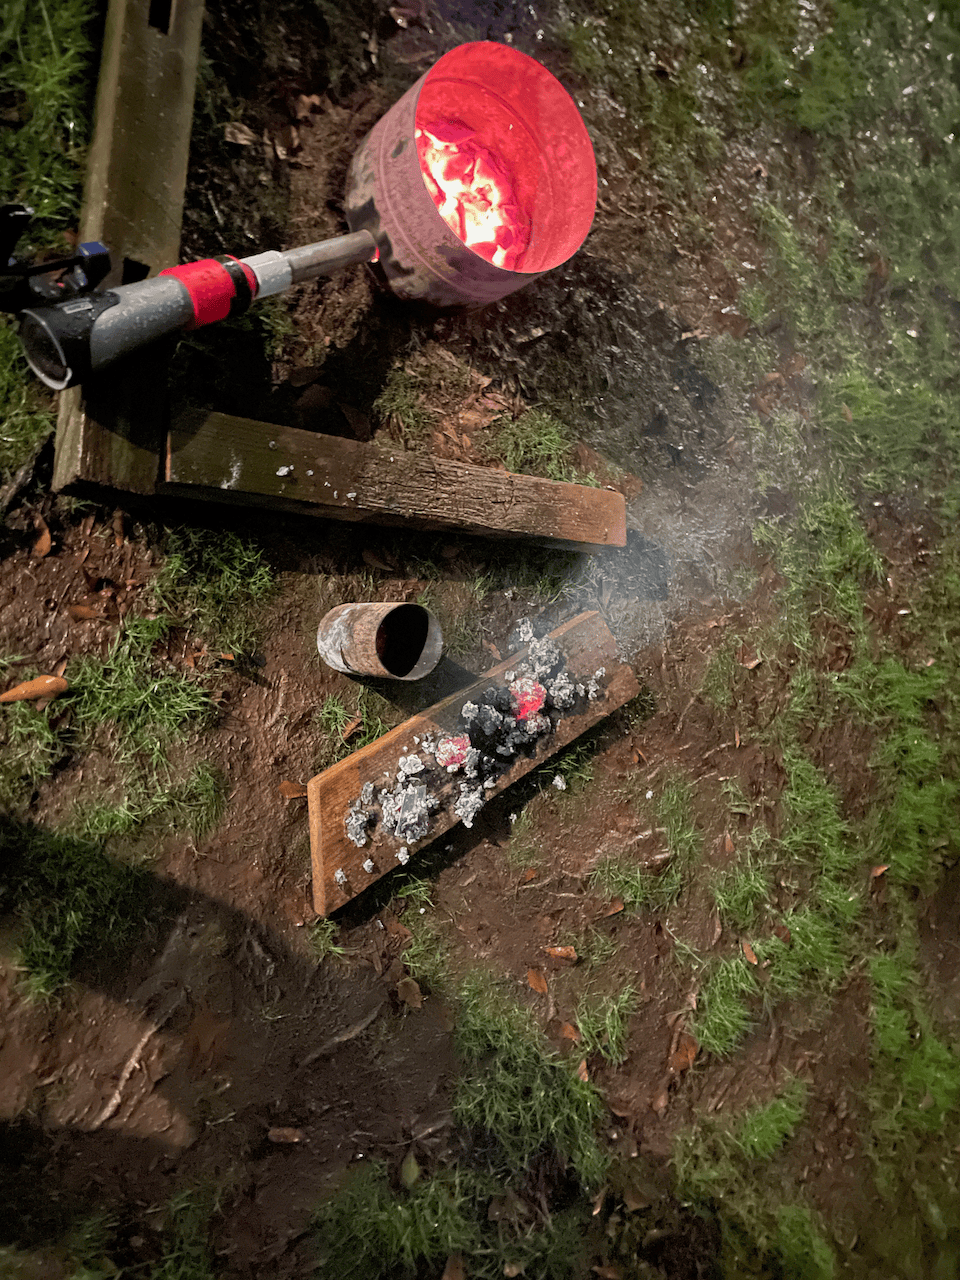
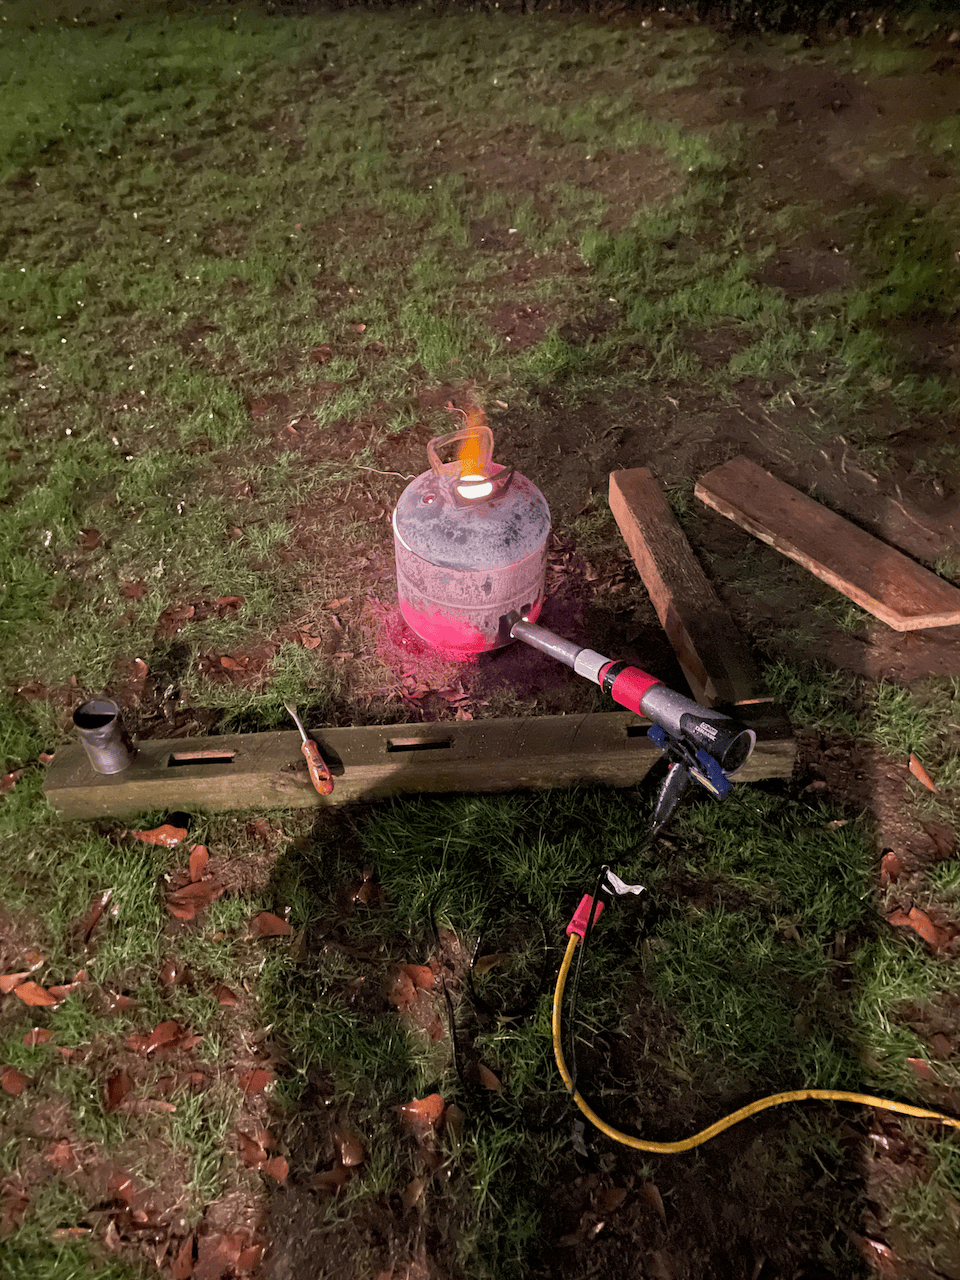
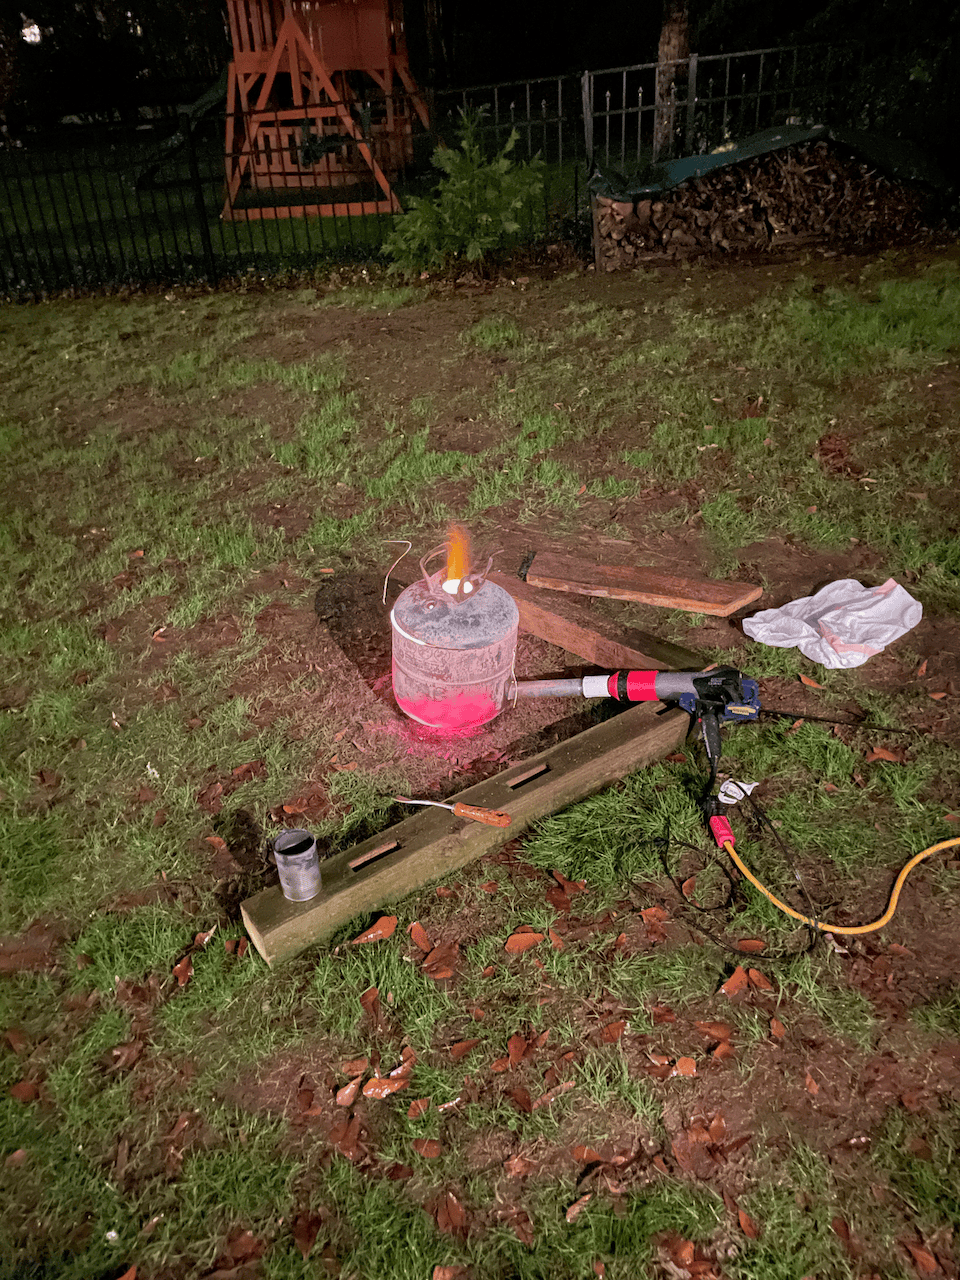
I had an itch to melt metal, and an old party balloon tank left in my neighbors’ recycling bin gave me the excuse to try it. I used an angle grinder to cut the top off, and a hole saw for the air inlet at the bottom. The basic foundry was completed. No, I didn’t add insulation. This was a very quick and dirty project, with several shortcuts. But it worked how I wanted it to.
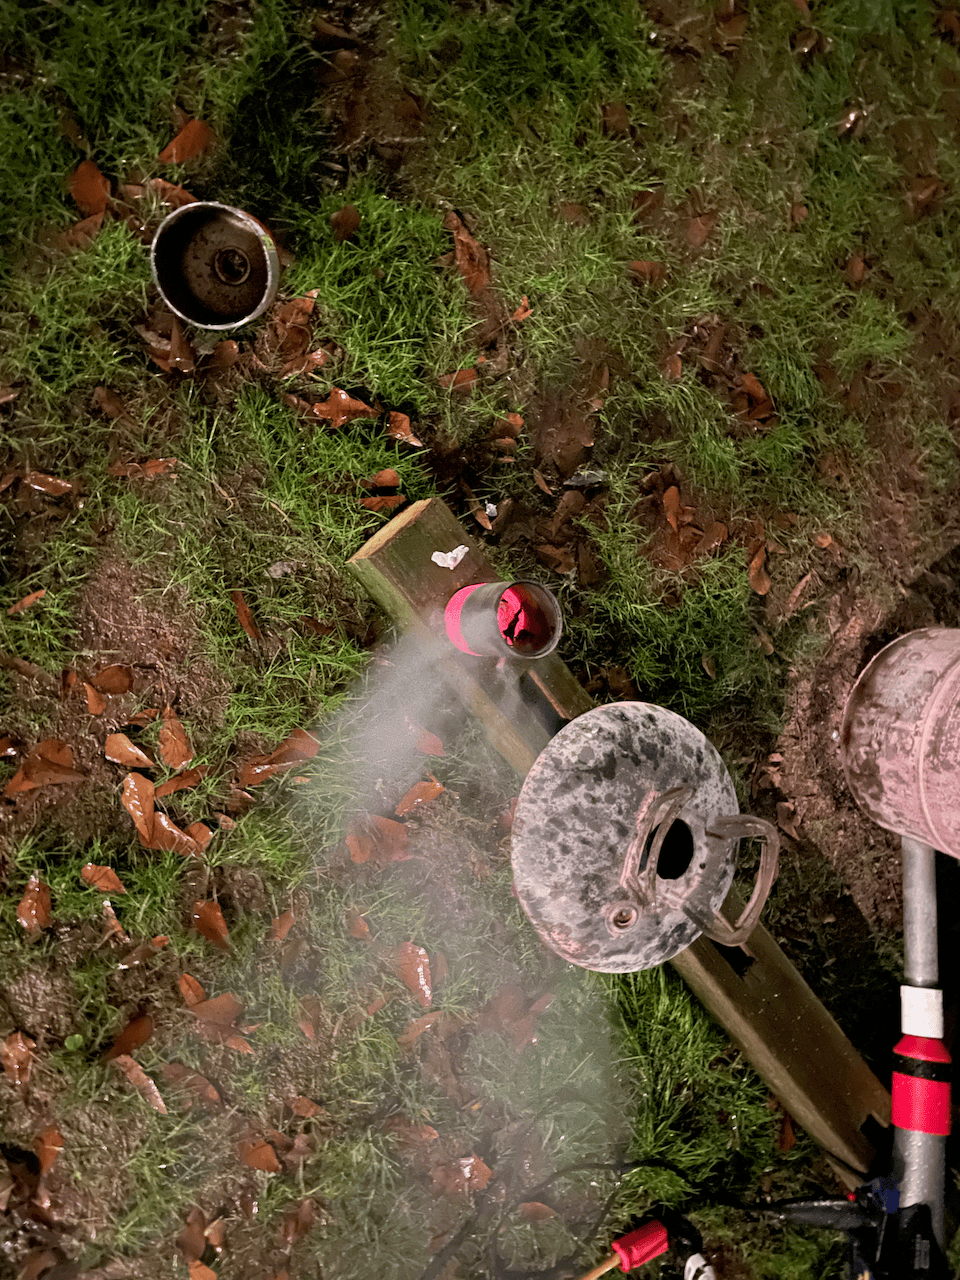
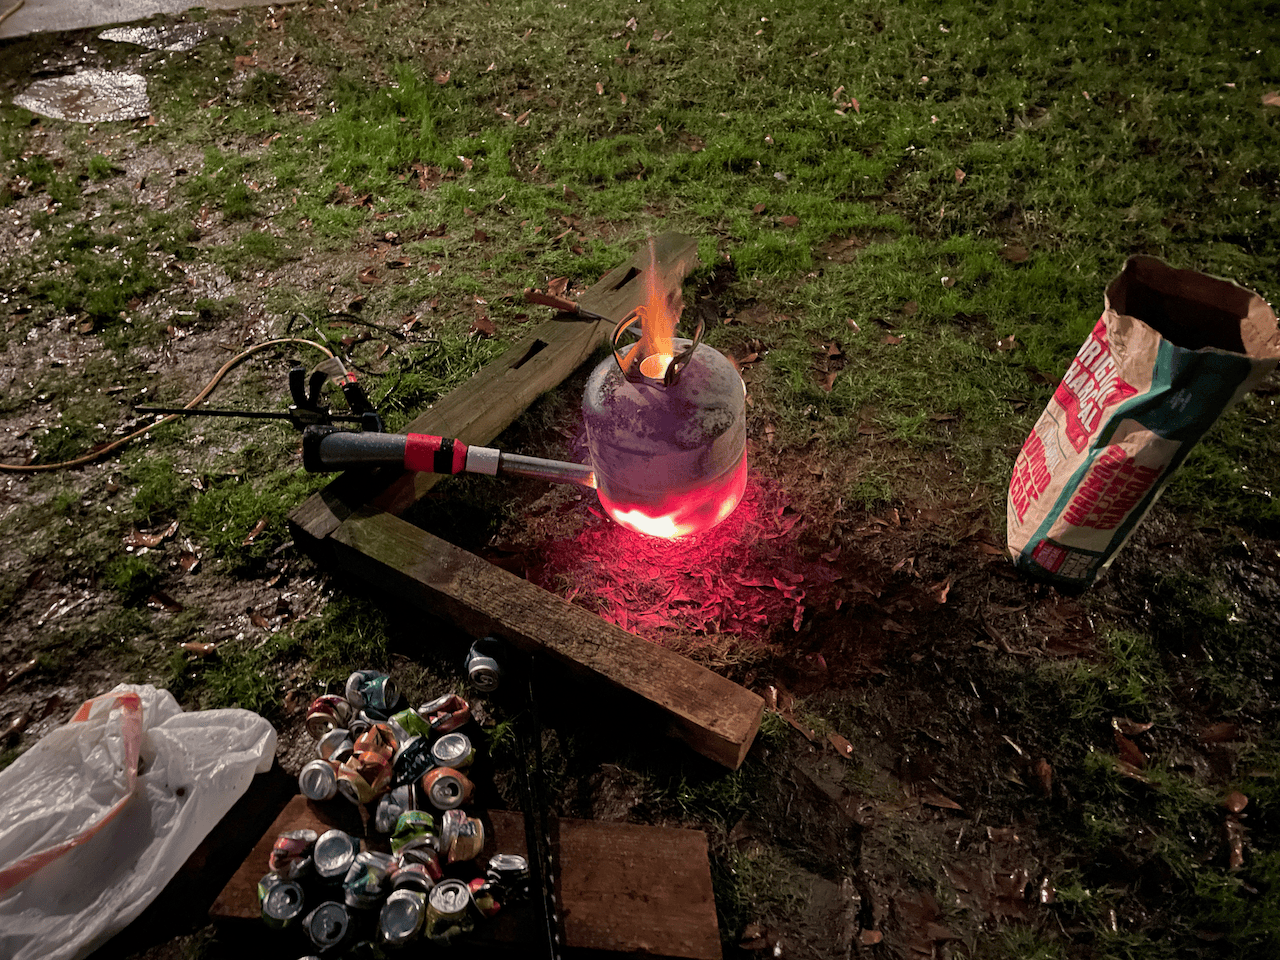
I then contacted a local fire extinguisher supply company and begged for an old steel fire extinguisher. 🤣 Not really, I sent a cold email and asked if they had any lying around that I could take, and they said absolutely! I went over and the receptionist was pretty confused to see a teenage boy, but she told me the guys out back knew the “artist” was coming. I went out back and there was a mountain of fire extinguishers. I’m not kidding. Behind an ordinary looking fence, there was a giant mound of fire extinguishers, tangled in weeds. Needless to say I found an old steel fire extinguisher. I made a selection, and they even emptied them for me! I rinsed them out and cut the top off the thickest one, which I used as my crucible.
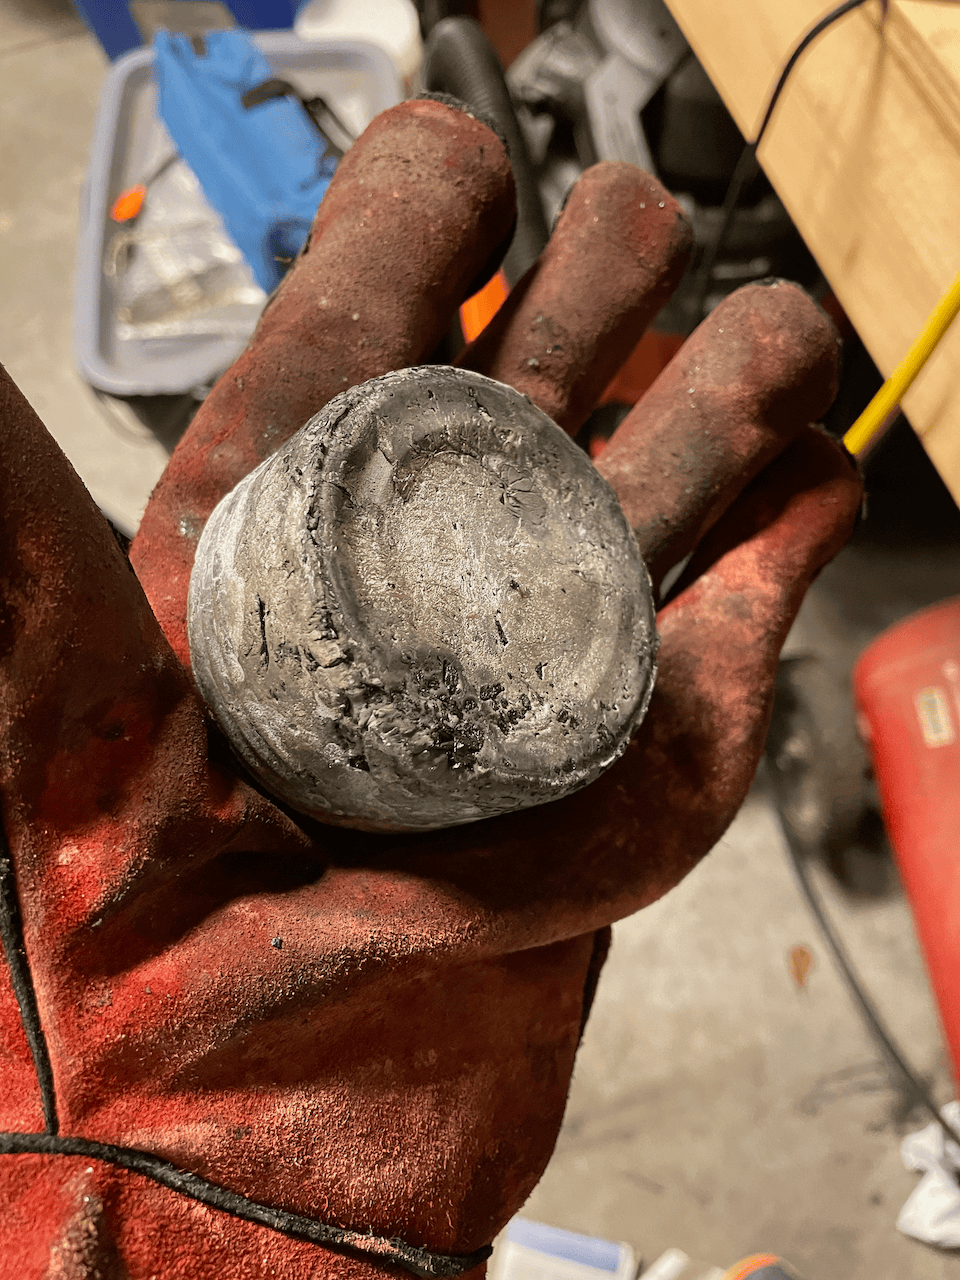
I put a broken tomato cage in the bottom of the tank to keep the charcoal out of the airway and then inserted the air tube. This consisted of a length of galvanized pipe, a PVC adaptor, and a 3D printed widener, which the hair dryer was shoved into. I used an OpenSCAD model I found on thingiverse to design the hair dryer to PVC adaptor, and it worked pretty well. To keep the hair dryer on I used an Irwin QuickGrip clamp over the cold button, so I didn’t waste yet more energy needlessly heating the air. I then filled the foundry with charcolal, accidentally using the good grilling charcoal (sorry Dad!), and surrounded the crucible. After a few minutes, the outside of the tank was red hot. To be expected for no insulation. I filled the “crucible” with several crushed soda cans and kept adding more as they melted. Eventually I ran out, and used some campfire tools to remove the DIY crucible. I removed the slag with a Dandelion Digger (this story just keeps getting better doesn’t it😂) and then poured the liquid aluminum into a soup can. The more I write the more I realize just how crude this was 🤦. But hey, I ended up with a solid aluminum ingot. I got a little impatient (and also worried that the soup can wouldn’t hold up) so I poured water in it at the end. You can see this in the video below.
Here are some other photos: